When you click on links to various merchants on this site and make a purchase, this can result in this site earning a commission. Affiliate programs and affiliations include, but are not limited to, the eBay Partner Network.
I have an 03 s60 awd. My front cv joint on my prop shaft or rear drive shaft is bad and needs to be replaced. I have taken out all the hex bolts on both ends, but I cant get the rear cv joint to bust loose from the flange so I can pull the shaft. I've blasted it with rust remover, and knocked on it with a mallet, but it wont move. Any suggestions?
The cv joint itself has a rubber boot on it, but what the cv joint seperated and the back half (the plate with the bolt holes) is stuck inside the cup like metal housing that extends from the rear end. I noticed a few extra holes on the backside of the housing that I might be able to push the joint out with. If that doesn't work im gonna hook a come along up to the shaft and give it the onions. Im not to worried about keeping the shaft in perfect condition cause I can get a completely rebuilt one for the cost of two new cv joints. If you have any other ideas let me know.
There are two different flanges (the part on the differential the prop shaft connects to). One with a rubber damper in it and one without. If you have the one without, there is plenty of room to get an air chisel in to pop it out. If you have the one with the rubber, you have to chisel between the joint and flange and you will cause some damage to both. If you are replacing the shaft, damage away. When I'm just trying to remove the shaft, I usually cut the flange and replace it if it doesn't come apart because it's cheaper than a new shaft.
Here is what I did to finally get it loose: I bolted back up the front end of the shaft and the carrier bearing and left the rear end unbolted. I backed it out the driveway and it broke loose. After taking the rest of the bolts back off, I pulled the shaft out with no problems. The flange on the rear end is still in good shape.
s60propshaft: I've spent probably 10 hours the last week trying to get the rear end of my driveshaft out of the flange. I've tried putting screws in the back of the flange (but they won't go in deep enough/hard to turn), and I can't get a good angle to hammer anything in the holes. So I'm thinking about your method. So, I'm wondering: is there a down side to taking the bolts out and driving? Am I right in thinking that once it breaks free, it would just spin in the flange anyway, just turning the flange with it? Seems like it's safe to do, but I don't want to damage anything.
Did you secure the flange first in any way? I ask cause I'm actually not sure driving would detach it. I don't see why the flange wouldn't just spin, even if driving, unless it's secured in some way.
As for the distinction between rubber flanges and non-rubber: all I see between the driveshaft end and the flange is what looks like some sort of thin white material. Is that the rubber damper in question?
s60propshaft: I've spent probably 10 hours the last week trying to get the rear end of my driveshaft out of the flange. I've tried putting screws in the back of the flange (but they won't go in deep enough/hard to turn), and I can't get a good angle to hammer anything in the holes. So I'm thinking about your method. So, I'm wondering: is there a down side to taking the bolts out and driving? Am I right in thinking that once it breaks free, it would just spin in the flange anyway, just turning the flange with it? Seems like it's safe to do, but I don't want to damage anything.
Did you secure the flange first in any way? I ask cause I'm actually not sure driving would detach it. I don't see why the flange wouldn't just spin, even if driving, unless it's secured in some way.
In short: help! I'm going insane with this thing.
As far as safety goes, I wouldn't drive very fast. This is definitely not the preferred method and not a safe recommendation. when mine finally broke free it just span inside the flange. Like I said I didn't care about damaging the shaft and I bolted the front end back on. I didn't secure anything cause I figured the spring would keep it pushed in the flange, but that may not be a bad idea. I was going like 5mph. I was so pissed at that thing I didn't really care what happened at that point. Haha. But take it easy and spray a lot of wd40 on it before you try. Good luck. Also, an air chisel did absolutely nothing. Getting the new one back in sucked. If you can free up the bolts/hangers, drop your exhaust so you won't be screaming at a car in your driveway.
Last edited by s60propshaft; 01-30-2017 at 04:01 PM.
Thanks. Yeah, I wouldn't drive fast. Just wanted to see if it would wreck and components. On getting it out/in once I get it out of the flange: yeah, I'm already a little leery. The bolts that connect the center bearing to the support bracket are stuck (rusted, melted, etc.). I'm not sure dropping the center support bracket itself will make enough room. I've hoped to avoid detaching the front end of the prop shaft, but looks like I might have to. BUT first things first: the damn flange.
I'm right at where you guys were with my 04 S60 AWD. All bolts are off, but rear flange stuck. Going to try prying it off first, then will try the backup method!
Question; when you got it all loose, were you able to slide the whole shaft out the back?
I have not loosned any muffler items.
just to followup. It did pry right off. Was able to slide the axle out the back with just removing the center carrier bolts and removing some muffler supports. This gave me enough sag in the middle to clear the front flange, push it forward, clear the rear flange then pull it all the way out.
If you have the flange with the rubber damper, you may have to cut the damper off and replace it.
I have an 06 with damper in the flange and my Haldex pump is bad so no AWD. Therefore I don't think I can remove bolts from rear and drive it to pop it loose. Where do you cut on the flange to get it separated from the propshaft? Do you use an angle grinder with a cutting disc on it to do this?
I have an 06 with damper in the flange and my Haldex pump is bad so no AWD. Therefore I don't think I can remove bolts from rear and drive it to pop it loose. Where do you cut on the flange to get it separated from the propshaft? Do you use an angle grinder with a cutting disc on it to do this?
Thanks - P
If your collar gear is still good, then your propshaft should be spinning all the time. Haldex's job is to engage the rear end.
So I did what I thought to be "the impossible". I got my prop shaft free from the rear differential pinion flange. I honestly couldn't believe it when it popped loose. I figured I was going to have to cut the flange and get a new one... Glad I didn't do that.
My flange has the rubber damper in it which made life even tougher. I was able to remove all 12 bolts from the front and rear of the prop shaft. Then I had a strap wrench on the rear pinion flange and was twisting that with all my might (keep in mind that the damper was just making every twisting attempt mushy). But in doing this back and forth I managed to get the front of the prop shaft to spin loose from its flange. That was the easy one. The rear was a different story.
I sprayed a liberal amount of PB Blaster in around the flange/shaft and in the holes from behind and let that soak. I tried prying it with flat-blade screwdrivers to no avail - all that did was bend my screwdrivers. I tried using an air chisel between the flange and the prop shaft - no luck there either. I actually pounded and wedged in three of my air chisels with a hammer and then got on the flange with a chain wrench - that did absolutely nothing. I was sitting there scratching my head, looking at the flange thinking that there must be a way to get this off without cutting into it...
I could see the holes in the back of the flange. Six of them were for the prop shaft mounting bolts. Then there were a few extra holes. I had read where people went into those holes with a punch and hammer and pushed the prop shaft out from behind - but there was just no room to get any kind of rod or punch in there. I noticed on at least one of the holes it seemed like I could see faint threads in it. I got a few bolts out of my metric extra-bolt-stash and tried a couple different sizes. Turns out the hole I was trying to utilize was an M8 size just like the bolts holding the prop shaft in place. The only problem is there is not much clearance there so I needed a shorter bolt to try. To make life easier, I removed the Haldex module and that gave me a little more room. I found a shorter M8 bolt and tried threading it in. It went in a couple threads and then got very tight with all of the rust inside it. I was thinking that the threads could really use to have a tap run thru them, but all of my taps were longer than what space was available behind that flange. So I decided to take that short bolt and cut a couple of flutes into the side of the threads with my dremel cutting wheel, in effect creating a makeshift tap out of it.
I squirted more PB Blaster in the hole and put the "tap" bolt back in and worked it in a little further and pulled it back out again. Cleaned it off and repeated this process about 15 times until I was able to get the bolt about 3/4 of the way in. It was at that point that I realized that a short bolt like this wasn't going to go in far enough to push on the back of the prop shaft. I had a B.B gun sitting nearby in my garage and thought - maybe if I put a B.B in the hole and then thread the bolt in as far as I could - that might be enough to push the back of the prop shaft out of the flange. Well, that didn't work but when I pulled the bolt back out I could see where it had been pushing on the B.B. So then I thought, what else do I have around that I could put in there that would be a little bit longer than a B.B? I spotted some shelf brackets (the kind that go in a cupboard that has adjustable shelves). I got my dremel cutting wheel back out, cut off the peg part to be a little longer than what the diameter of the B.B was, put that in the hole, threaded in the bolt again, and sure as heck the prop shaft popped out of the flange and there was much rejoicing!
In order to get the prop shaft completely out of the two flanges I had to take the bolts out of the center carrier bearing support and let that drop down a little bit. Then I managed to get the front of the prop shaft backed out of its flange and then pushed the shaft up towards the front of the car and then was able to get the back of the prop shaft out of its flange.
The next major hurdle was to get the flange off. That nut is on there really good! LOL But what worked to get that off was the chain wrench around the flange and a breaker bar with a 24mm socket on the nut. I was able to get it to move and then used my lack-lustre air impact wrench to take it the rest of the way off - holding the flange with that chain wrench.
Next challenge was to get the flange off the splines. Again I tried wiggling it with the chain wrench, going back and forth and side to side - similar to how you sometimes can get a steering wheel off the splines of an old car - but that did not work. Again the rubber damper was really working against me in this attempt. So then I decided to make myself a "flange puller". I had some steel laying around and cut a length of it off with my grinder that would almost fit into the flange where the prop shaft bolts in. Then some more grinder work shaped it and shortened it to fit perfectly in there. Then I center punched it and drilled a couple holes (a little oversized since I didn't know exactly how far apart they needed to be) and did the same for the hole in the center. Then I welded a nut to it directly over the middle hole and threaded a bolt into the nut. I used a couple M8 screws to mount the puller to the flange and then started turning the bolt and low-and-behold the flange popped off. When I pulled the flange completely off a bunch of fluid came out of the hole so I had to put a container under it to let it drip into.
At this point I could finally get at my Haldex pump and filter. I ended up having to drill off one of the heads of the allen screws holding the pump on because the head was stripped. After doing that I was able to pry that pump out. The stud from the screw that needed to be drilled out came out very easily after the pump was out.
Having a lift in the garage is really paying off!!!
I'm hoping that this post can help someone in the future. I posted some pictures of my progression below. Thanks!
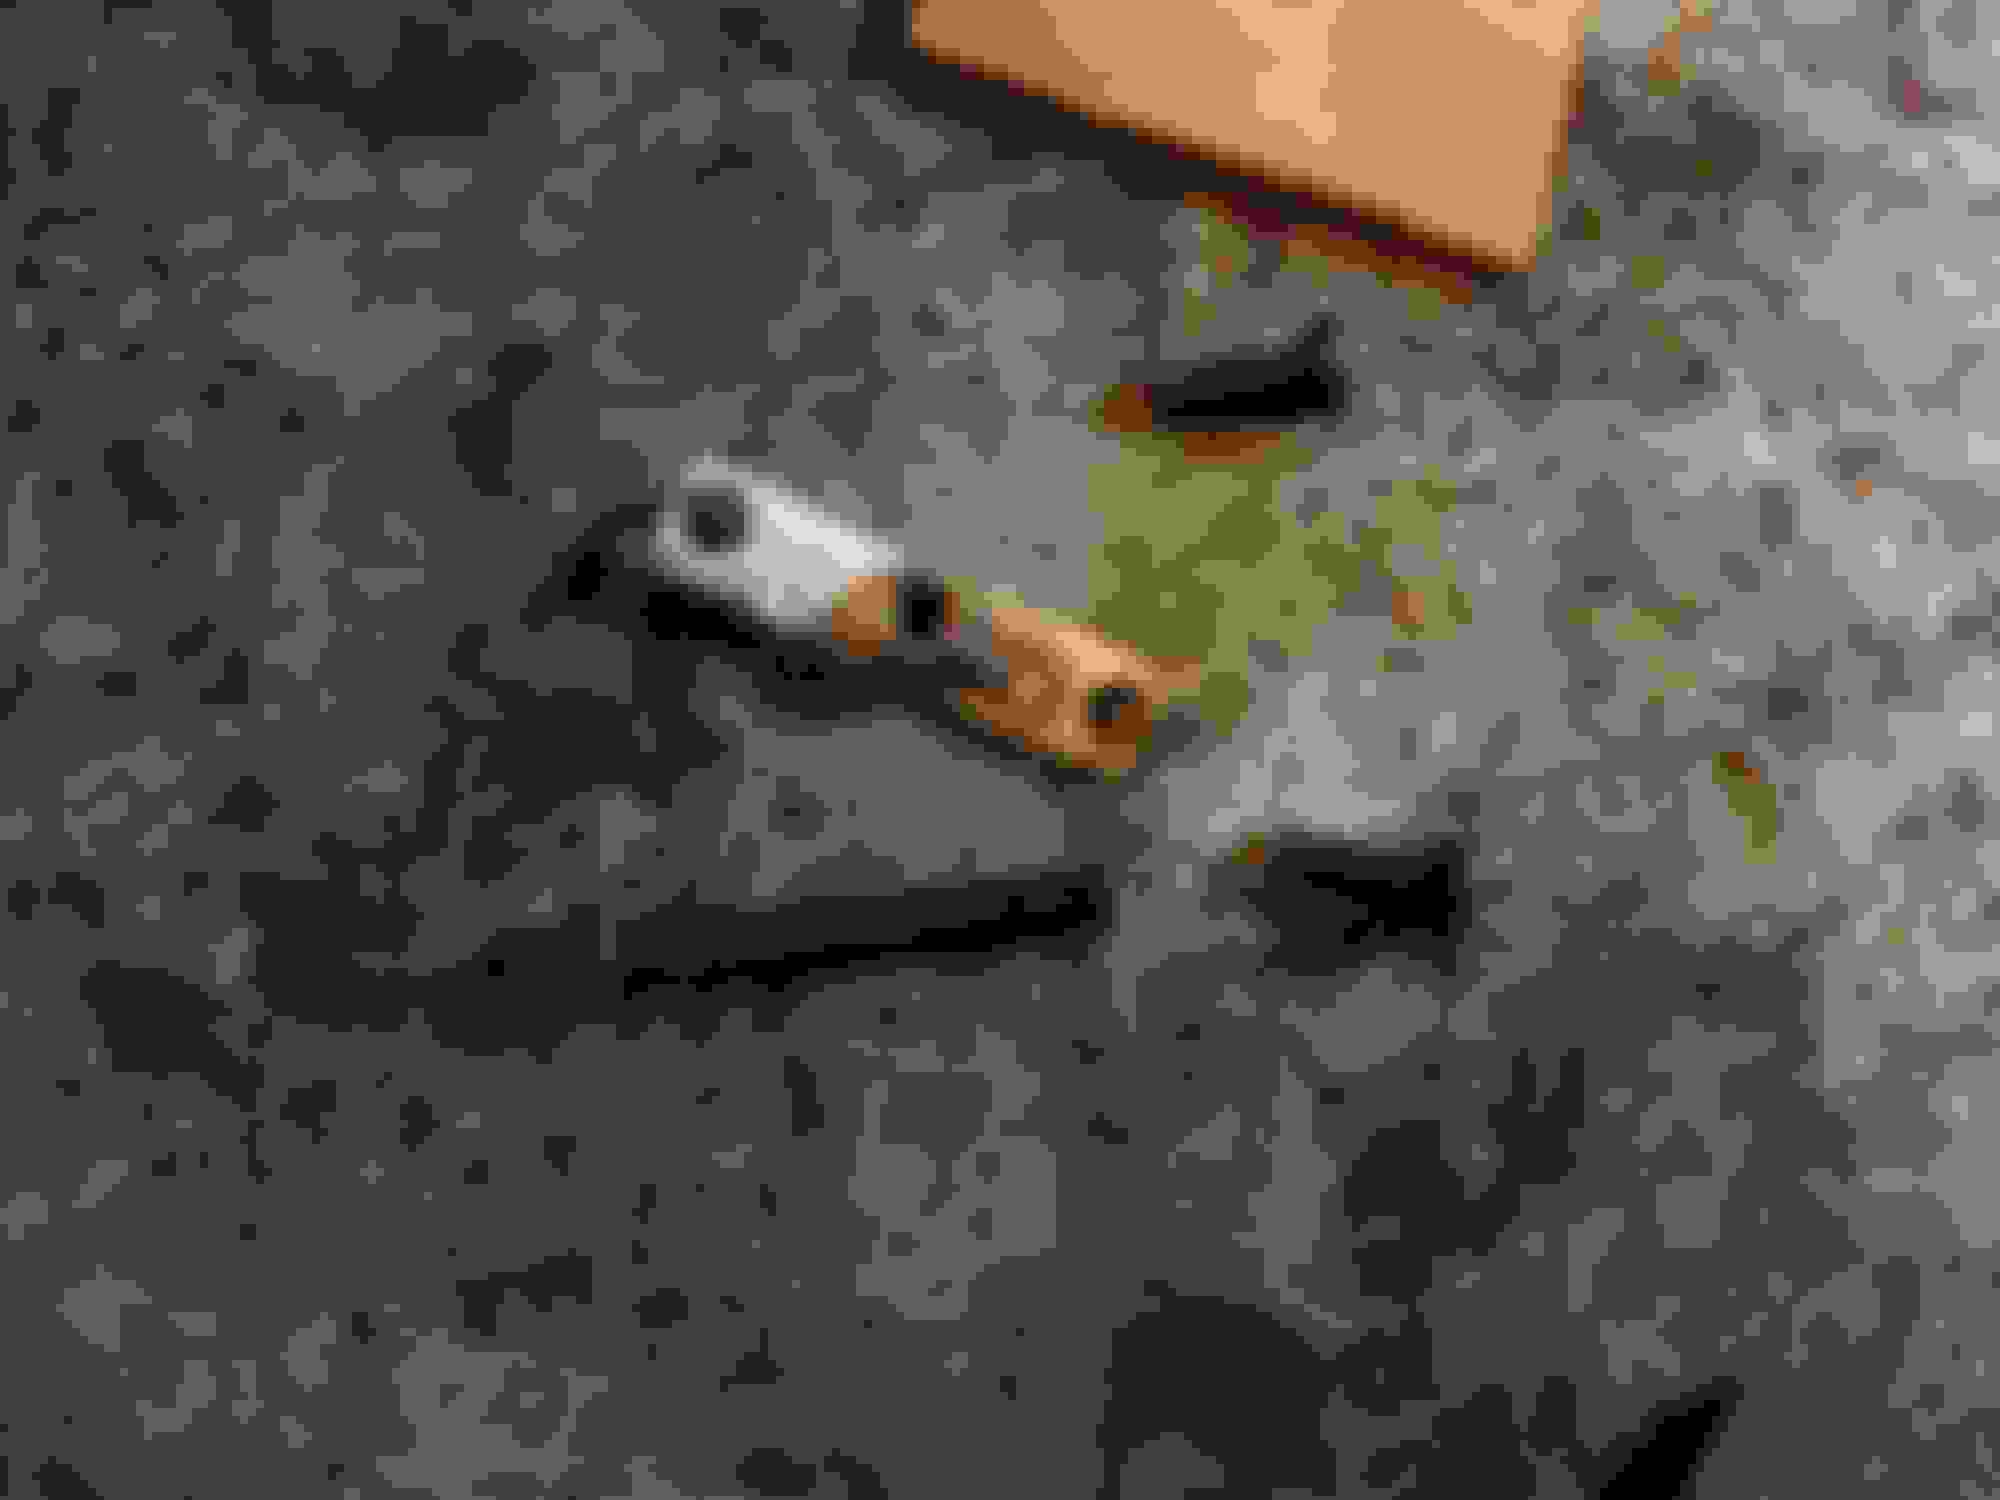
notice the bolt I have threaded into the back of the flange. That is my "tap" bolt.
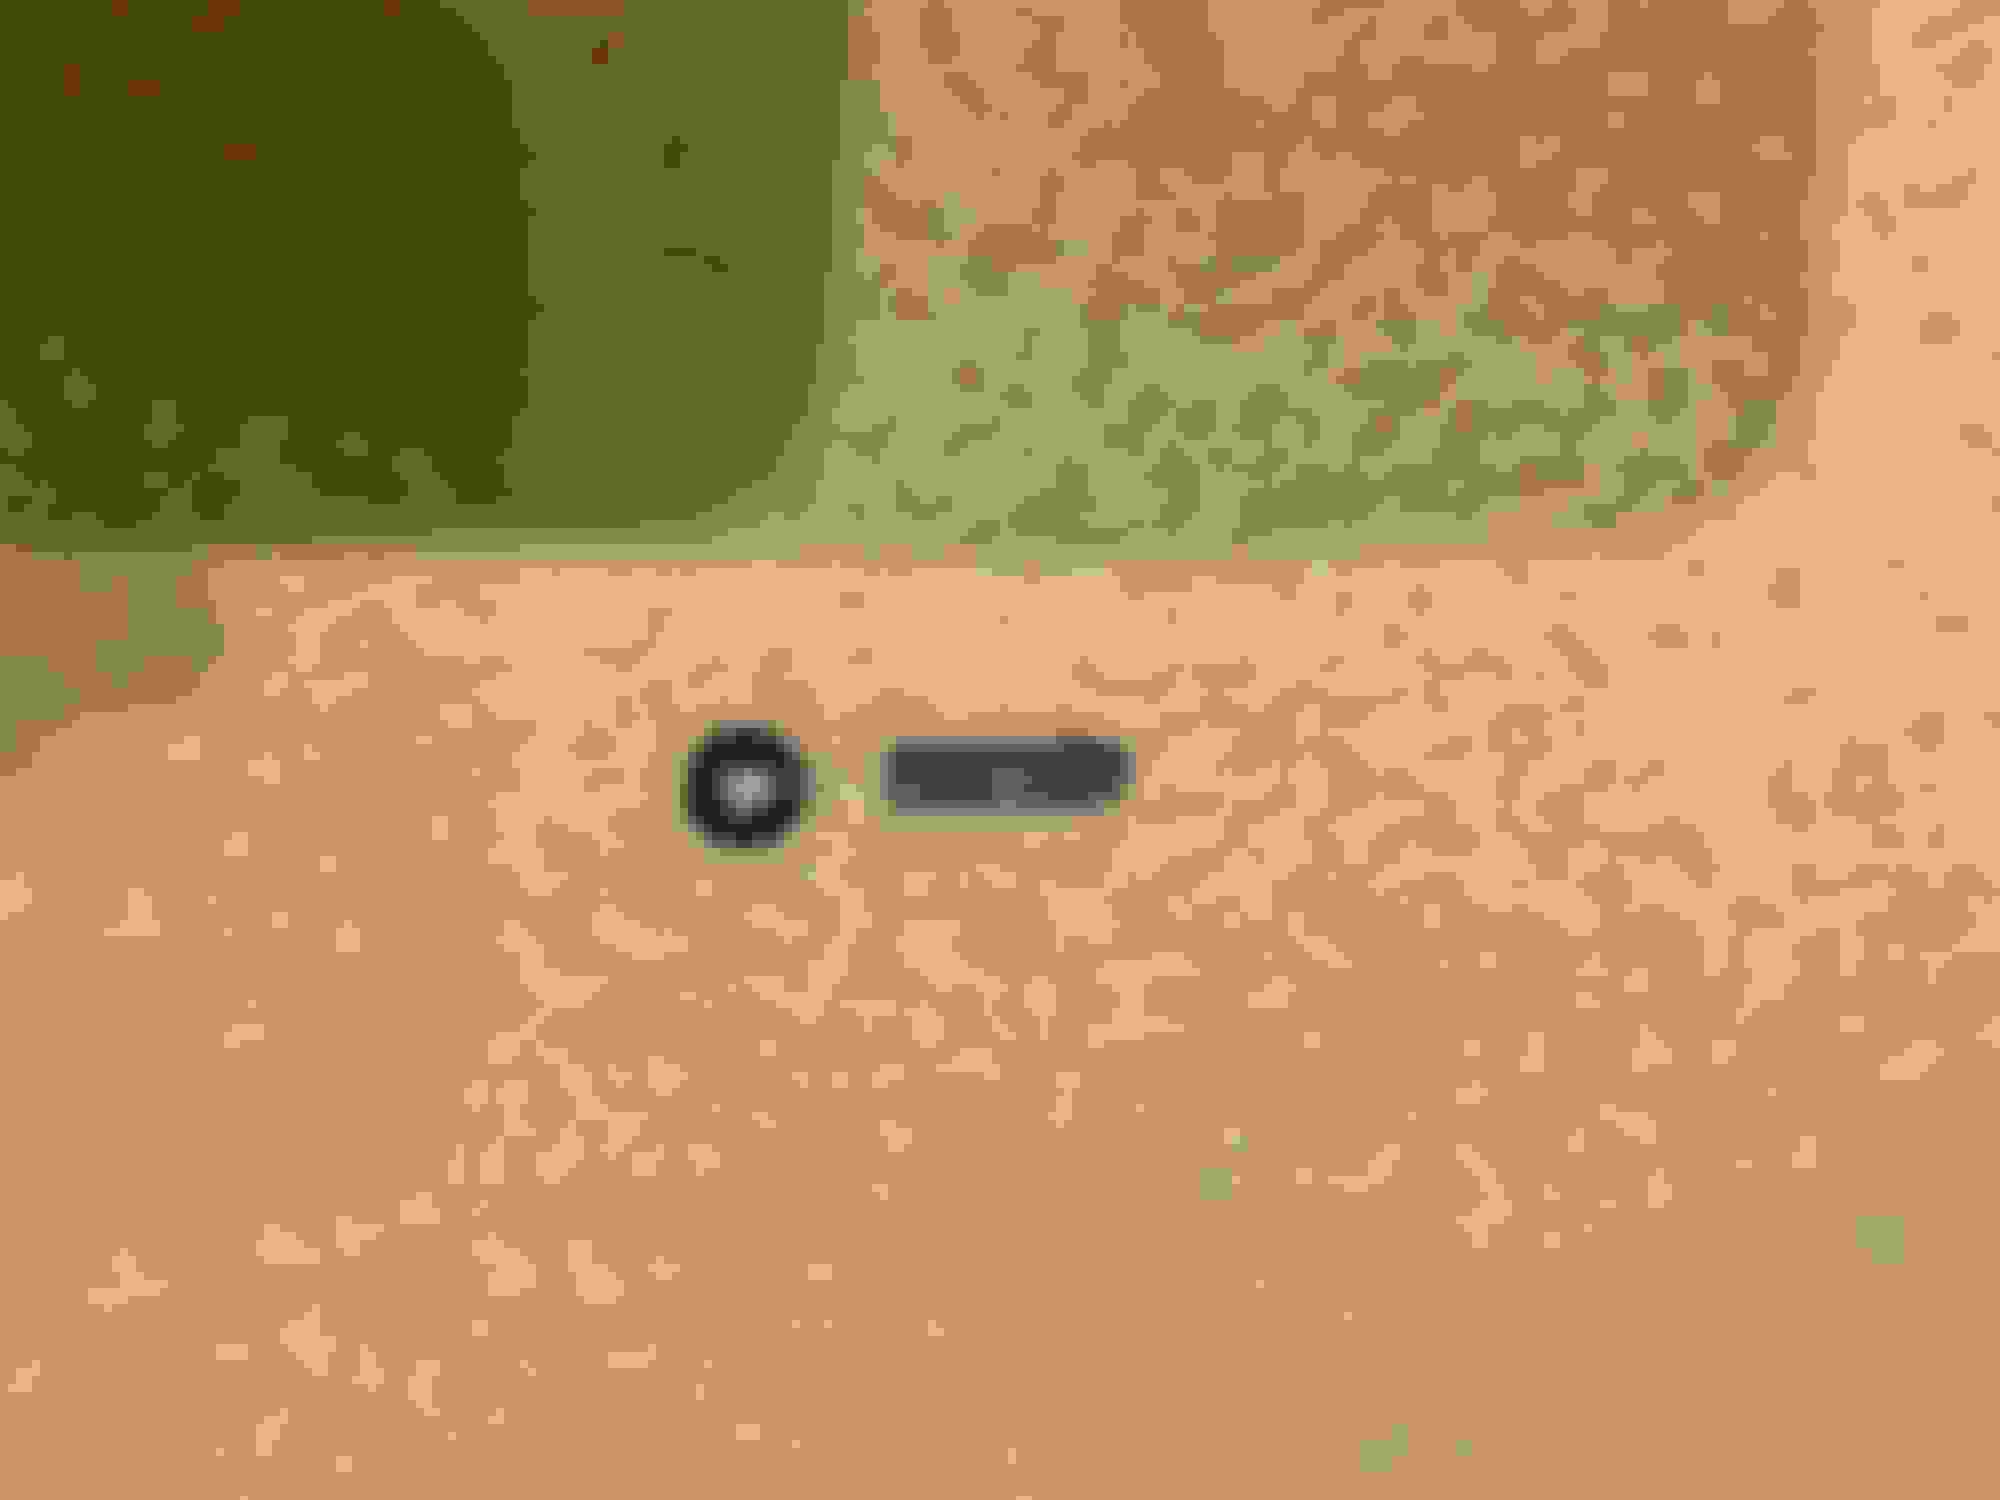
another picture of my “tap” bolt and the little piece of metal it was pushing on
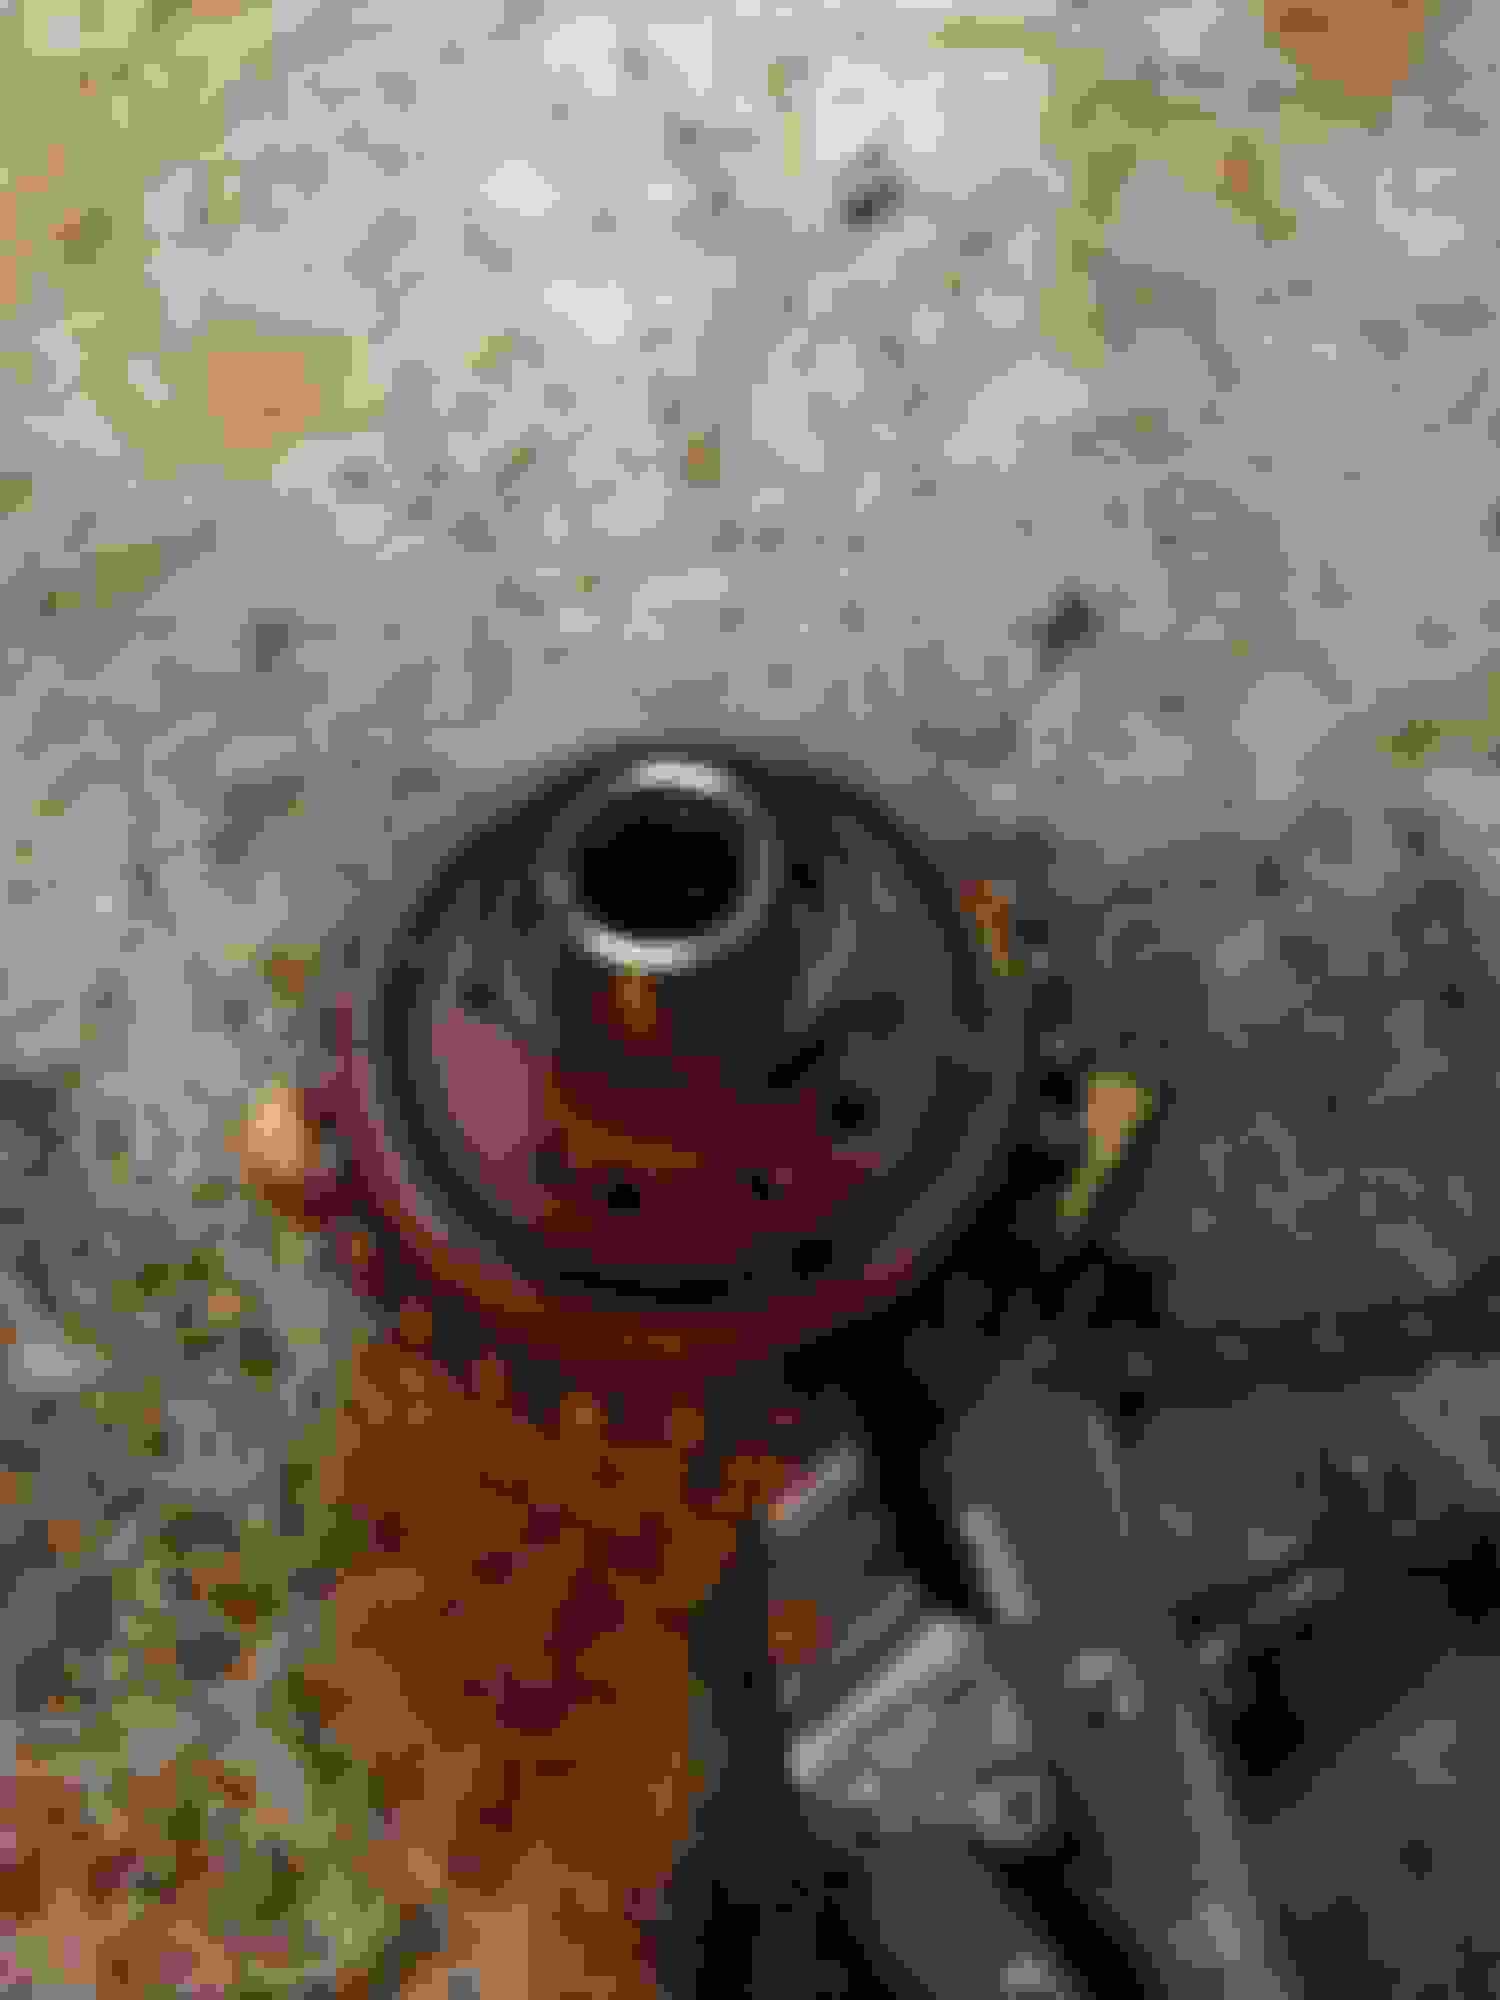
front prop shaft separated from flange and moved forward
 04-22-2015, 04:06 PM