
1993 240 Wagon Cylinder Head Removal Part 1


Thread Starter
|
Senior Member
Joined: May 2012
Posts: 184
Likes: 0
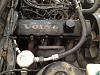
Just some pics if anyone was interested in replacing the cylinder head on a 1993 240 Wagon. My #1 spark plug had a sleeve due to a stripped hole which then blew out taking a chunk with it. So refurb head off eBay and here we go:
Disclaimer - I am sure there are a hundred different ways to do this, I am no expert, just how I went about it with the aid of this forum and the Haynes "installation is the reverse of removal" Manual.
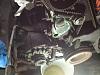
Step 1 - open the hood and reveal the engine (couldn't resist), I took the hood off completely as it would be in the garage for the duration.
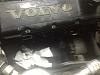
Step 2 - Remove the exhaust manifold heat shield and manifold (detaching it from the exhaust down pipe)
Step 3 - Drain engine coolant and remove the radiator and fan shroud
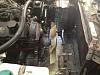
Step 4 - Remove belts and fan
Step 5 - Remove water pump
To be continued.................................
Disclaimer - I am sure there are a hundred different ways to do this, I am no expert, just how I went about it with the aid of this forum and the Haynes "installation is the reverse of removal" Manual.
Step 1 - open the hood and reveal the engine (couldn't resist), I took the hood off completely as it would be in the garage for the duration.
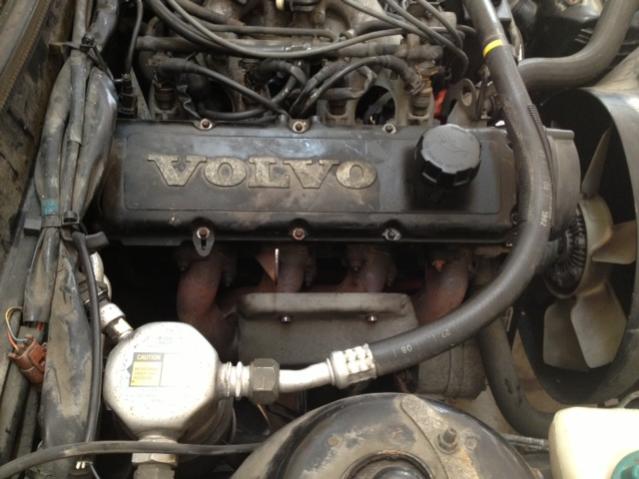
Step 2 - Remove the exhaust manifold heat shield and manifold (detaching it from the exhaust down pipe)

Step 3 - Drain engine coolant and remove the radiator and fan shroud
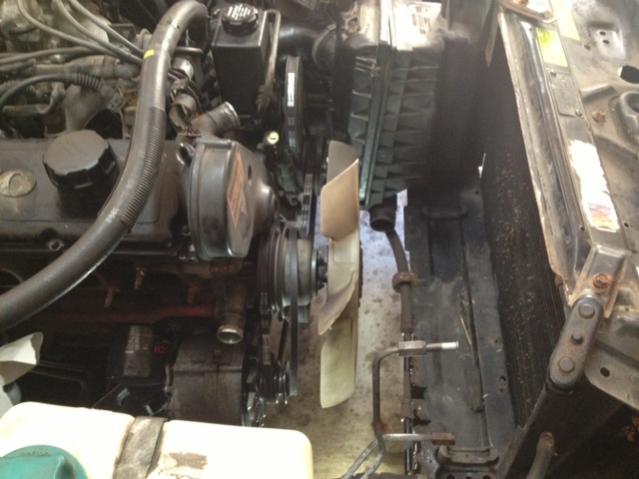
Step 4 - Remove belts and fan

Step 5 - Remove water pump

To be continued.................................
Thread Starter
|
Senior Member
Joined: May 2012
Posts: 184
Likes: 0
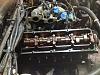
Step 6 - Remove crankshaft bolt (easy with that cool tool and make sure TDC before removal), crankshaft sprocket (lots of wiggling), timing belt, cam shaft sprocket (lots of wiggling), intermediate sprocket (lots of wiggling) and timing belt tensioner (since everything is going to be off, water pump and timing belt are being replaced - was due anyway).
Step 7 - somewhere in here I removed the intake manifold, I didn't dismantle it completely just enough to remove it from the head. Remove valve cover. At this point you could probably remove the camshaft and all that stuff, I am replacing the entire head so I took it all off at once.
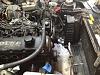
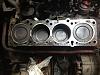
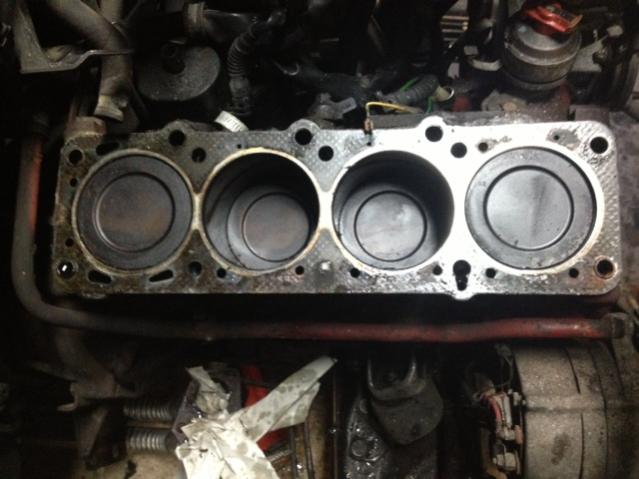
Step 8 - Remove the cylinder head bolts, watch out for the one nasty bastard that snaps off. And TA DA!!! the top of the pistons with 20 years of buildup.
Poll: Should I clean all that crap off the piston heads?
I will be honest, for a beginner like me, this was not nearly as daunting a task as I thought originally. Once I got into it, it went smoothly and I probably could have gotten the head off in an afternoon (I went nice and slow and methodical). Tied up until Friday so we will begin again with the replacement. Will post up another thread on getting the new head ready and install, and one for getting that stupid bolt out of the engine block.

Step 7 - somewhere in here I removed the intake manifold, I didn't dismantle it completely just enough to remove it from the head. Remove valve cover. At this point you could probably remove the camshaft and all that stuff, I am replacing the entire head so I took it all off at once.

Step 8 - Remove the cylinder head bolts, watch out for the one nasty bastard that snaps off. And TA DA!!! the top of the pistons with 20 years of buildup.
Poll: Should I clean all that crap off the piston heads?
I will be honest, for a beginner like me, this was not nearly as daunting a task as I thought originally. Once I got into it, it went smoothly and I probably could have gotten the head off in an afternoon (I went nice and slow and methodical). Tied up until Friday so we will begin again with the replacement. Will post up another thread on getting the new head ready and install, and one for getting that stupid bolt out of the engine block.

Senior Member
Joined: Oct 2011
Posts: 416
Likes: 0
From: CA
clean all the trans area now....clean as much as you can now since you have access to areas you normally don't. I was wondering how to clean the pistons...spray?
good step by step...we need more of these...
next time it will be second nature and you will want to take the heads off just to access the oil filter...ha ha.
good step by step...we need more of these...
next time it will be second nature and you will want to take the heads off just to access the oil filter...ha ha.

Thread
Thread Starter
Forum
Replies
Last Post
rspi
For Sale / Trade - Archive
2
Mar 25, 2014 02:22 PM