
Blue's Blue Brick Build


Thread Starter
|
Senior Member
Joined: Jul 2014
Posts: 126
Likes: 0
From: Anderson, SC
Hey guys, so obviously I posted about my car running like crap before, but now that it's running great, I can actually get to the fun stuff, like making it look pretty.  It needs some stuff to be mechanically sound, and a LOT of stuff to be pretty.
So far, I've done: Oil change, spark plugs, plug wires, cap, rotor, ignition coil, new front wipers, new right side tail light, installed center console and shifter bezel.
I have parts/supplies to change the transmission fluid, thermostat, and outer tie rod ends.
Mechanically, the car functions well. but there are a few issues I'd like to resolve. Firstly, the power steering. I actually enjoy driving the car without power steering, so I'd like to fully delete it. Looking through the electronic catalog at work, the system lists an option for a non-power rack. Some insight as to where I could source one of those or what years they were available in would be awesome. The pump itself isn't hugely expensive (about $50) but for some reason part of why I absolutely love this car is that throwing it around corners takes some muscle. It's tons of fun to drive and I want to enjoy the car as much as I can. I may change my mind on this one, as I really enjoy my other cars with power steering, and this thing is a nightmare to navigate parking lots with, but I'm still up in the air.
Secondly, my rear right brake light doesn't work. The bulb is good, the wires are connected correctly, the contacts from the socket to the lamp housing are clean and connecting fully, but that brake light just won't work. It lights up just fine, so I'm assuming it's in the wiring.
Third, AIR CONDITIONING. I know it's not a necessity, and I know that most people who are going to delete power steering are going to delete this as well, but I live in the deep south, and 100 degree 100% humidity (without actually raining) days are fairly common during the hot months. It's a little beyond unbearable. As of right now I'm not sure if the compressor works or not, Because when I bought the car, I noticed that the compressor was jiggling (bolt was loose) and the PS pump was spraying liquid everywhere, so I just pulled the belts. I also need to know the correct order the pins on the back of the A/C **** go in (the one next to the seatbelt light) because it was unplugged and I couldn't see a special way it connects.
Fourth, cruise control, high beams, my odometer, coolant temperature gauge, and I suspect the fuel gauge, all don't work. I haven't been down at the fuse box to test those yet, but I have a feeling that as far as the cluster is concerned, the old parts are likely worn out and broken. I know the odometer is repairable for $30 (Volvo 240 Odometer Repair Kit IPD 109981 13200) but I'd like to be able to be sure everything is fully accurate. If someone has a known good working cluster for sale, I'd be interested in that. Or suggestions as to how to retrofit the old cluster for new gauges. I've purchased an aftermarket temp gauge (for the sake of safety of the engine, the coolant temp gauge just bounces up and down as I drive) but the temperature sensor is too long and doesn't stay in a straight line when you install it. I'm looking for a bushing for that, as we speak actually.
The shifter bezel light doesn't work, I'm going to replace the bulb and see if that doesn't work. If not I'm converting it to LED.
My passenger front window is separated from the metal scissor frame that supports it. I don't quite understand how to make it work. I thought about laying some 3M windo-weld in the bottom. Thoughts?
I'm also currently in the process of repairing the driver side door handles, and then I'll be doing the passenger side. I need to get a rivet gun first though.
I need to order new struts, lowering springs, a driver side tail light, and brake pads to have a fully functioning, well conditioned vehicle.
Future plans:
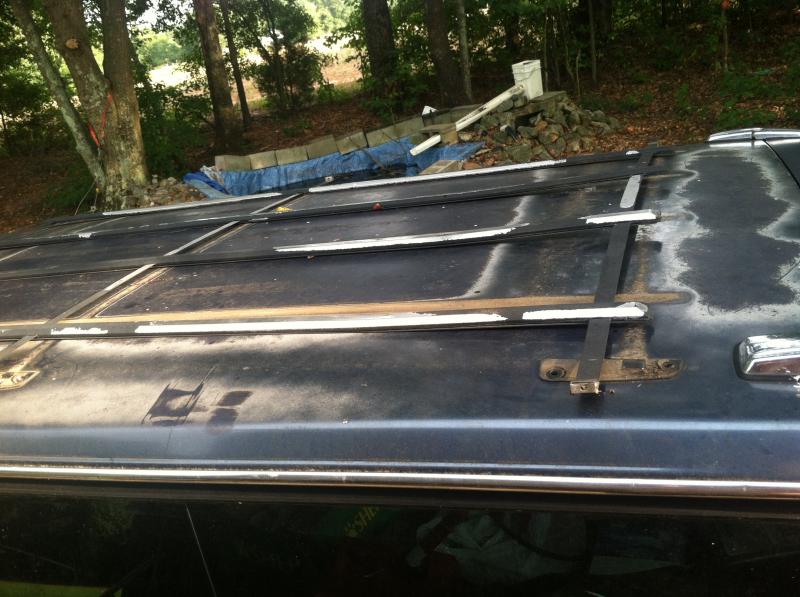
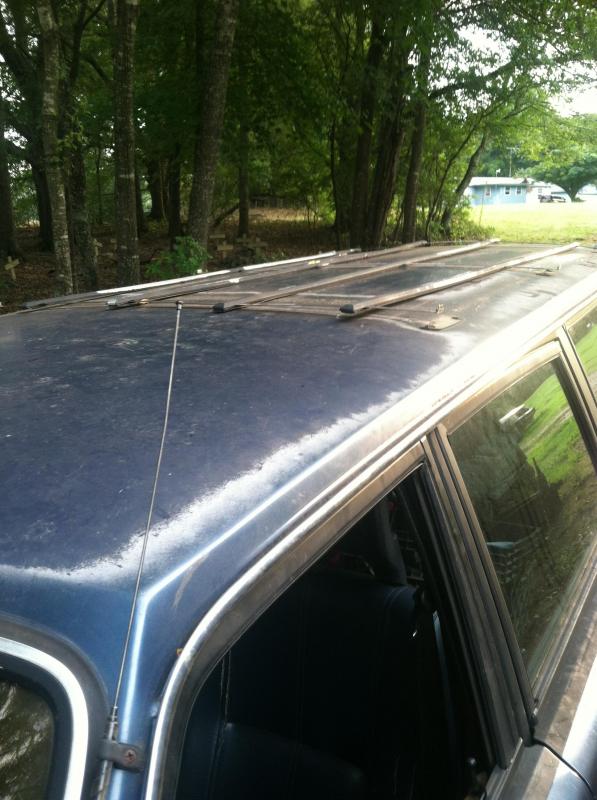
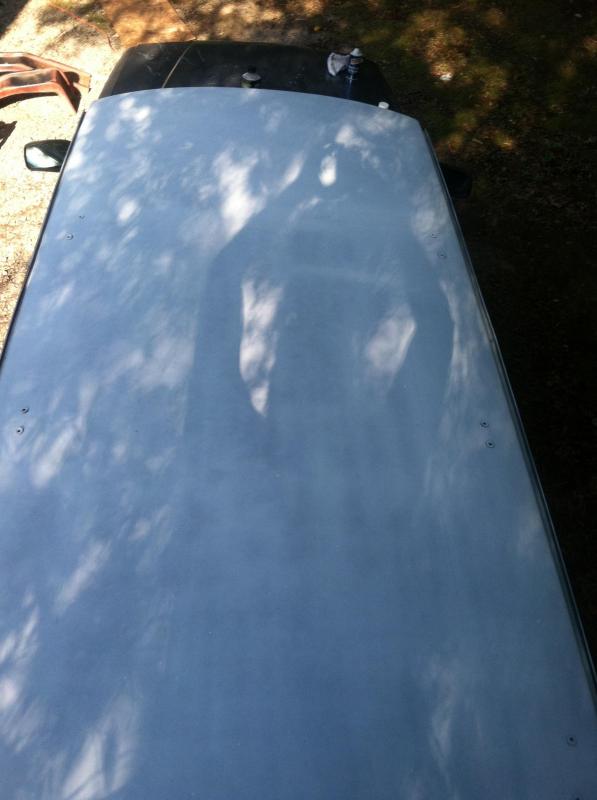
1.) Plastidip two-tone (the top of the car's clearcoat is absolutely horrible), white dip above the side trim piece line. This is actually in progress (I've done the roof) but I've ran out of cans already. I don't think the roof has ever been washed, so it already looks to be a massive improvement.
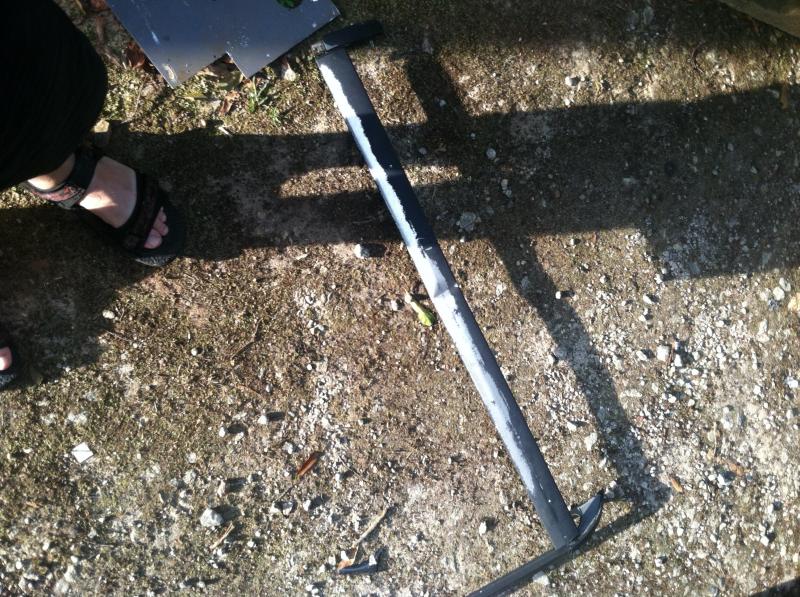
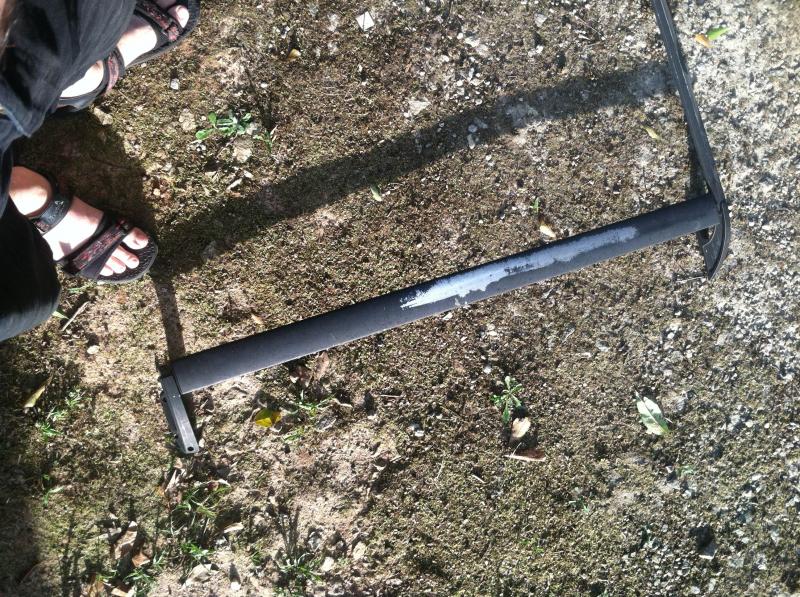
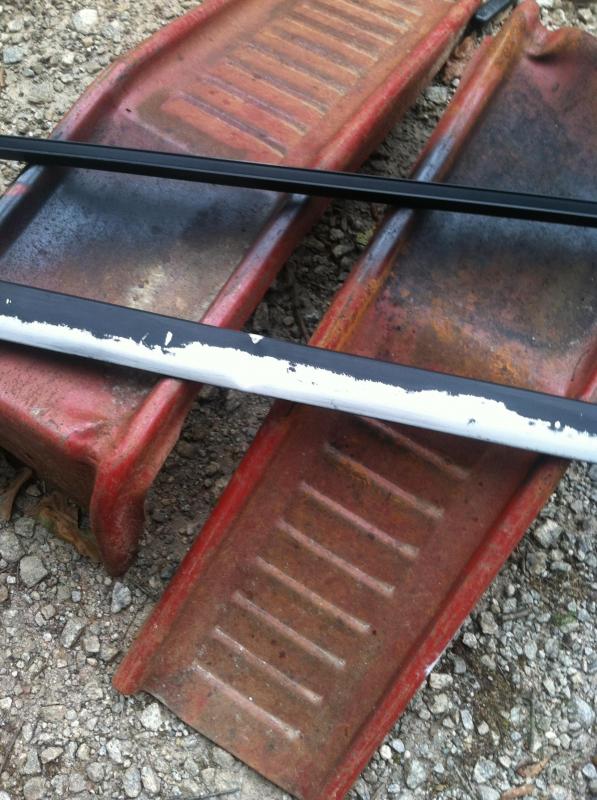
2.) Restore/repaint all black trim/trim pieces. I have already started restoring the factory roof rack, but once again, I've ran out of paint. I'll be repainting everything satin black, like it was originally. I'm including in this bumpers, side trim, the window surrounds, everything.
3.) Lower the car (as previously mentioned). I've got my struts picked out, but I'd like a suggestion on lowering springs. I saw these (Volvo Lowering Spring Set (240 245 260 265 Wagons) - Pro Parts Sweden 43430025 | FCP Euro) but having little experience in the platform, I'd like a little insight from others. I don't want to use coilovers, so those are automatically out. Although I would consider putting polyurethane bushings in, opinions on those also appreciated.
4.) Repair front end damage caused by previous owner's wife. He included a new hood and grille, but the radiator support and front valance are damaged. I can get some new ones at the local junkyard for fairly cheap. Just need some verification that they really are just bolt in, as I see no welds.
5.) Custom sound system. The pair of 4" speakers in the front doors are miserable. I've never had a car with less than 5 speakers, I feel confused. So I'll be building custom enclosures for rear 6x9 speakers, and a 10" subwoofer. I'll also be adding four tweeters, a new head unit, etc. I think I'll be upgrading the door speakers to 5 1/4" but I'm not decided on that yet. I've got another plan for the door panels that might change everything, but I'm not dedicated enough to do that one for now so I won't go into detail quite yet.
I think this wall is big enough for now. I'll add some pictures and a little more information later. I've officially been up and working for 25 hours. I'm going to bed.
It needs some stuff to be mechanically sound, and a LOT of stuff to be pretty. So far, I've done: Oil change, spark plugs, plug wires, cap, rotor, ignition coil, new front wipers, new right side tail light, installed center console and shifter bezel.
I have parts/supplies to change the transmission fluid, thermostat, and outer tie rod ends.
Mechanically, the car functions well. but there are a few issues I'd like to resolve. Firstly, the power steering. I actually enjoy driving the car without power steering, so I'd like to fully delete it. Looking through the electronic catalog at work, the system lists an option for a non-power rack. Some insight as to where I could source one of those or what years they were available in would be awesome. The pump itself isn't hugely expensive (about $50) but for some reason part of why I absolutely love this car is that throwing it around corners takes some muscle. It's tons of fun to drive and I want to enjoy the car as much as I can. I may change my mind on this one, as I really enjoy my other cars with power steering, and this thing is a nightmare to navigate parking lots with, but I'm still up in the air.
Secondly, my rear right brake light doesn't work. The bulb is good, the wires are connected correctly, the contacts from the socket to the lamp housing are clean and connecting fully, but that brake light just won't work. It lights up just fine, so I'm assuming it's in the wiring.
Third, AIR CONDITIONING. I know it's not a necessity, and I know that most people who are going to delete power steering are going to delete this as well, but I live in the deep south, and 100 degree 100% humidity (without actually raining) days are fairly common during the hot months. It's a little beyond unbearable. As of right now I'm not sure if the compressor works or not, Because when I bought the car, I noticed that the compressor was jiggling (bolt was loose) and the PS pump was spraying liquid everywhere, so I just pulled the belts. I also need to know the correct order the pins on the back of the A/C **** go in (the one next to the seatbelt light) because it was unplugged and I couldn't see a special way it connects.
Fourth, cruise control, high beams, my odometer, coolant temperature gauge, and I suspect the fuel gauge, all don't work. I haven't been down at the fuse box to test those yet, but I have a feeling that as far as the cluster is concerned, the old parts are likely worn out and broken. I know the odometer is repairable for $30 (Volvo 240 Odometer Repair Kit IPD 109981 13200) but I'd like to be able to be sure everything is fully accurate. If someone has a known good working cluster for sale, I'd be interested in that. Or suggestions as to how to retrofit the old cluster for new gauges. I've purchased an aftermarket temp gauge (for the sake of safety of the engine, the coolant temp gauge just bounces up and down as I drive) but the temperature sensor is too long and doesn't stay in a straight line when you install it. I'm looking for a bushing for that, as we speak actually.
The shifter bezel light doesn't work, I'm going to replace the bulb and see if that doesn't work. If not I'm converting it to LED.
My passenger front window is separated from the metal scissor frame that supports it. I don't quite understand how to make it work. I thought about laying some 3M windo-weld in the bottom. Thoughts?
I'm also currently in the process of repairing the driver side door handles, and then I'll be doing the passenger side. I need to get a rivet gun first though.
I need to order new struts, lowering springs, a driver side tail light, and brake pads to have a fully functioning, well conditioned vehicle.
Future plans:
1.) Plastidip two-tone (the top of the car's clearcoat is absolutely horrible), white dip above the side trim piece line. This is actually in progress (I've done the roof) but I've ran out of cans already. I don't think the roof has ever been washed, so it already looks to be a massive improvement.
2.) Restore/repaint all black trim/trim pieces. I have already started restoring the factory roof rack, but once again, I've ran out of paint. I'll be repainting everything satin black, like it was originally. I'm including in this bumpers, side trim, the window surrounds, everything.
3.) Lower the car (as previously mentioned). I've got my struts picked out, but I'd like a suggestion on lowering springs. I saw these (Volvo Lowering Spring Set (240 245 260 265 Wagons) - Pro Parts Sweden 43430025 | FCP Euro) but having little experience in the platform, I'd like a little insight from others. I don't want to use coilovers, so those are automatically out. Although I would consider putting polyurethane bushings in, opinions on those also appreciated.
4.) Repair front end damage caused by previous owner's wife. He included a new hood and grille, but the radiator support and front valance are damaged. I can get some new ones at the local junkyard for fairly cheap. Just need some verification that they really are just bolt in, as I see no welds.
5.) Custom sound system. The pair of 4" speakers in the front doors are miserable. I've never had a car with less than 5 speakers, I feel confused. So I'll be building custom enclosures for rear 6x9 speakers, and a 10" subwoofer. I'll also be adding four tweeters, a new head unit, etc. I think I'll be upgrading the door speakers to 5 1/4" but I'm not decided on that yet. I've got another plan for the door panels that might change everything, but I'm not dedicated enough to do that one for now so I won't go into detail quite yet.
I think this wall is big enough for now. I'll add some pictures and a little more information later. I've officially been up and working for 25 hours. I'm going to bed.
Thread Starter
|
Senior Member
Joined: Jul 2014
Posts: 126
Likes: 0
From: Anderson, SC
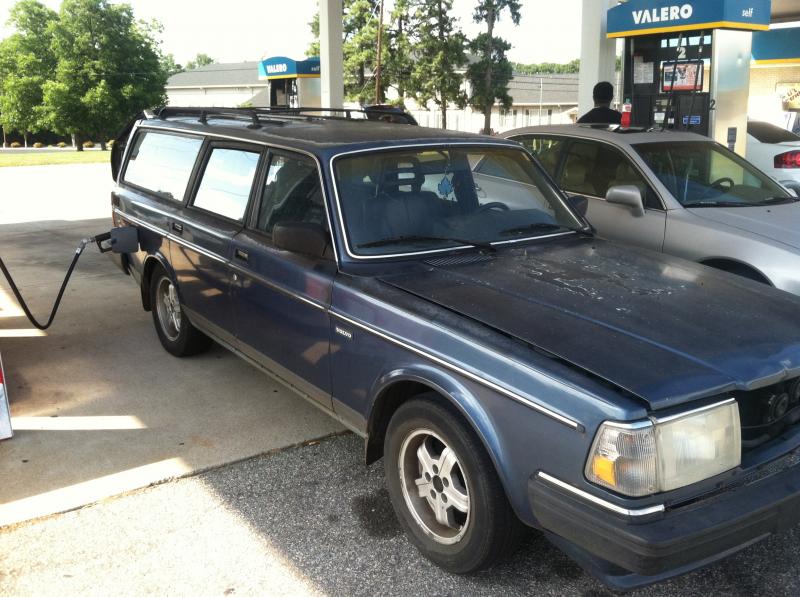
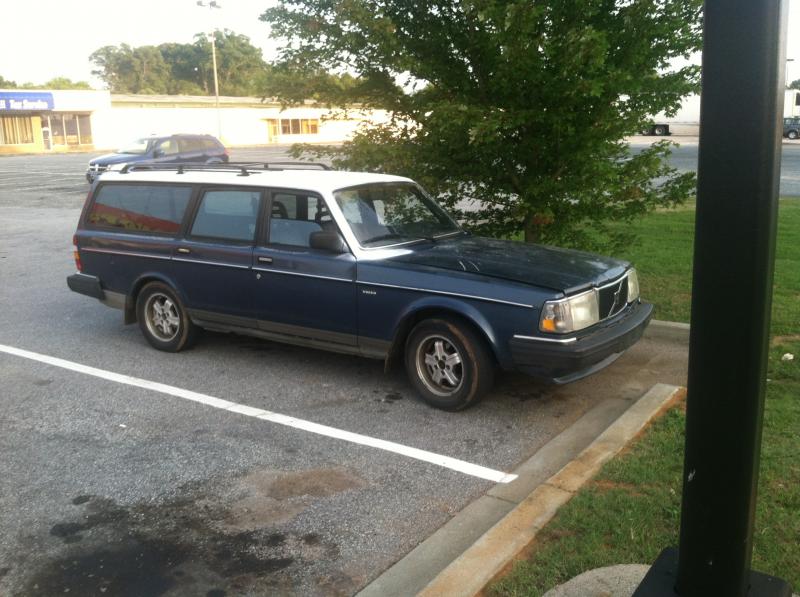
Okay, so it's time for some pictures. I don't know if it's been mentioned before, but I found the car on Craigslist for $600. Came with a second hood and a grille, and a bunch of miscellaneous parts that weren't installed (center console, for example). Ran great on the drive home.
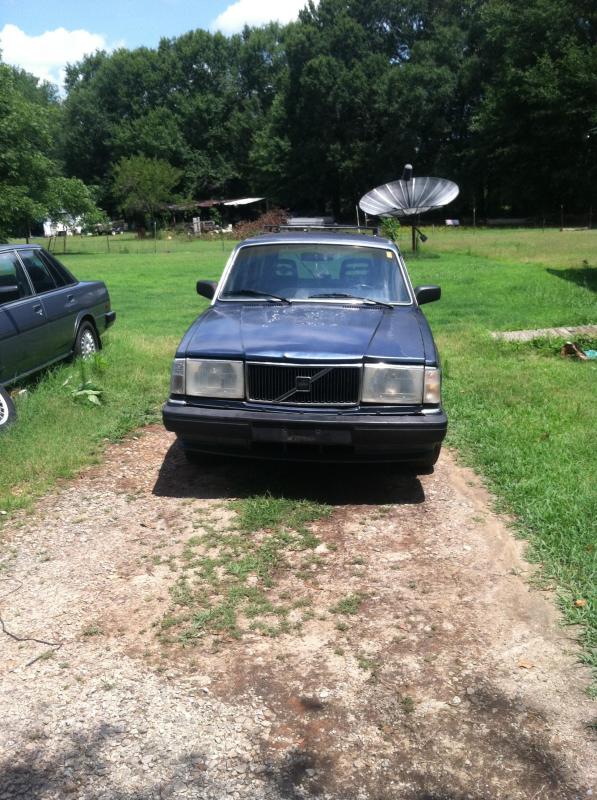
Day one pictures:
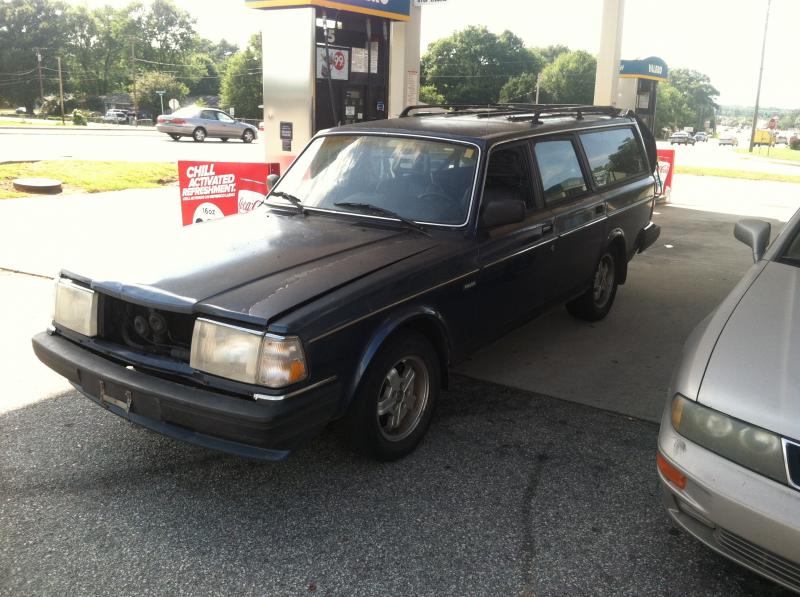
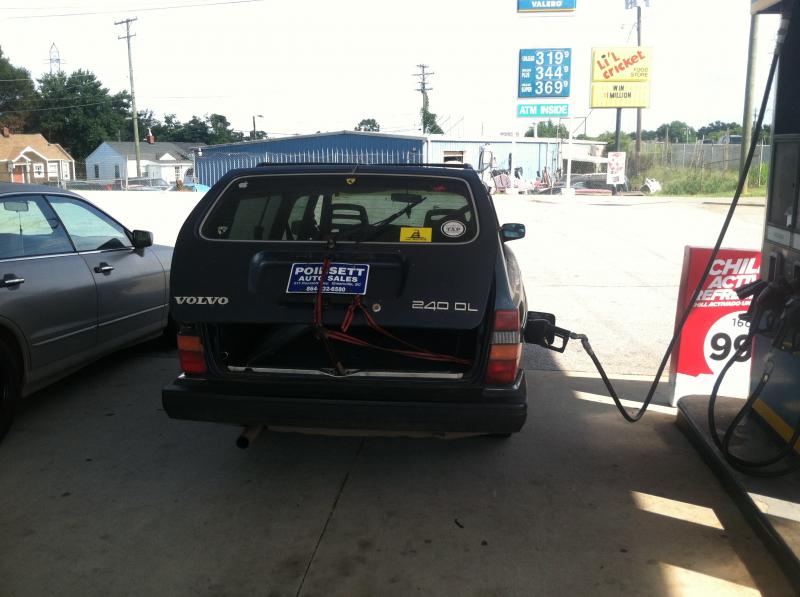
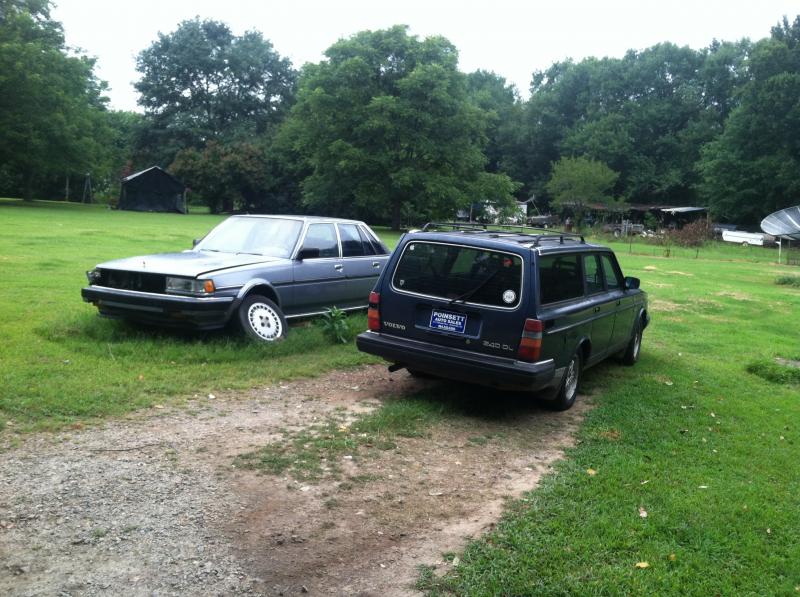
Day two, grille is in.

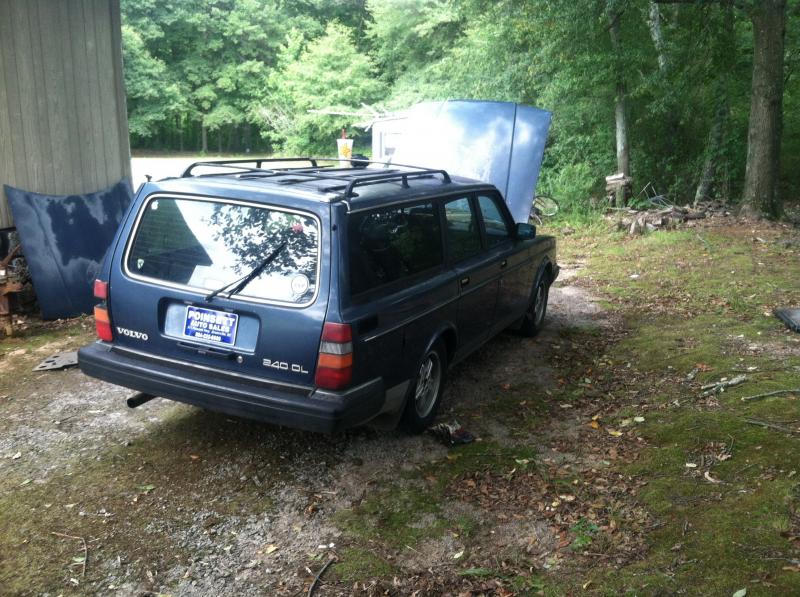
Don't mind Cressy in the background, she's waiting on parts.
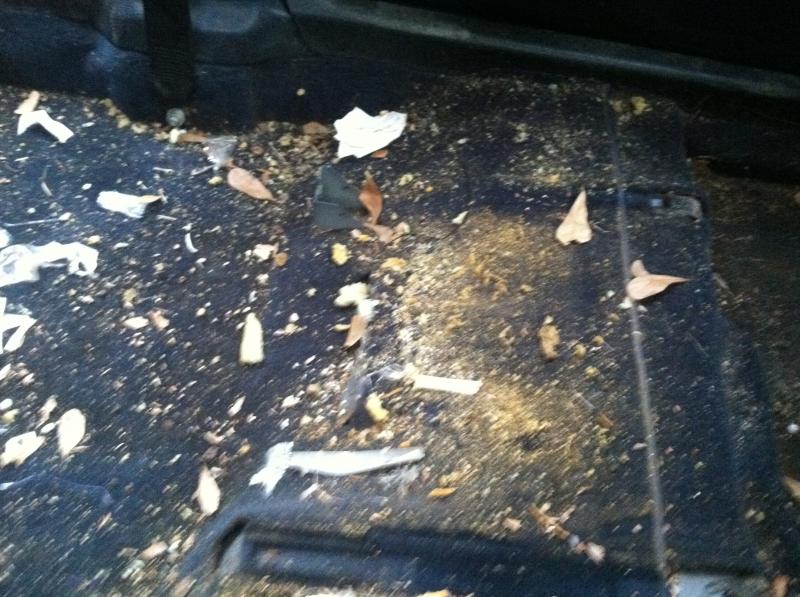
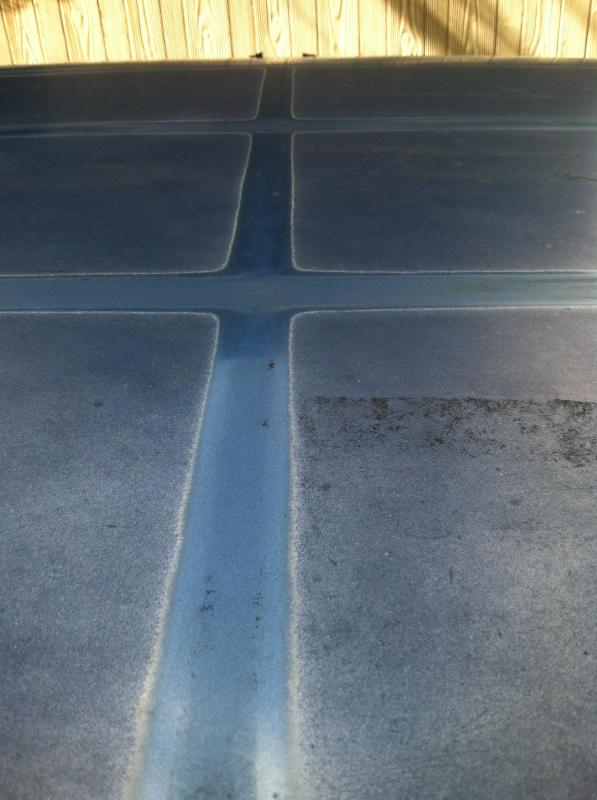
Floor was disgusting when I got it. So cleaned her up.
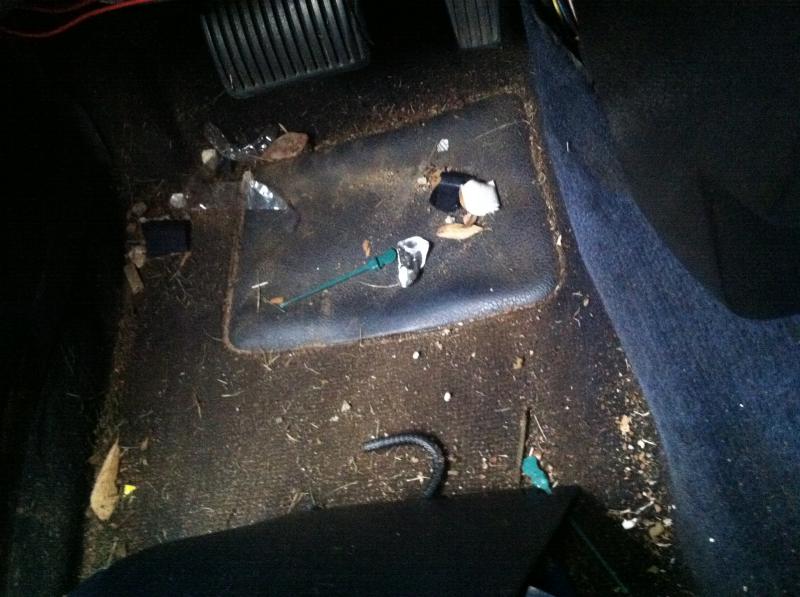
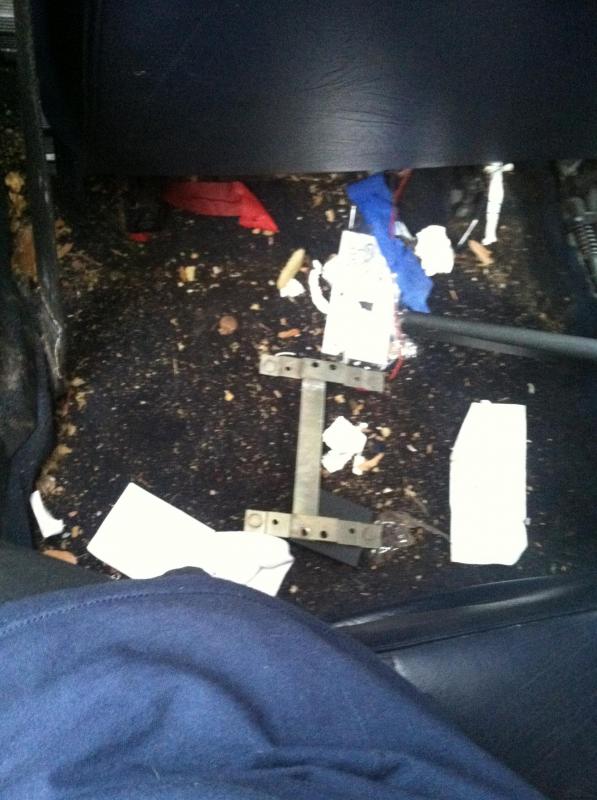
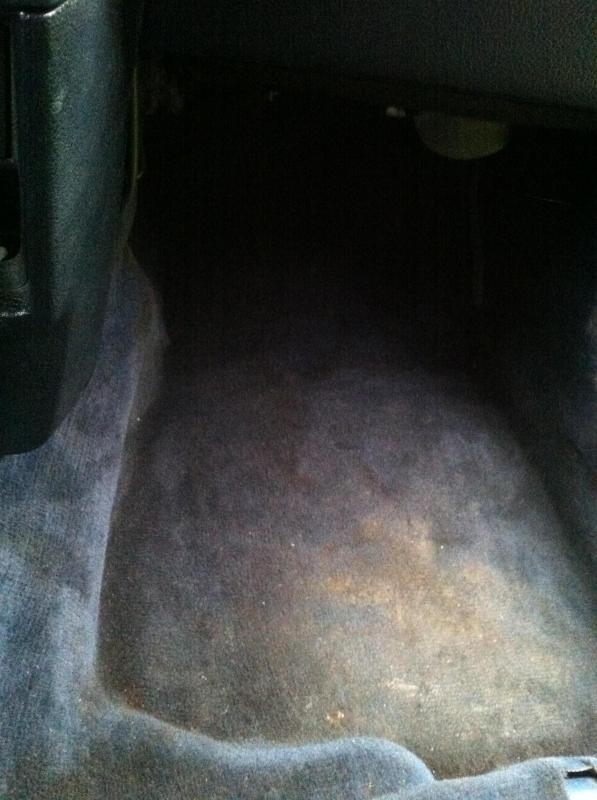
After:
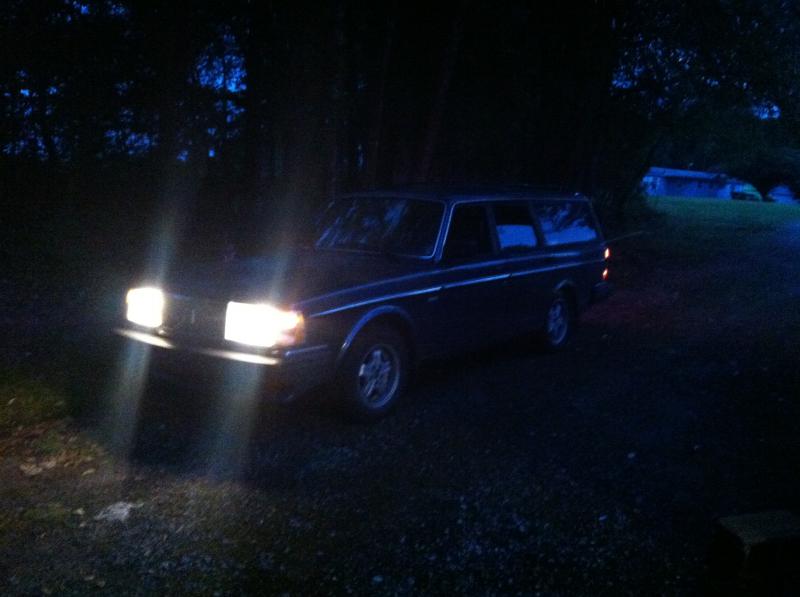
Obligatory night shot.
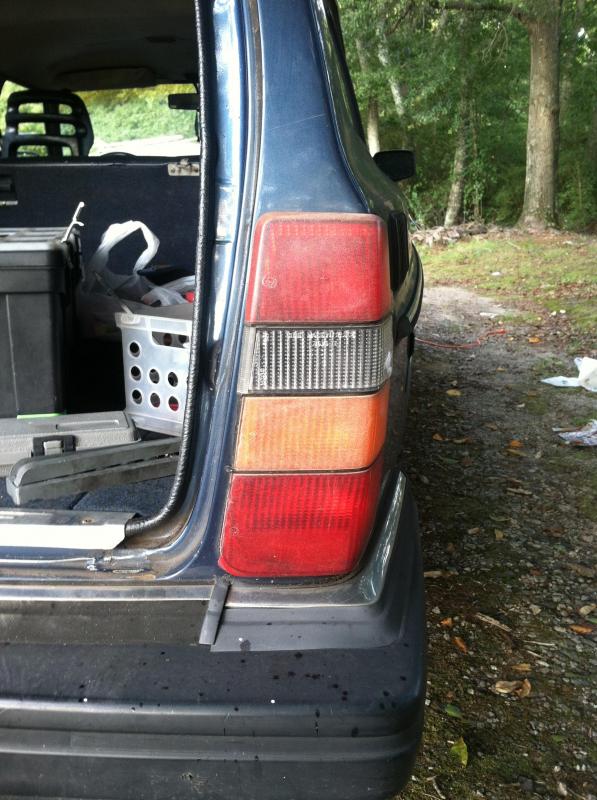
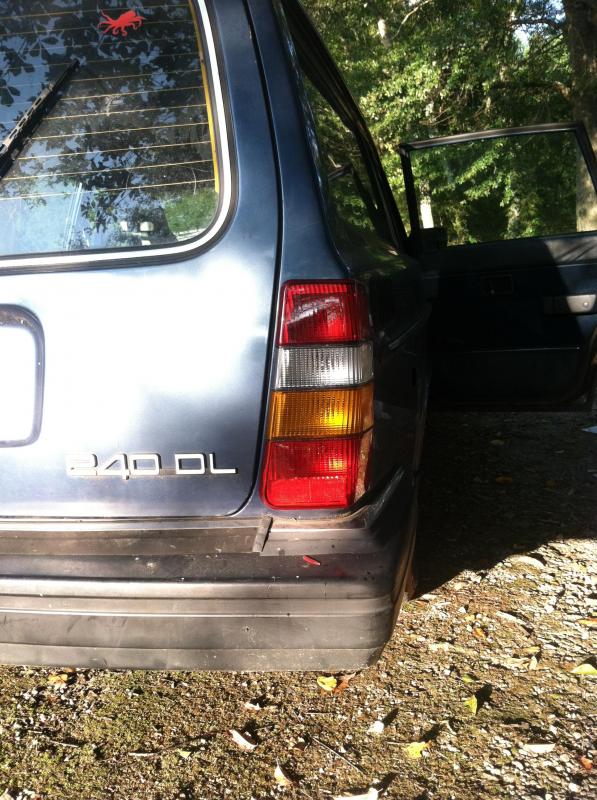
Some before and after of the tail light. Seller is autolampsplus on eBay.
Roof rack clean-up progress.
Day one pictures:


Day two, grille is in.


Don't mind Cressy in the background, she's waiting on parts.

Floor was disgusting when I got it. So cleaned her up.


After:

Obligatory night shot.

Some before and after of the tail light. Seller is autolampsplus on eBay.


Roof rack clean-up progress.


Thread Starter
|
Senior Member
Joined: Jul 2014
Posts: 126
Likes: 0
From: Anderson, SC
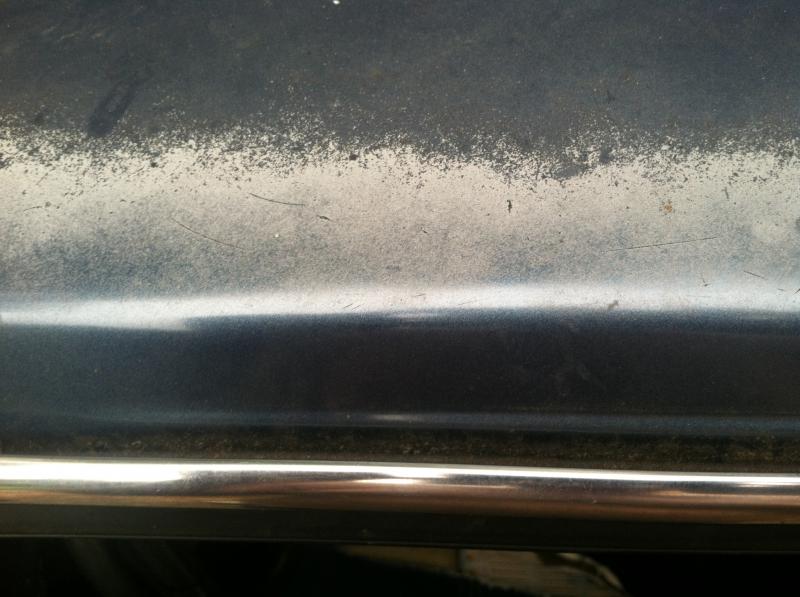
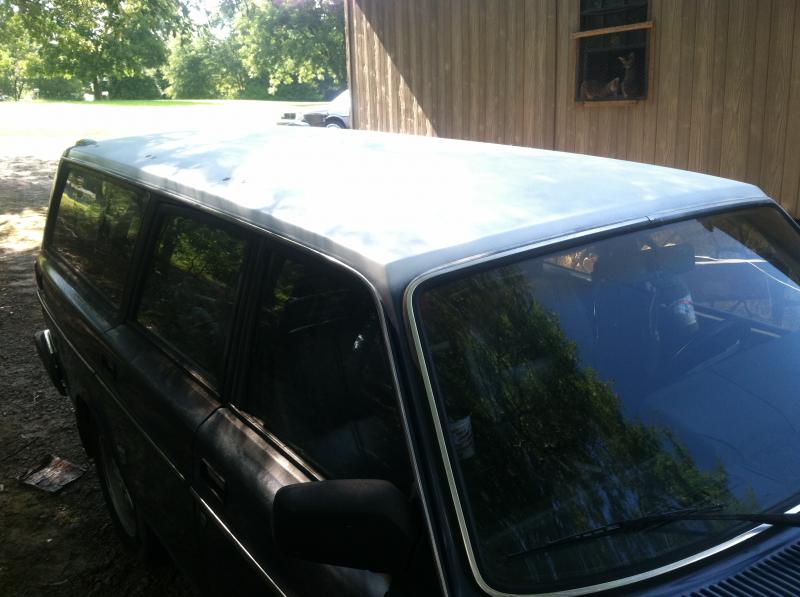
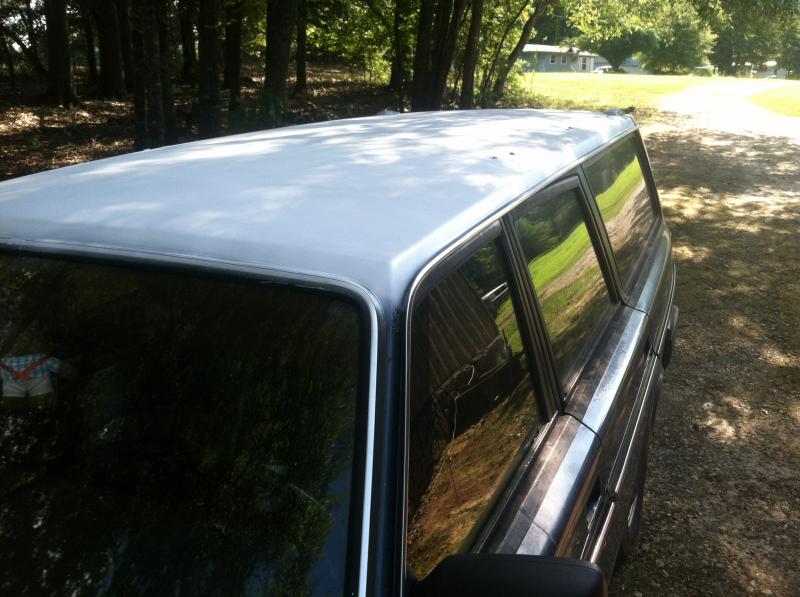
Great view of what can happen to a car over 25 years if the paint isn't taken care of...
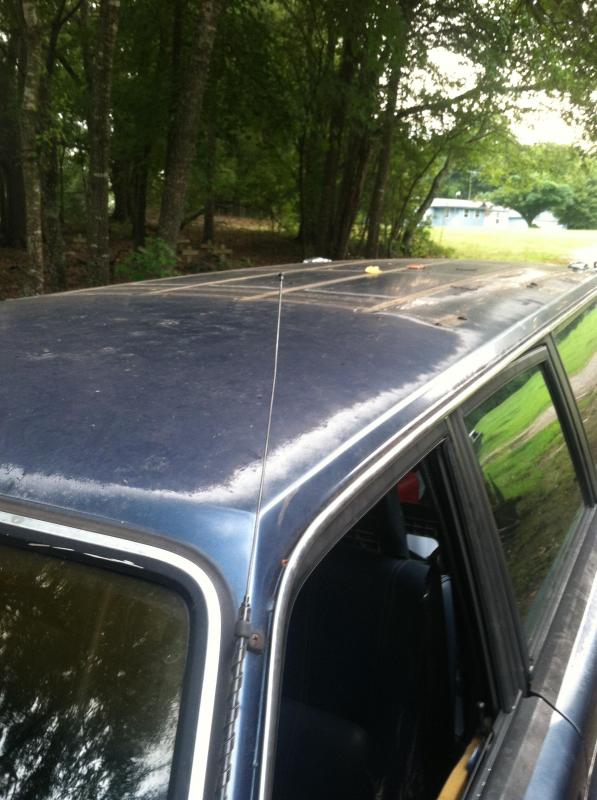
Plasti-dip ALL THE THINGZ!
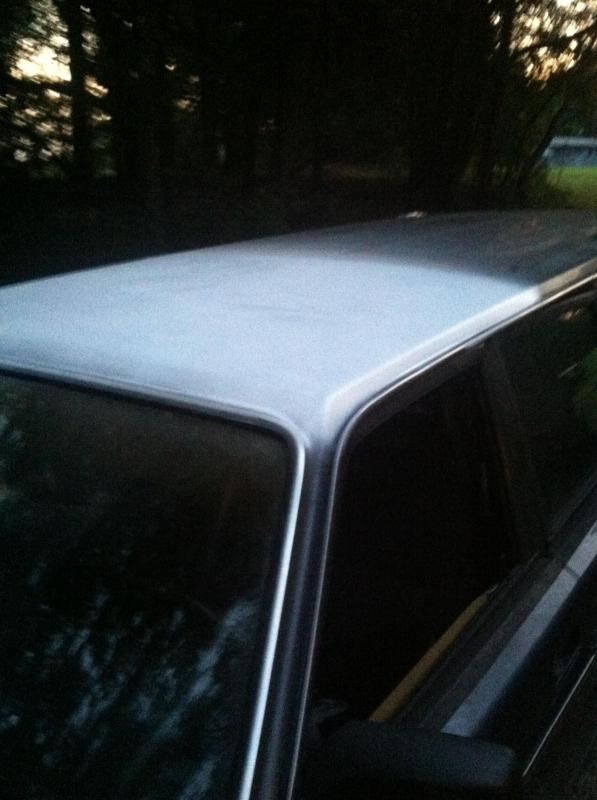
Friend: "Blue, why'd you go with white for the top half?"
Me: "Well, Friend, it gets ridiculously hot, so painting the top half of the car black is a horrible idea because black absorbs heat. White repels heat more effectively, so I thought it would be a good idea."
Friend: "Does it have anything to do with the fact that all you had was white?"
Me: "Yes."


Plasti-dip ALL THE THINGZ!


Friend: "Blue, why'd you go with white for the top half?"
Me: "Well, Friend, it gets ridiculously hot, so painting the top half of the car black is a horrible idea because black absorbs heat. White repels heat more effectively, so I thought it would be a good idea."
Friend: "Does it have anything to do with the fact that all you had was white?"
Me: "Yes."
Thread Starter
|
Senior Member
Joined: Jul 2014
Posts: 126
Likes: 0
From: Anderson, SC
I'm currently hunting a cross-bar piece for one of these roof racks in undamaged condition. By this, I mean one of the large bars that cross between the ends. It doesn't have to have good paint, just no dents. If you have one of these please let me know via PM and give me a price. I'm going to the store today to get more painting supplies, and hopefully get a start on doing more work. It's been raining for the last day and a half, so I haven't been able to do much. Hopefully early next week I'll be able to do my tie rods, and get the wheels cleaned up nicely for a potential paint. Tires are coming up on the "I need this" list so I might not do it until then, and get them powdercoated.

no mo volvo
Joined: Oct 2010
Posts: 11,289
Likes: 109
From: 37 North on the left coast
i don't care how good care you take of the paint, 20 year old clearcoats on dark colors bake in the sun and fail. the only way to keep it looking new is to store the car in a windowless garage and hardly ever bring it outside.


Member
Joined: Jan 2011
Posts: 64
Likes: 1
From: Rifle, colorado
My maroon 89 wagon peeled in the same places.I repainted the hood and roof with base/ clear. Since the rough finish requires sanding,re primer sealing,and sanding again,it was kinda a big job,but I had access to an empty truck shop for a couple of week ends. I went with the clean look,removed the rack, tossed it,and installed the roof plugs from IPD. I was going to try to sell the rack,but it would have been a pain to ship.
Thread Starter
|
Senior Member
Joined: Jul 2014
Posts: 126
Likes: 0
From: Anderson, SC
I love the look with the roof rack. Smooth roof looks sexy as well, but I have a feeling that the white roof/black rack combo will look even better.
I'll also be doing the black window surrounds over again, so the new paint will really pop. I'll be cleaning and polishing the paint below the beltline to bring it back, because it has potential. Next few weeks, I hope.
I'll also be doing the black window surrounds over again, so the new paint will really pop. I'll be cleaning and polishing the paint below the beltline to bring it back, because it has potential. Next few weeks, I hope.

Senior Member
Joined: Jun 2011
Posts: 293
Likes: 0
From: West Virginia
Few comments:
Power vs non-power steering. I was going to do a PS delete. However, I got my hands on another steering rack, and switched it out, and found out that it was kind of nice to be able to maneuver in parking lots again. I had trouble sourcing one for the later years, but quit working on that when I found the PS rack.
AC--I used HC-12, duracool to refill my ac. My adventures can be found here: https://volvoforums.com/forum/volvo-...entures-71258/
Thirdly--Fuses, fuses, fuses. They are a pain in the butt. I highly recommend cleaning them all up with a wire brush, and also cleaning up the terminals on the fusebox side. I will not tell you the countless hours I have spent working on a problem that ended up being a corroded fuse that wasn't blown, just preventing enough current from getting through. Asside form that, looks like fun. Enjoy.
no mo volvo
Joined: Oct 2010
Posts: 11,289
Likes: 109
From: 37 North on the left coast
on a 240, you should replace all the fuses with brass/copper ceramic fuses, as the plastic-n-tin ones sold in american car parts places are junk. I use a pink soft pencil eraser to clean the fuse holder contacts as it will remove oxide without removing the gold plating. 740/940's use modern blade fuses, so they don't have this problem.
Volvo 30 Piece Fuse Kit for 240 & 260 AFTERMARKET 105869 3E1000
Volvo 30 Piece Fuse Kit for 240 & 260 AFTERMARKET 105869 3E1000
Thread Starter
|
Senior Member
Joined: Jul 2014
Posts: 126
Likes: 0
From: Anderson, SC
Few comments:
Power vs non-power steering. I was going to do a PS delete. However, I got my hands on another steering rack, and switched it out, and found out that it was kind of nice to be able to maneuver in parking lots again. I had trouble sourcing one for the later years, but quit working on that when I found the PS rack.
AC--I used HC-12, duracool to refill my ac. My adventures can be found here: https://volvoforums.com/forum/volvo-...entures-71258/
Thirdly--Fuses, fuses, fuses. They are a pain in the butt. I highly recommend cleaning them all up with a wire brush, and also cleaning up the terminals on the fusebox side. I will not tell you the countless hours I have spent working on a problem that ended up being a corroded fuse that wasn't blown, just preventing enough current from getting through. Aside form that, looks like fun. Enjoy.
With the AC, I don't know if the compressor even works. When I was driving the car, I didn't actually try it before the belt came off because of the bracket. I might try to tighten it down tomorrow and see if the compressor even engages. If it does, I'll likely refill it with R-134 as I believe the car has already been converted. If it doesn't have the conversion kit on it, I will definitely be doing the duracool.
The fuse situation might end up going a different route, depending on how your fuse box thread goes. If you can find a good replacement, I might follow your lead and get some updated boxes in there. I'll have a day off tomorrow, so I might actually go out and clean them all up and see what happens. There isn't a cover on the inside fuse box (yes, I know, brilliant on the P.O.'s part), so I'll have to find a diagram for it. Hoping to get my hands on one of those in the future as well. If you know of a blue one for sale please point me in the right direction.
Thanks for the input, hopefully in the next few weeks I'll be able to start really getting stuff done and get this car up to par. This is vacation season for me, so as long as my two getaways are paid for, the lady will be happy and I can throw money forcefully at the Volvo.


Thread Starter
|
Senior Member
Joined: Jul 2014
Posts: 126
Likes: 0
From: Anderson, SC
And don't worry, I'll be cleaning up the overspray. It just takes a little bug & tar remover and a wipe to get it off.
I'll be polishing the metal trim as well, using a turtle wax metal polish.
The black will all be resprayed with the same satin black the rack was done in.
I'll be polishing the metal trim as well, using a turtle wax metal polish.
The black will all be resprayed with the same satin black the rack was done in.
Thread Starter
|
Senior Member
Joined: Jul 2014
Posts: 126
Likes: 0
From: Anderson, SC
Oh, I'm sure. I might do a little reading into it myself. I know I have nowhere near as much experience as anyone else here, but I'm really fantastic at Google. I tend to be able to find anything and everything.
Also, I'm very much loving the white top.
Also, I'm very much loving the white top.


no mo volvo
Joined: Oct 2010
Posts: 11,289
Likes: 109
From: 37 North on the left coast
And don't worry, I'll be cleaning up the overspray. It just takes a little bug & tar remover and a wipe to get it off.
I'll be polishing the metal trim as well, using a turtle wax metal polish.
The black will all be resprayed with the same satin black the rack was done in.
I'll be polishing the metal trim as well, using a turtle wax metal polish.
The black will all be resprayed with the same satin black the rack was done in.
re: the smooth black trim stuff like te racks, you could do a lot worse than to use SEM Black Trim Spray. I've fixed some of my window trim with that and it looks very original and is very durable. on the late 240s, the 2" wide black 'splash' on the doors under the windows is something else, however.
Thread Starter
|
Senior Member
Joined: Jul 2014
Posts: 126
Likes: 0
From: Anderson, SC
I tend to spend a LOT of time reading threads on forums for ideas, so I read really far back into archives.
It's also nice to have a car that's old enough to have a LOT of people that have done things with them to draw on.the longer you leave that white on, the harder it will be to remove it with solvents.
re: the smooth black trim stuff like te racks, you could do a lot worse than to use SEM Black Trim Spray. I've fixed some of my window trim with that and it looks very original and is very durable. on the late 240s, the 2" wide black 'splash' on the doors under the windows is something else, however.
re: the smooth black trim stuff like te racks, you could do a lot worse than to use SEM Black Trim Spray. I've fixed some of my window trim with that and it looks very original and is very durable. on the late 240s, the 2" wide black 'splash' on the doors under the windows is something else, however.
I've used SEM on some other things, but at this I think I'm going to use Krylon Satin Black and Clear. It does really well, and it's what I've used on the roof rack, and I've done a lot of interior things with it as well.
Finally got around to vacuuming the trunk out, and when I did, I found water in the third row well. It has been raining here, but I can't think of where it would be coming from.
no mo volvo
Joined: Oct 2010
Posts: 11,289
Likes: 109
From: 37 North on the left coast
on the 240 sedans, the water running off the roof goes down the channels of the trunk lid, and is dumped right on top of the tail lights. when the plastic gets old and starts to crack, the water seeps into the tail lights, they fill up, then it gets dumped into the trunk when you brake (out the back of the reflector)
I dunno if the wagons do anything like that, tho. there are drain hoses on either side from the sunroof drains
I dunno if the wagons do anything like that, tho. there are drain hoses on either side from the sunroof drains
Thread Starter
|
Senior Member
Joined: Jul 2014
Posts: 126
Likes: 0
From: Anderson, SC
on the 240 sedans, the water running off the roof goes down the channels of the trunk lid, and is dumped right on top of the tail lights. when the plastic gets old and starts to crack, the water seeps into the tail lights, they fill up, then it gets dumped into the trunk when you brake (out the back of the reflector)
I dunno if the wagons do anything like that, tho. there are drain hoses on either side from the sunroof drains
I dunno if the wagons do anything like that, tho. there are drain hoses on either side from the sunroof drains