
Cam cover removal


Thread Starter
|
Member
Joined: Apr 2007
Posts: 41
Likes: 0
Hi Again:
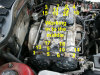
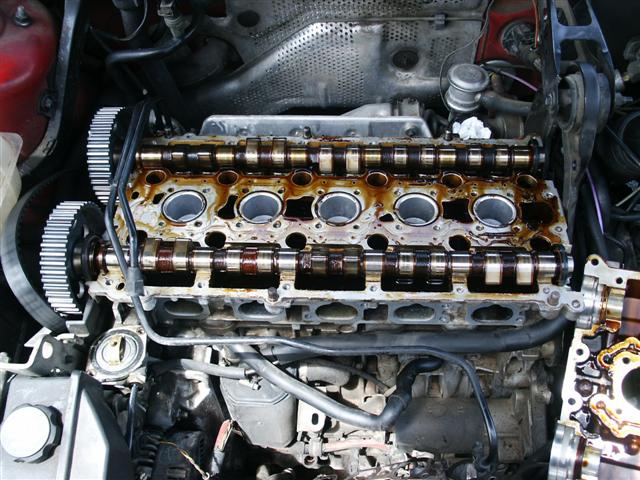
I spent yesterday working on removing the cylinder head.
I have reached the point of removing the cam cover.
I don't have a special tool. Using the proper pry points, I have been working on popping the cover off, with no success.
Or any indication of a success to come.
Any suggestions?
I have looked thru archives, the rubber hammer technique is the only suggestion found so far.
Any help would be appreciated. I would love to get the head off and see just how bad it (and the block) is after the engine overheating.
Thank You!
Pete

Senior Member
Joined: Jul 2020
Posts: 5,113
Likes: 677
From: GA
Yes pry in the correct places and be patient, to not damage anything. Those covers are difficult to get off sometimes. From a tutorial I found -
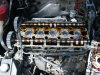
- HURRAH!!! Time to remove the cam cover. It has 40 bolts in it. It's glued down with it's gasket making sealant (anaerobic sealant) and it has those 40 bolts. It was suggested that the bolts be removed in a staggering pattern staring from the outside working in. I don't think it matters since the cover is glued down and has to be pried apart. So I removed them in a staggering pattern. I loosened all of them first, once they were all loose I finished removing them. I loosened 2 on one end and 2 on the other end, matching screws and working my way in to the middle (as suggested). When I started, I loosened all of them about 1/2 turn, all of the bolts in that pattern. Then went back and did another 1/2 turn. By then all of them were loose and I took them out.

- Once all of the bolts are out, find the taps and pry the cam cover off the head. Try to use 2 pry points at a time. I used 2 ratchet extensions.
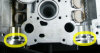
WARNING: DO NOT PRY ON ANY OTHER SECTION OF THE COVER. DO NOT BE TEMPTED TO SLIDE A SCREW DRIVER BETWEEN THE CRACKS ONCE IT STARTS OPENING TO GET IT OPEN FASTER. ONLY PRY THE SEPARATION TABS.
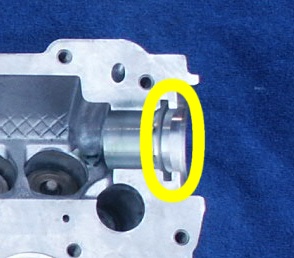
WARNING: When you separate the cam cover, watch the way you take it apart. You should only lift it straight up or hinge it front (grill) to back (windshield) or back (windshield) to front (grill). If you lift the cover off any other way, you will likely damage the cam lip lobe(s) in the cover or head (the cams have lips on the front end that sit in groves in the soft aluminum head. If you open the cover by lifting the rear seal area end up it will cause those lips to cut into the cover and chip/break the groves).


WARNING: Do not damage the head or cam cover when you separate them (by dropping the cover, prying between the surfaces or lifting the cover off on an angle).
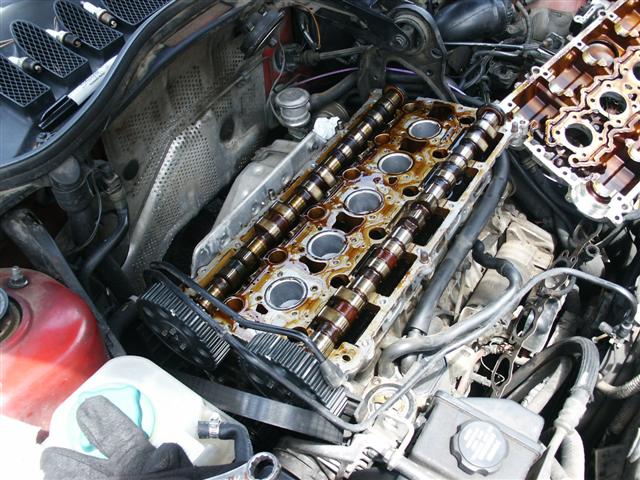
WARNING: When you get the cam cover loose, pay attention as to where the cams are and what they are attached to. I made sure they were NOT stuck to the top but lying on the head. You don't want them to fall and get damaged.


Thread Starter
|
Member
Joined: Apr 2007
Posts: 41
Likes: 0
Hi:
For anyone that is struggling with removal of the cam cover, I did finally get mine removed.
What I used to do it was a slide hammer. I removed screws used to hold the plastic vanity cover (in case I damaged the threads) and secured a self fabricated slide hammer connector. It took quite a few impacts, one screw to the next.
But finally, the cover broke loose.
Pete

Thread
Thread Starter
Forum
Replies
Last Post
awfulwaffle
Volvo 850
14
Nov 9, 2013 11:57 AM