
2.4i oil trap change with pics


Thread Starter
|
Junior Member
Joined: Aug 2012
Posts: 4
Likes: 0
From: Champlain, NY
I recently changed the Oil Trap/PCV on my 2007 V50, which should be the same procedure for the S40 and other 2.4 engines. Overall it was about a three hour job, I took a few brakes along the way.
It isn't necessary to remove the airbox, just move it as far to the drivers side as possible.
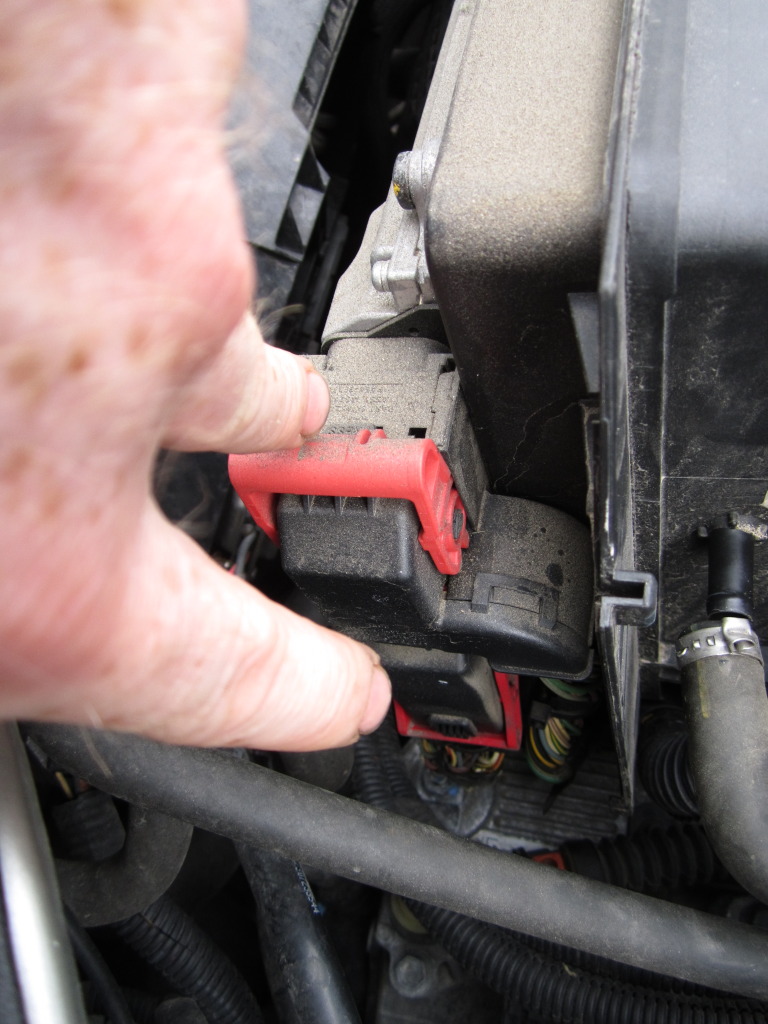
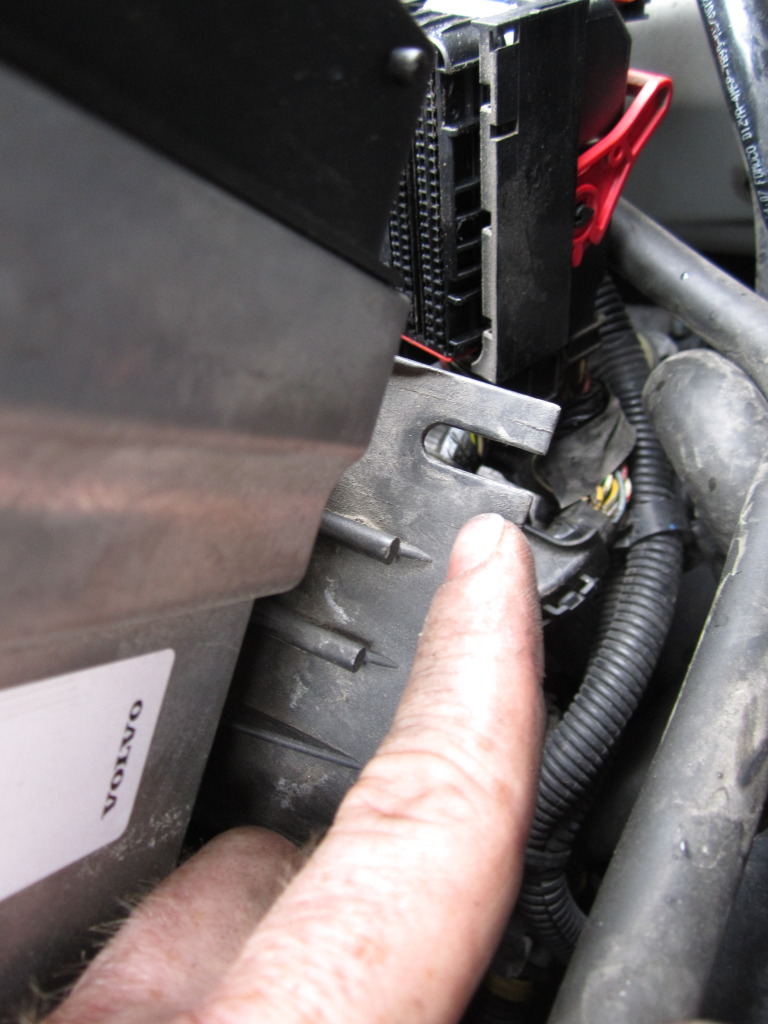
Start by removing the air filter and right side electrical cover (ECM?) to expose the electrical connectors.

Disconnect the latch connectors on the control module, there's a zip-tie further down the harness that needs to come off later.
Disconnect the vacum hose at the side of the airbox.

Disconnect the air intakes on both sides of the airbox.
The airbox is held into place with plastic posts that press into rubber bushings, carefully pull the airbox loose but not all the way out.
With the airbox lifted a bit, remove the wiring bracket (torx fastener) at the right rear of the airbox and remove any zip-ties. The wiring also attaches to the bottom of the airbox via a plastic bracet, this will slide out of it's slot once everything else is loose.
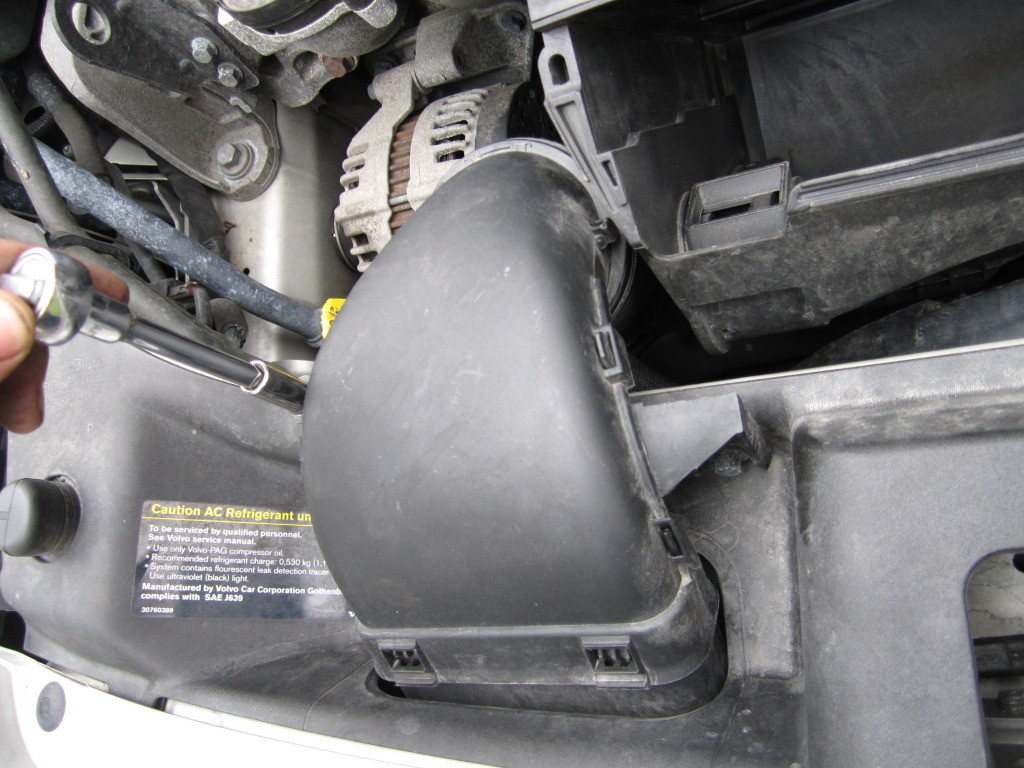
Once the wires and hoses are free, carefully move the airbox as far as possible to the drivers side...it takes finesse.
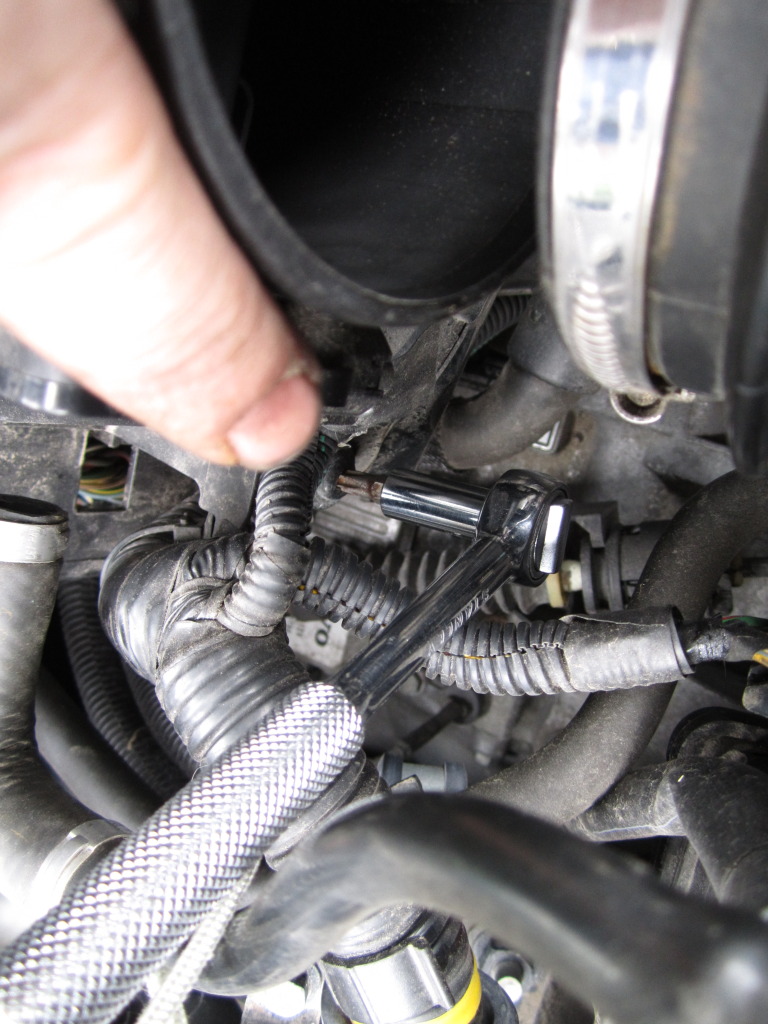
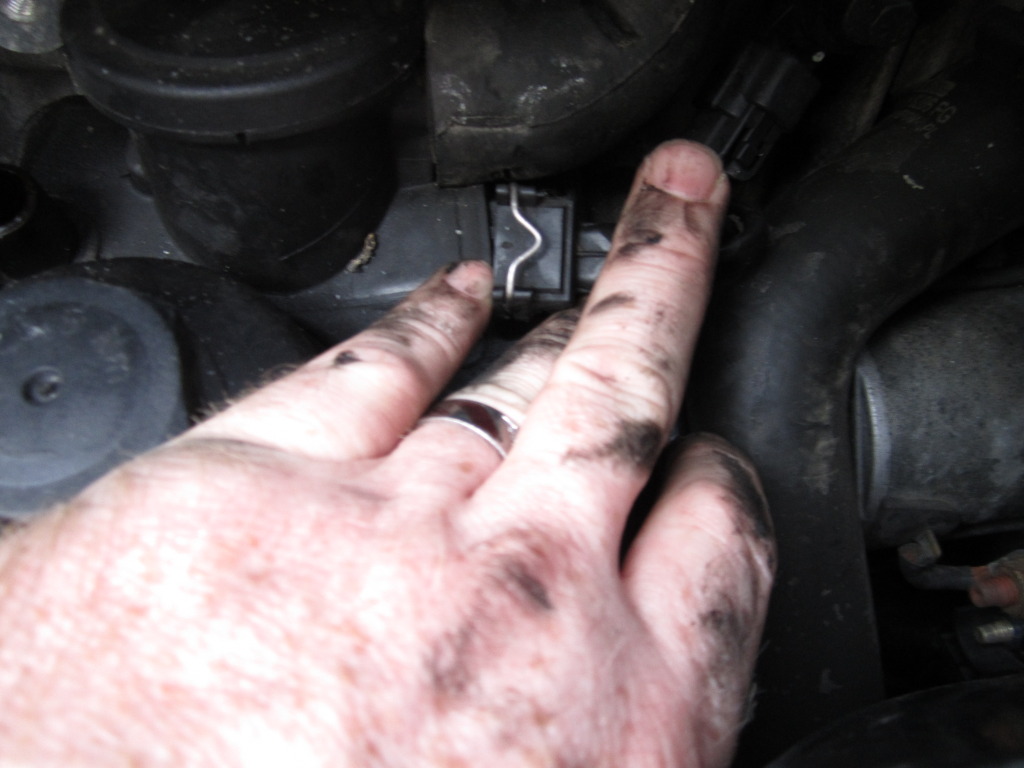
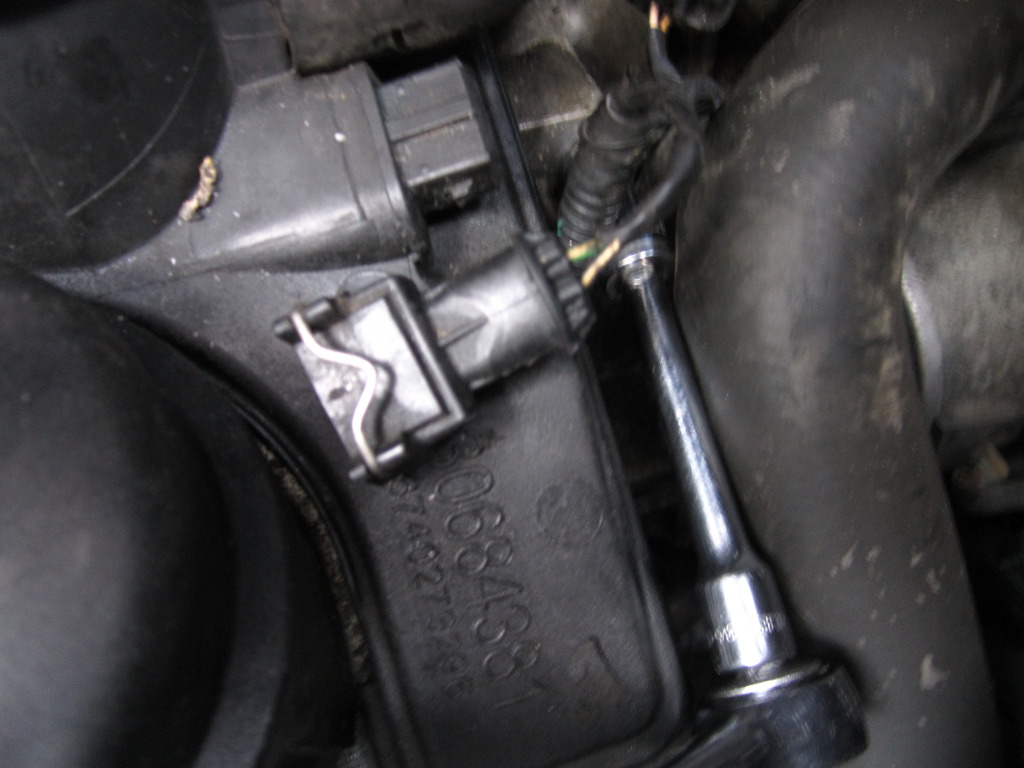
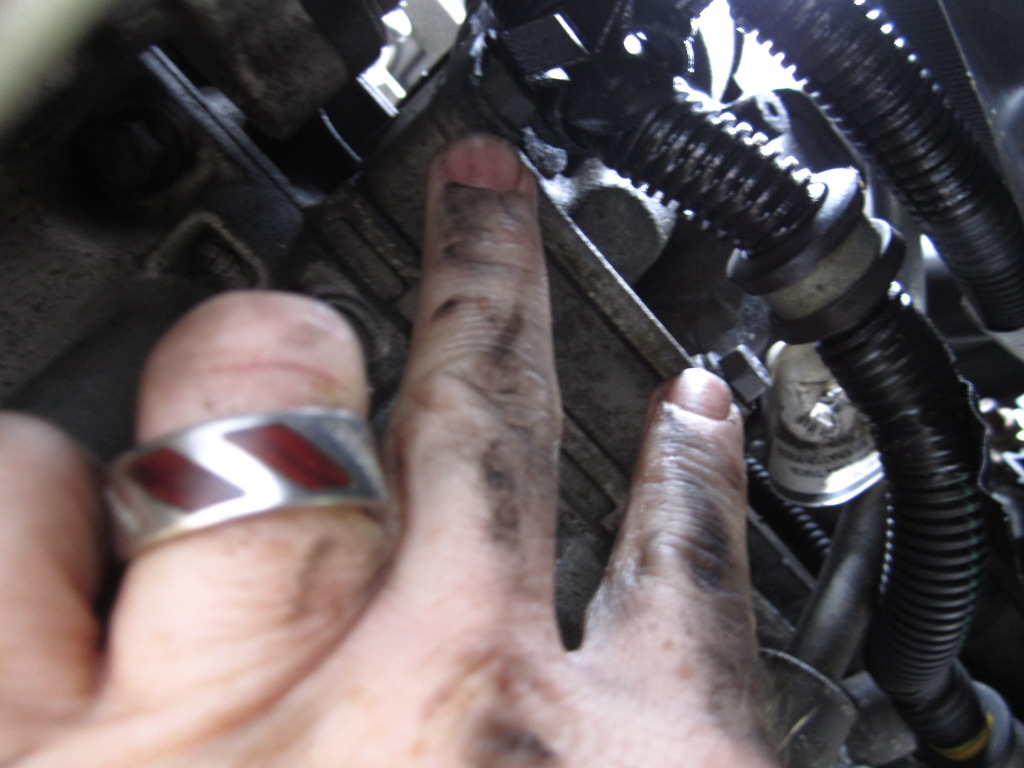
Time to liberate the oil trap. There are two hoses and an electrical connector on top of the trap, remove the electrical connector and the small hose. The large hose comes off later when the trap is loose.
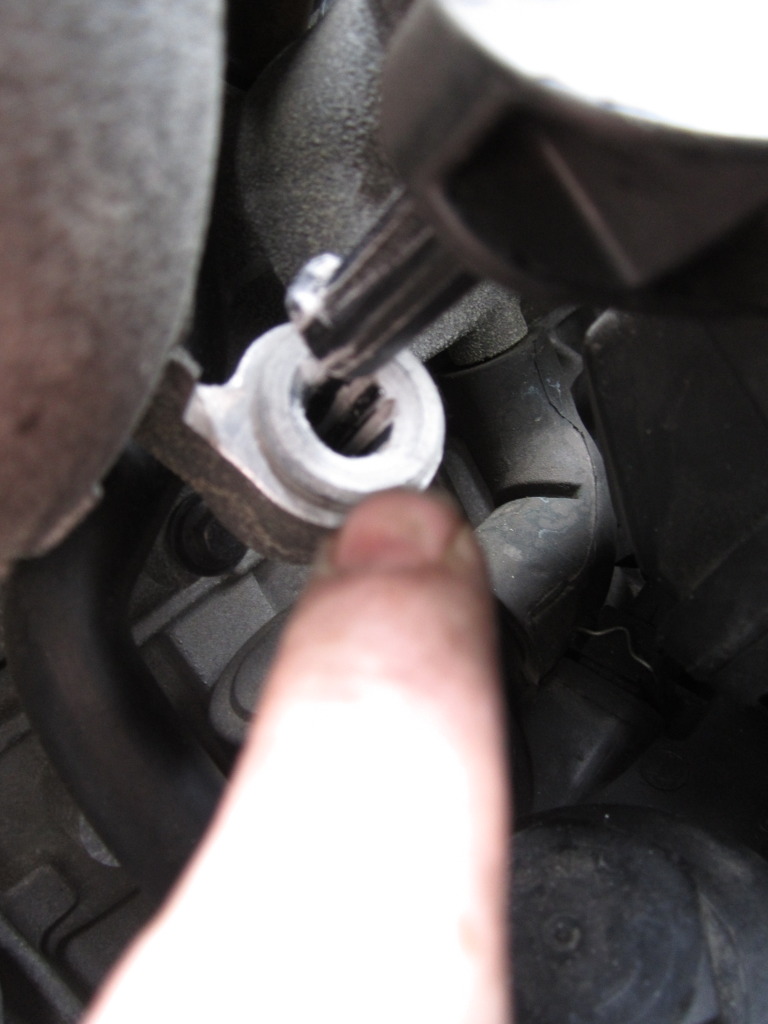
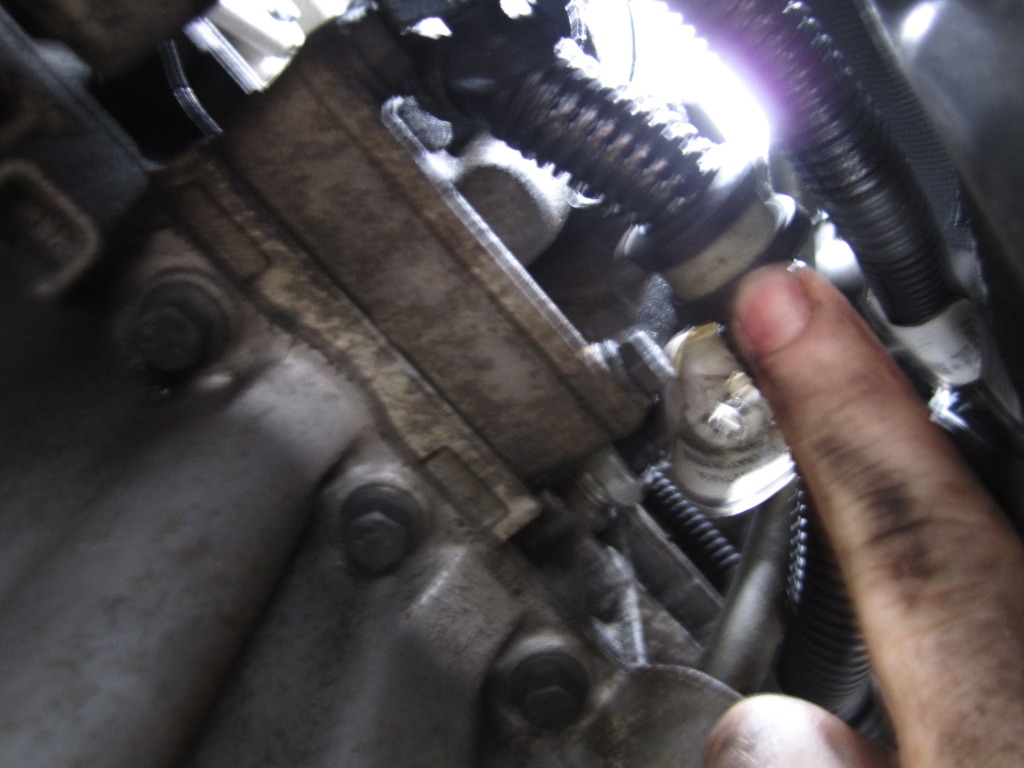
Remove the oil dipstick bracket from the front of the trap, and remove the top mount bolt for the trap (this is the trickiest one to get to, but not bad.)
Remove the skid plate to allow access to the bottom trap bolts and clamps.
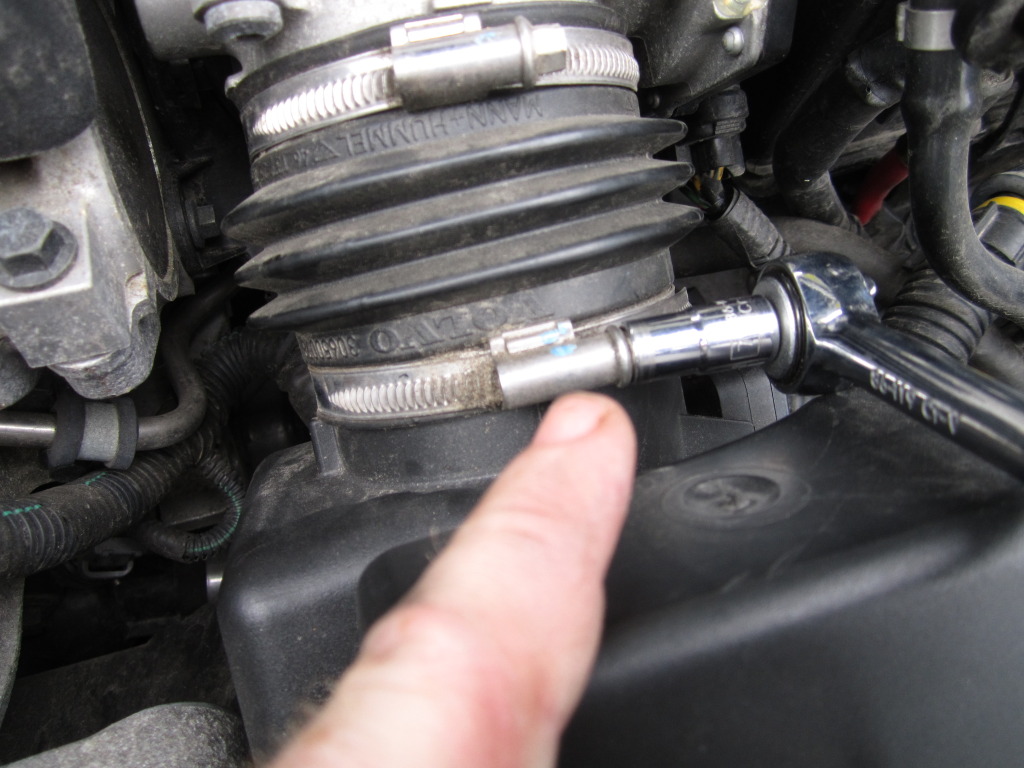
There's a clamp and a zip-tie further up that need to come off.
Remove the three remaining bolts from the oil trap, by now it's free and you may have some oil spillage. Mine didn't lose a drop though.
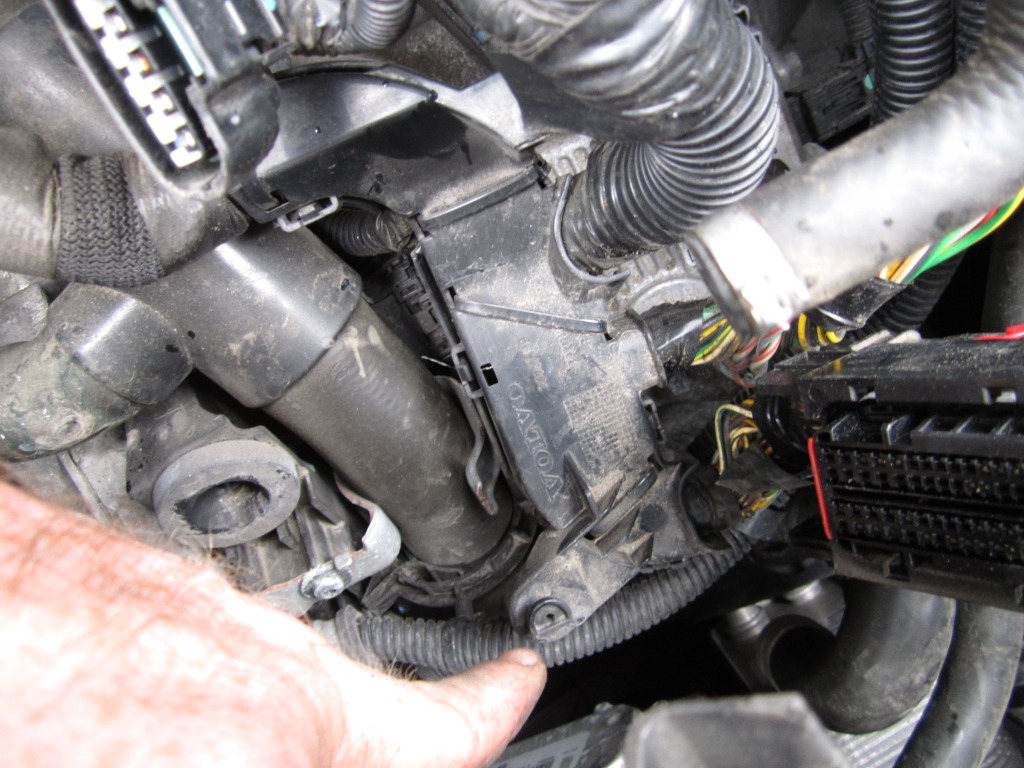
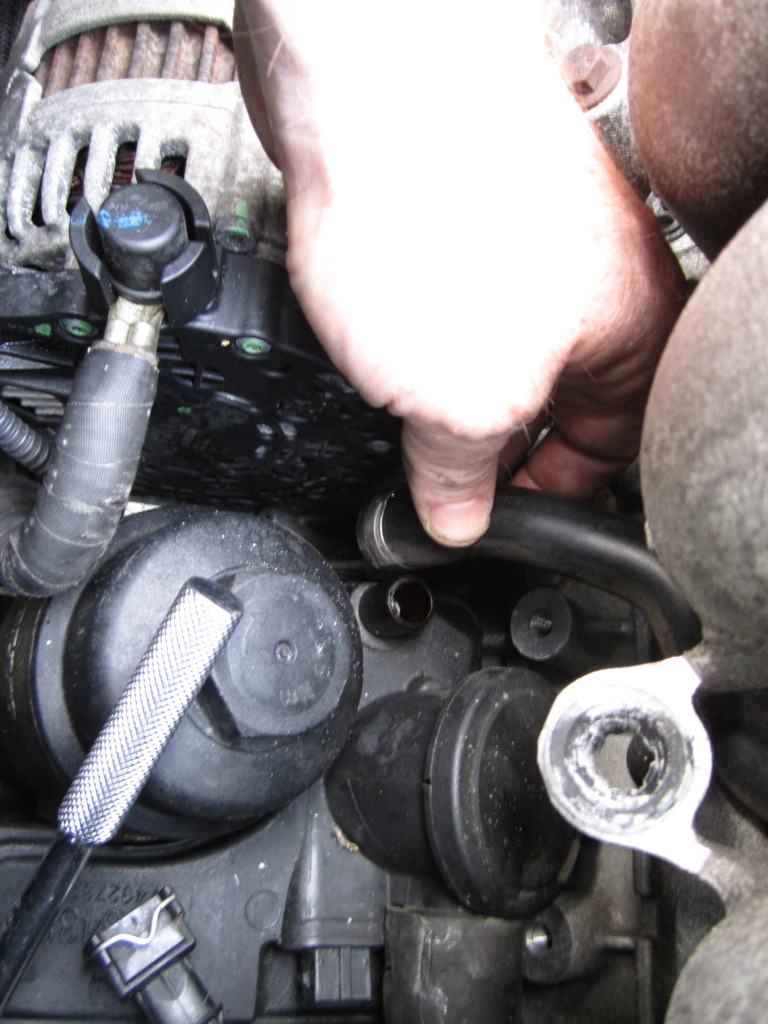
Making sure all wires are clear, pull the trap away and down a bit to remove the larger "S" hose, then carefully work it upward and out. This took me a few minutes and the alternator wire was in the way a bit. Fun fun fun!
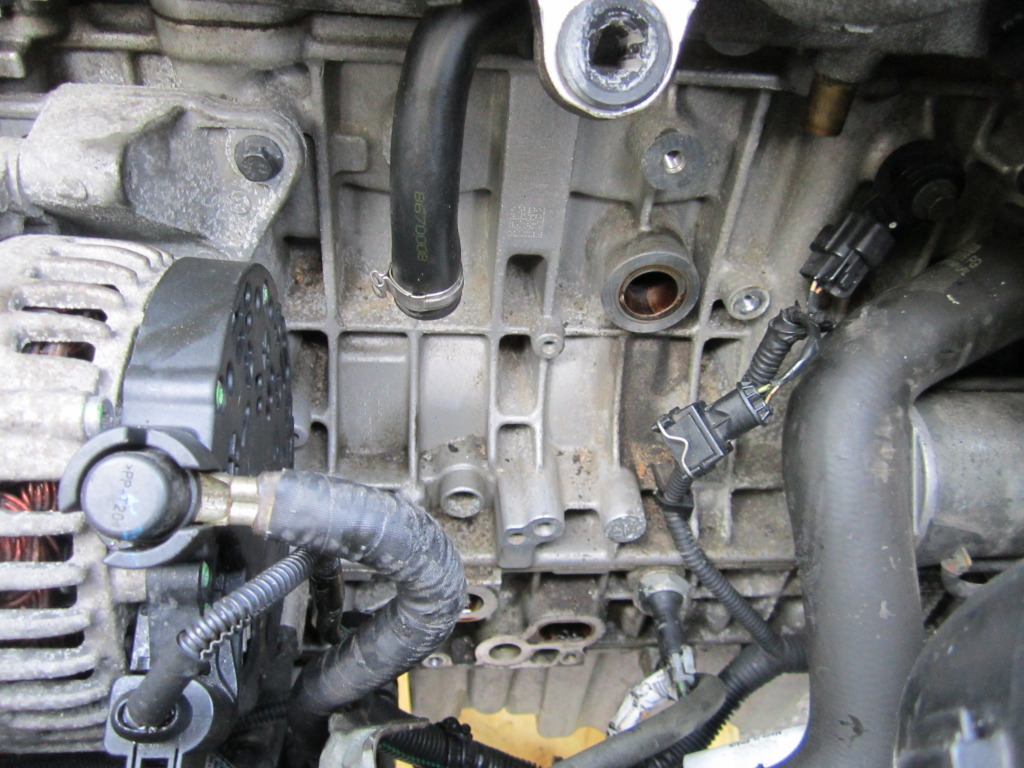
By now you should see something like this. Hooray! Clean the sealing surfaces and install the new trap. Reverse steps, replacing zip-ties along the way.
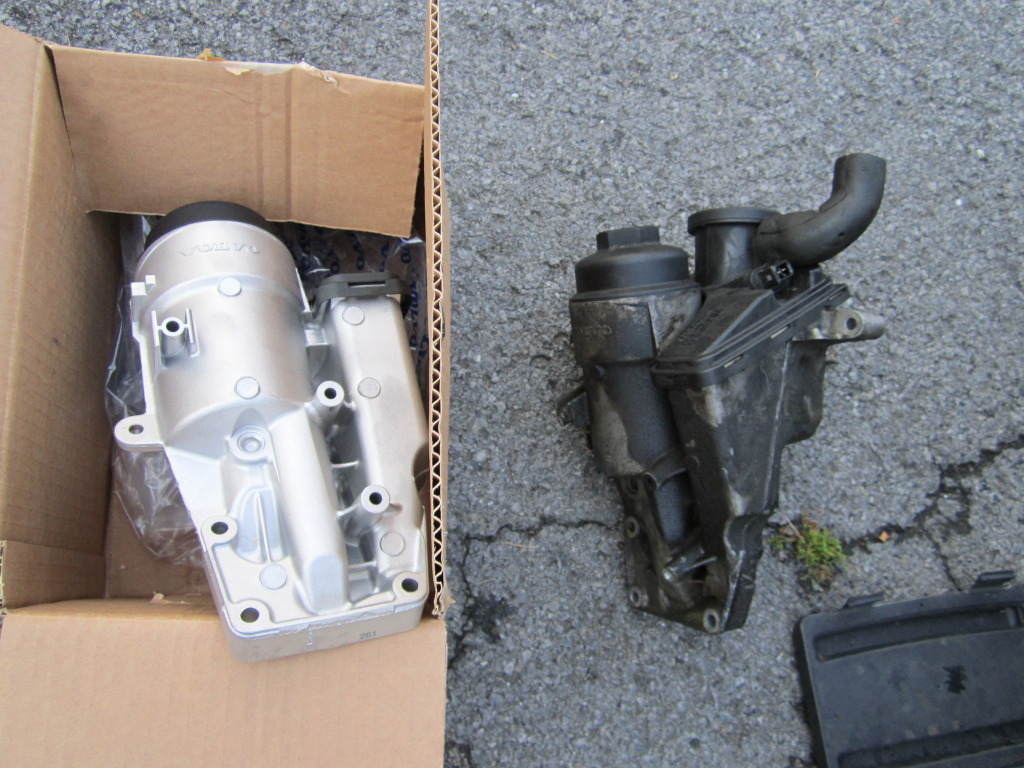
NOTE: The oil dipstick and wiring clamp mount holes are not threaded on the new unit, run the bolts down BEFORE installation to tap new threads ahead of time or you'll be inventing new swear words and may possibly throw something.
I hope someone finds this helpful, I had fun.
Eric
It isn't necessary to remove the airbox, just move it as far to the drivers side as possible.
Start by removing the air filter and right side electrical cover (ECM?) to expose the electrical connectors.
Disconnect the latch connectors on the control module, there's a zip-tie further down the harness that needs to come off later.
Disconnect the vacum hose at the side of the airbox.
Disconnect the air intakes on both sides of the airbox.
The airbox is held into place with plastic posts that press into rubber bushings, carefully pull the airbox loose but not all the way out.
With the airbox lifted a bit, remove the wiring bracket (torx fastener) at the right rear of the airbox and remove any zip-ties. The wiring also attaches to the bottom of the airbox via a plastic bracet, this will slide out of it's slot once everything else is loose.
Once the wires and hoses are free, carefully move the airbox as far as possible to the drivers side...it takes finesse.
Time to liberate the oil trap. There are two hoses and an electrical connector on top of the trap, remove the electrical connector and the small hose. The large hose comes off later when the trap is loose.
Remove the oil dipstick bracket from the front of the trap, and remove the top mount bolt for the trap (this is the trickiest one to get to, but not bad.)
Remove the skid plate to allow access to the bottom trap bolts and clamps.
There's a clamp and a zip-tie further up that need to come off.
Remove the three remaining bolts from the oil trap, by now it's free and you may have some oil spillage. Mine didn't lose a drop though.
Making sure all wires are clear, pull the trap away and down a bit to remove the larger "S" hose, then carefully work it upward and out. This took me a few minutes and the alternator wire was in the way a bit. Fun fun fun!
By now you should see something like this. Hooray! Clean the sealing surfaces and install the new trap. Reverse steps, replacing zip-ties along the way.
NOTE: The oil dipstick and wiring clamp mount holes are not threaded on the new unit, run the bolts down BEFORE installation to tap new threads ahead of time or you'll be inventing new swear words and may possibly throw something.
I hope someone finds this helpful, I had fun.
Eric


Junior Member
Joined: Mar 2012
Posts: 2
Likes: 0
I will be trying this after the kit comes in this week! Definitely have the whistling that stops after removing the dipstick. Did register a code P0171. Tried cleaning up the Mass air flow sensor which may have cleared the code but the whistling remains at idle.

Junior Member
Joined: Mar 2012
Posts: 2
Likes: 0
I ordered the kit from FCP Euro, but only ended up using the housing. Left the hose and intake manifold intact.
https://www.fcpeuro.com/products/vol...0-v50-l5pcvkit
This did clear the whistling and engine code.
https://www.fcpeuro.com/products/vol...0-v50-l5pcvkit
This did clear the whistling and engine code.

Junior Member
Joined: Jun 2024
Posts: 1
Likes: 0
Excellent. My problem is I push the pedal Alloway down on the red light and there is no power to take off, after passing 2,000rpm. The power is crazy. I have released the pedal and the power is poor again, I have to play with the pedal but no code on the pedal or TPS loop is reading well.
Last edited by Wimby; Oct 1, 2024 at 03:25 PM.

Thread
Thread Starter
Forum
Replies
Last Post