
Volvo 240 PlastiDip Tutorial


Thread Starter
|
Junior Member
Joined: Nov 2013
Posts: 19
Likes: 0
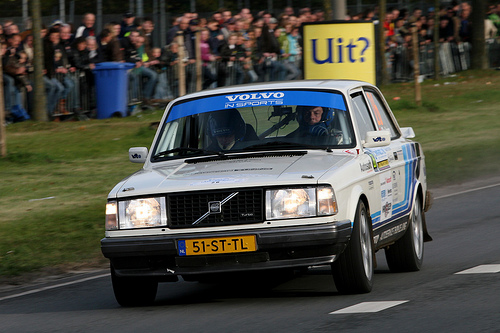
I own a 1989 Volvo 240 DL, and it was bone stock. I wanted to add some more coolness to it, which was hard because its already an awesome car. Basically, I wanted to go for the Volvo 240 racecar/rallycar look, with the black grill and front trim.
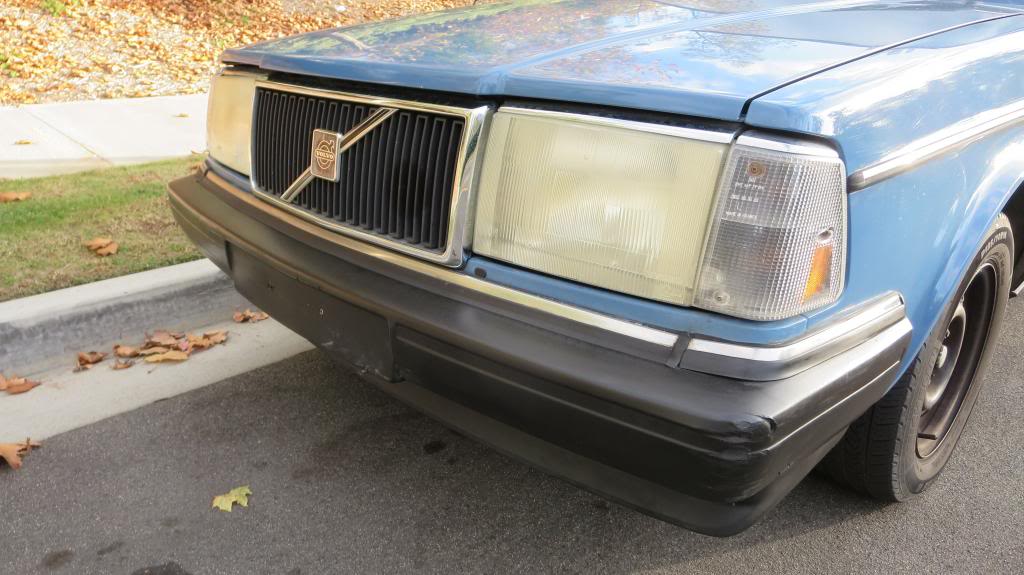
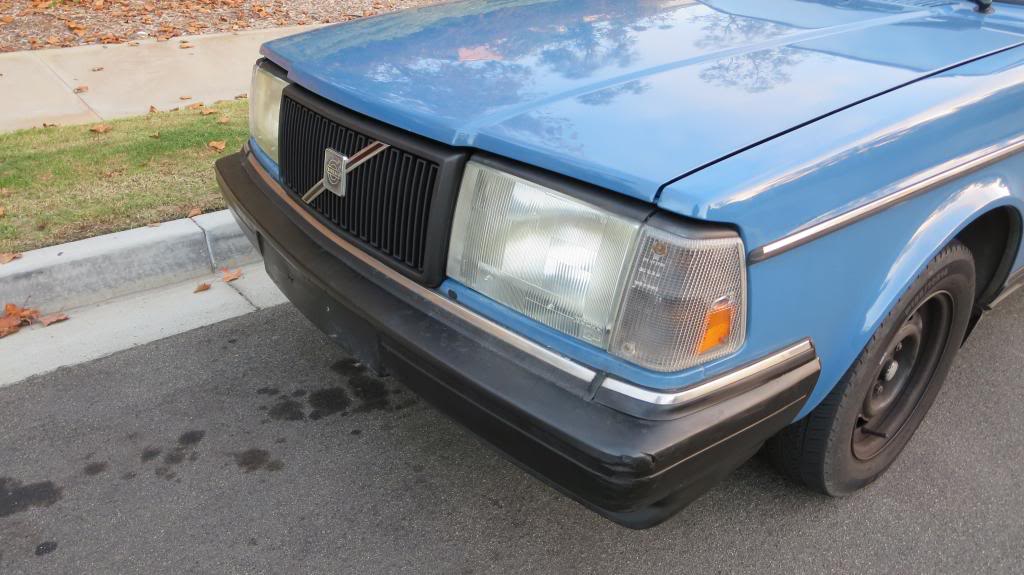
Basically, you will transform your car from this to this:
What you'll need:
10mm socket/ratchet (and extensions depending on your comfort level)
Medium-large screwdriver
11 oz. can of black PlastiDip
Masking tape (optional)
Step 1: Open the hood

Step 2: Removing the grill
The top of the grill will have two rotatable clips.
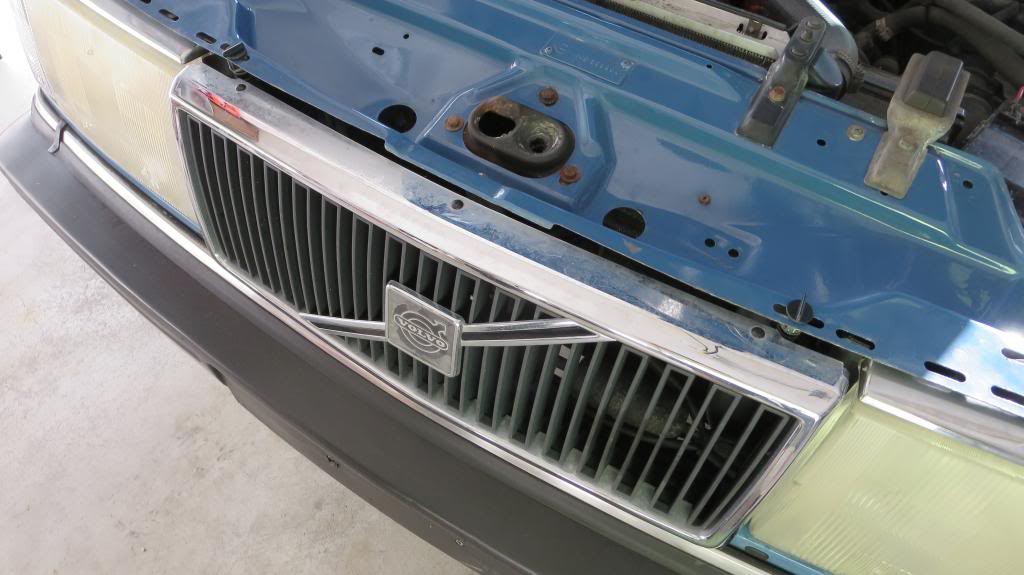
Rotate them until they fit through the metal slots.

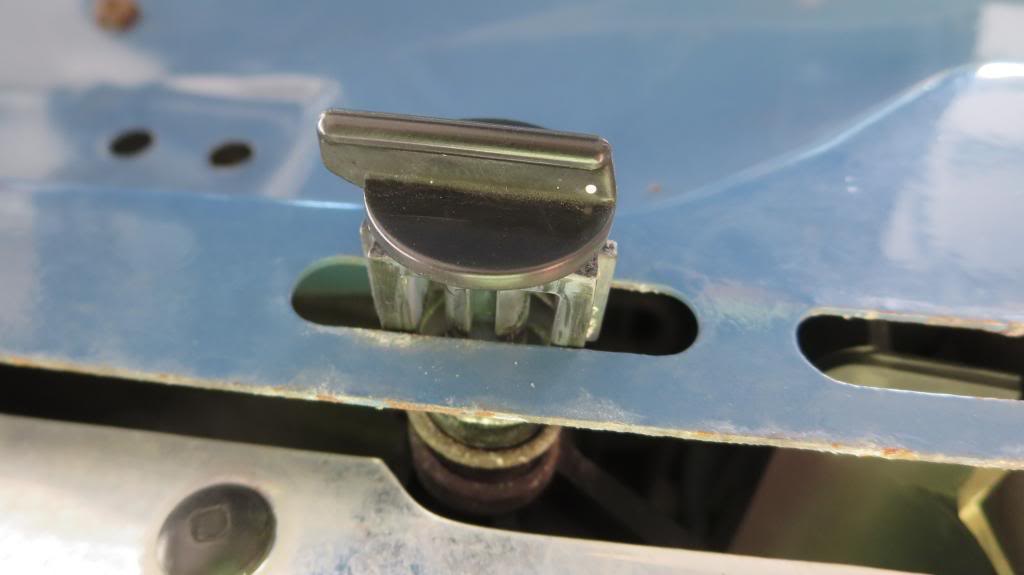
Because they are spring-loaded, they should pop right out. Set them somewhere safe.
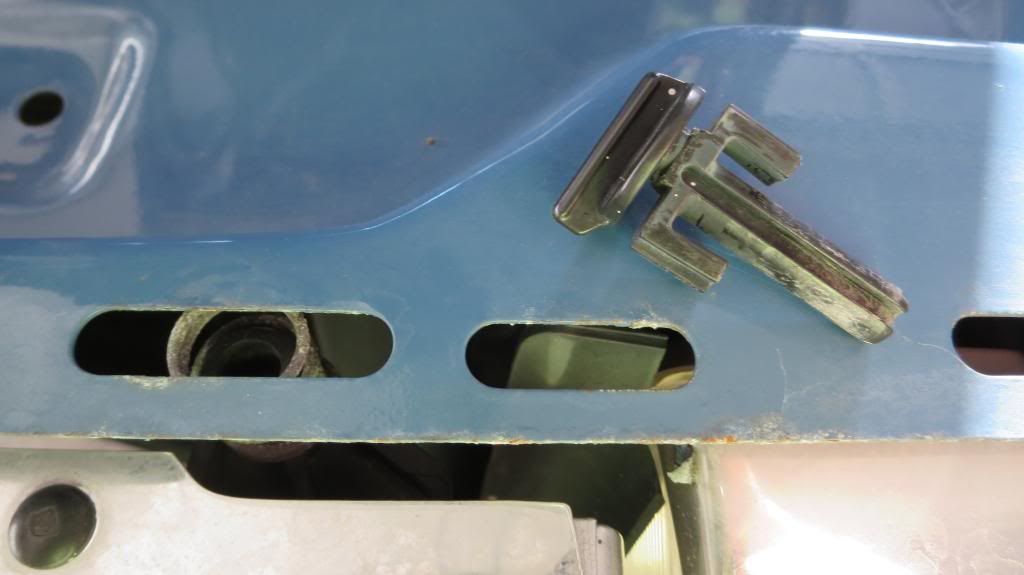
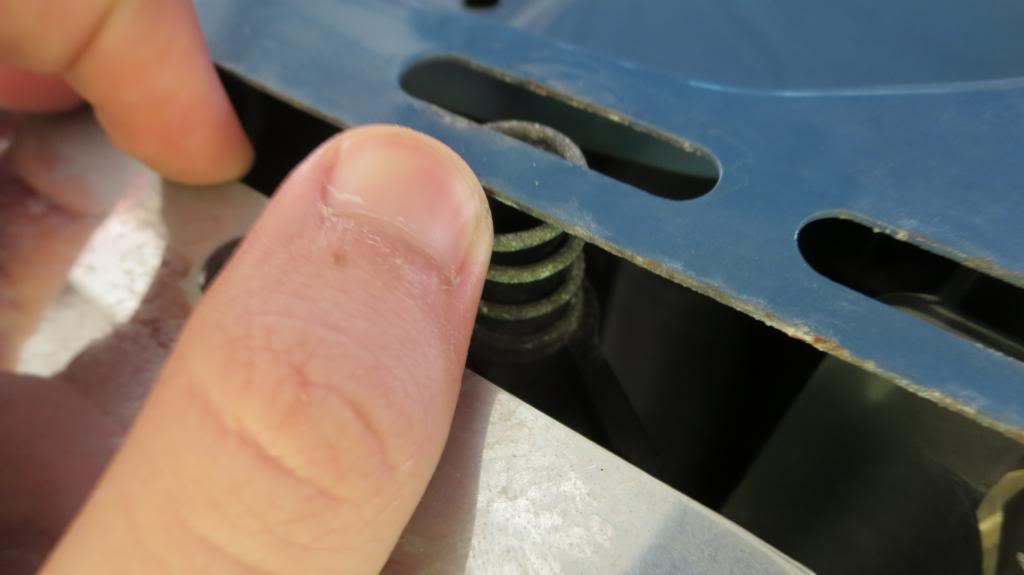
The top of the grill is free, so pull the springs down with your fingers (otherwise it will have resistance coming out) and slowly but carefully pull the top of the grill towards you.
Now just pull the grill upwards and set it somewhere safe.
Step 3: Remove the headlights
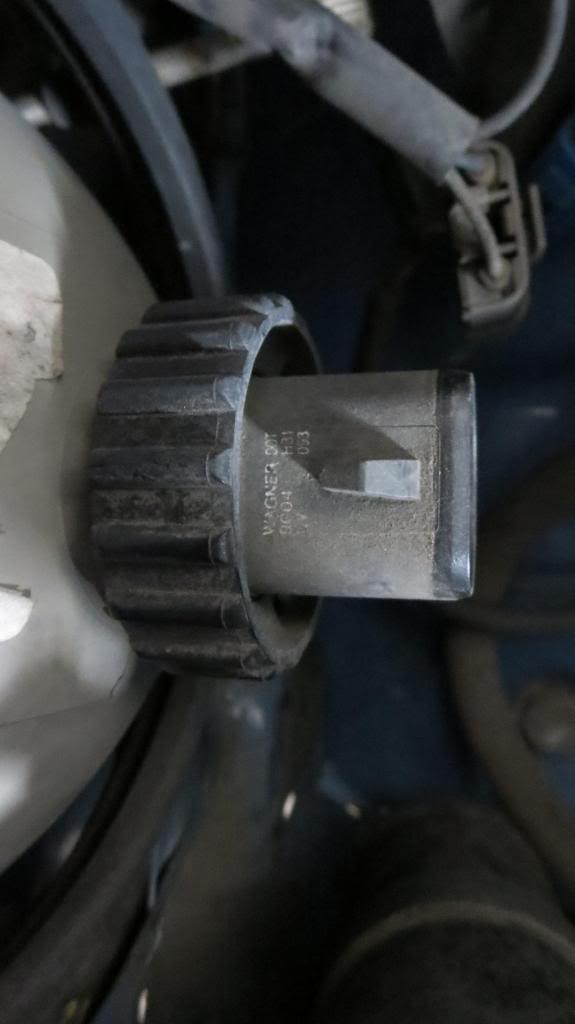
There are 3 bolts per headlight.
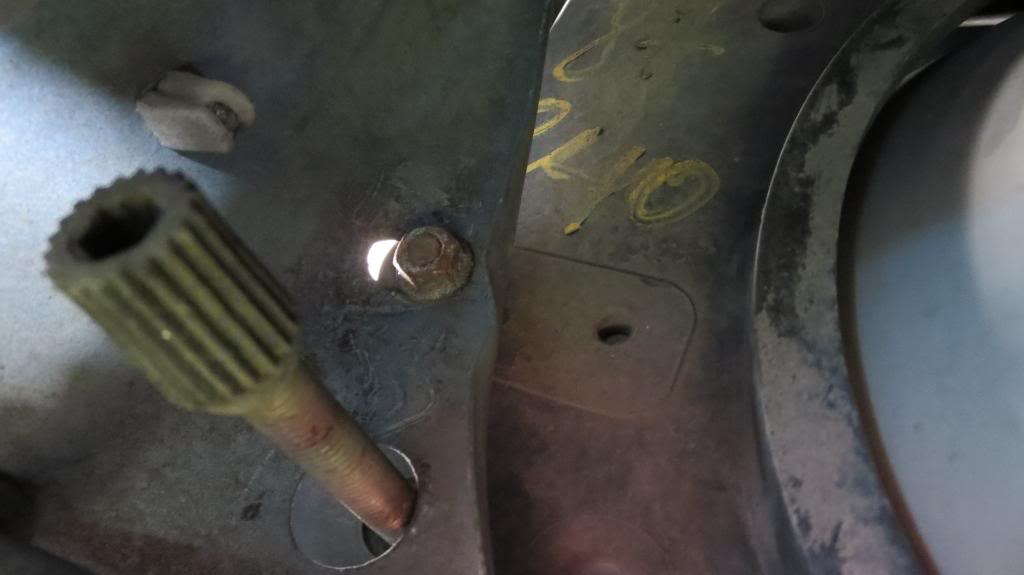
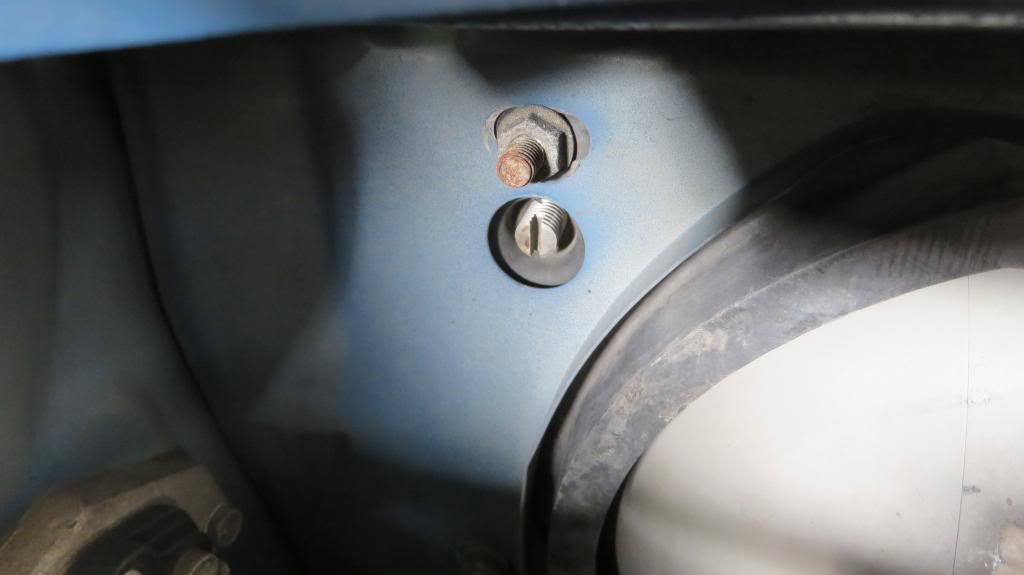
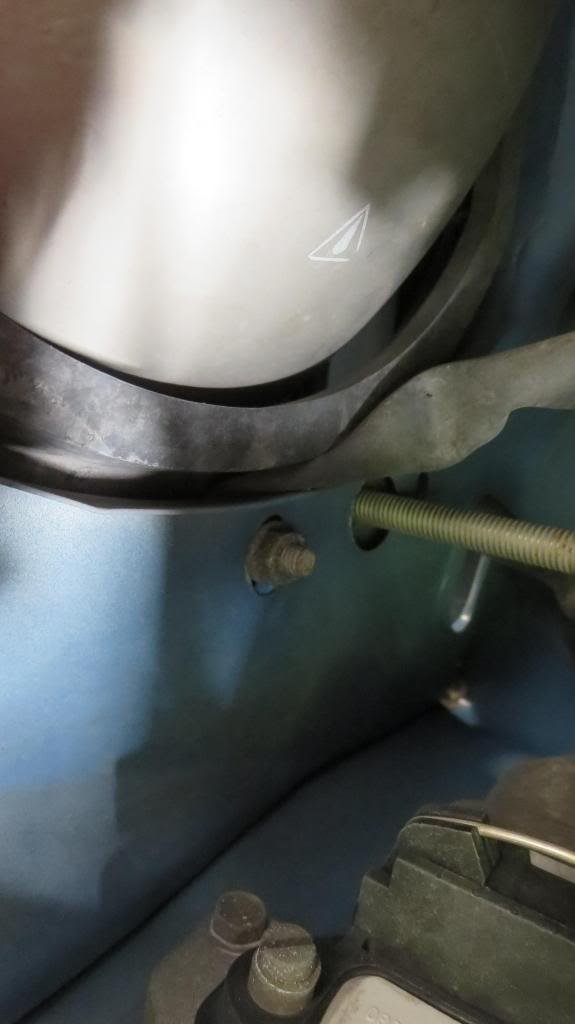
There is also a 4th on the driver's right side. It is blocked by what appears to be an air conditioning component, so this is where you should use an extension.
You want to remove these bolts and let the headlight assembly come loose.
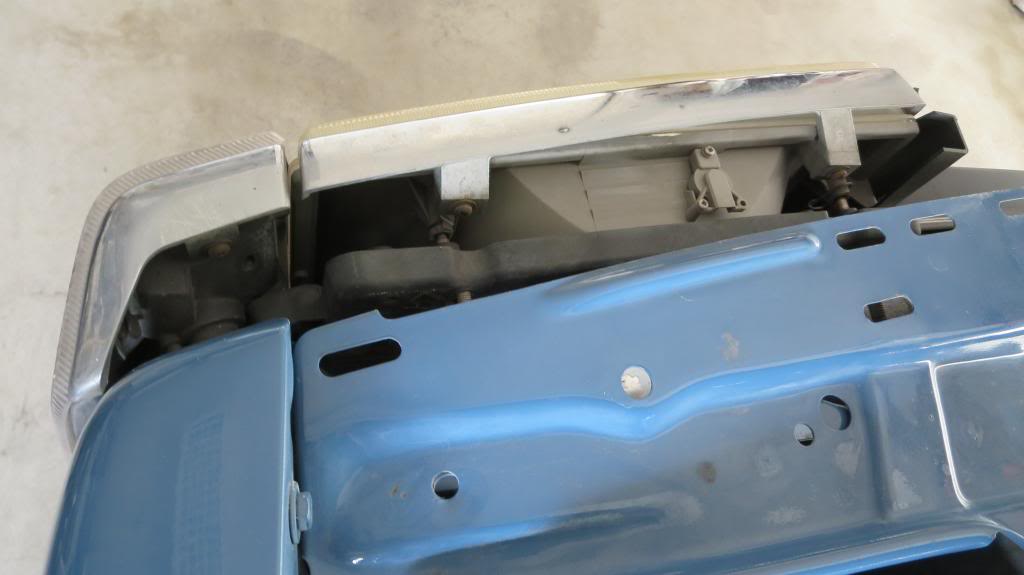
I disconnected the wires for the lighting so I can pull it out even more.
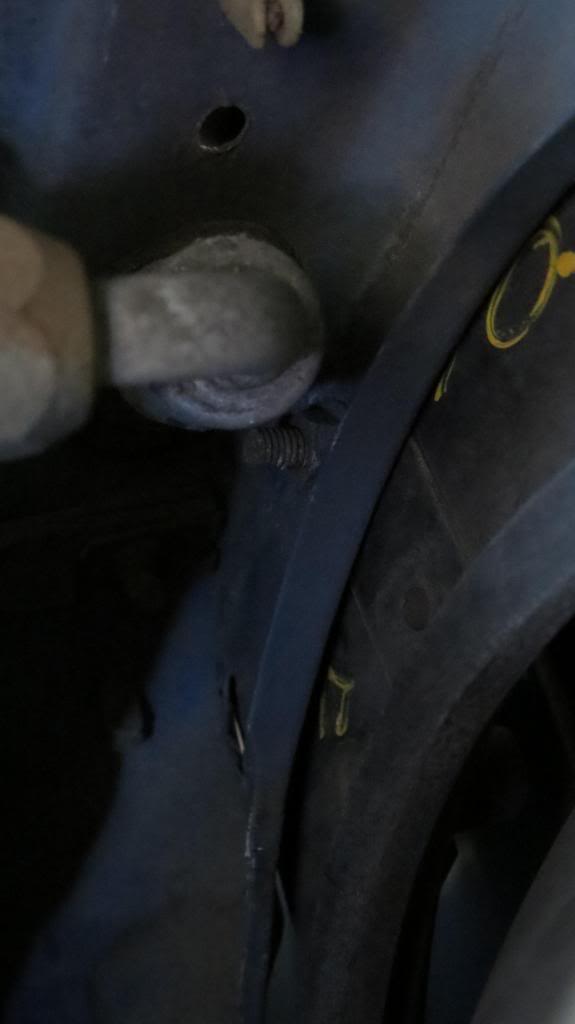
Step 4: Take the trim off
There are 3 medium-large screws per headlight assembly. Two are for the headlight chrome piece, and one is for the turn signal chrome piece. Take them off.
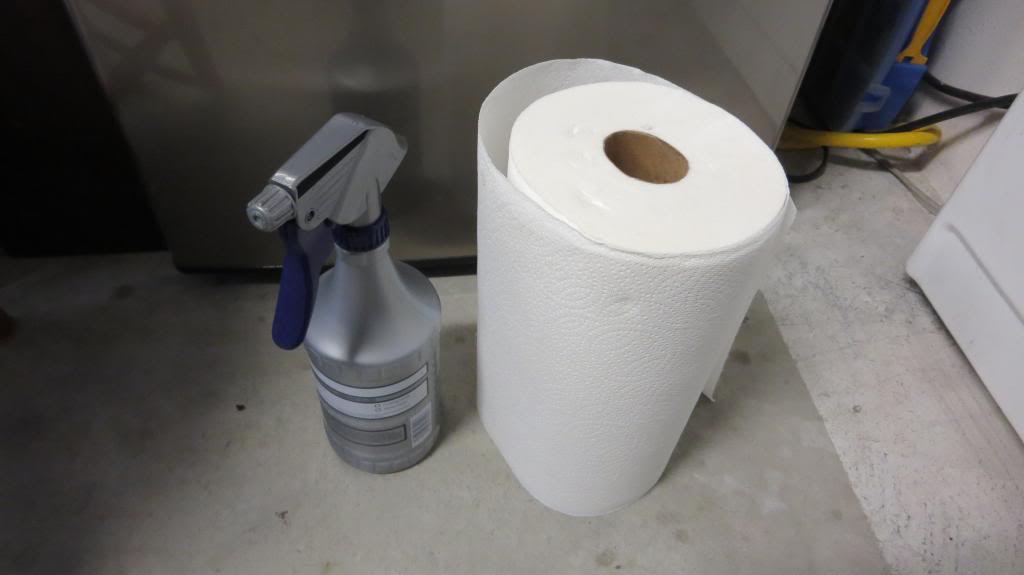
Step 5: Prepping for painting
Now that you have all of your chrome pieces off, as well as the grill, you should clean them with any cleaner/degreaser as long as they are safe and don't damage the chrome finish (this process ensures the PlastiDip will stick better to the clean surface).
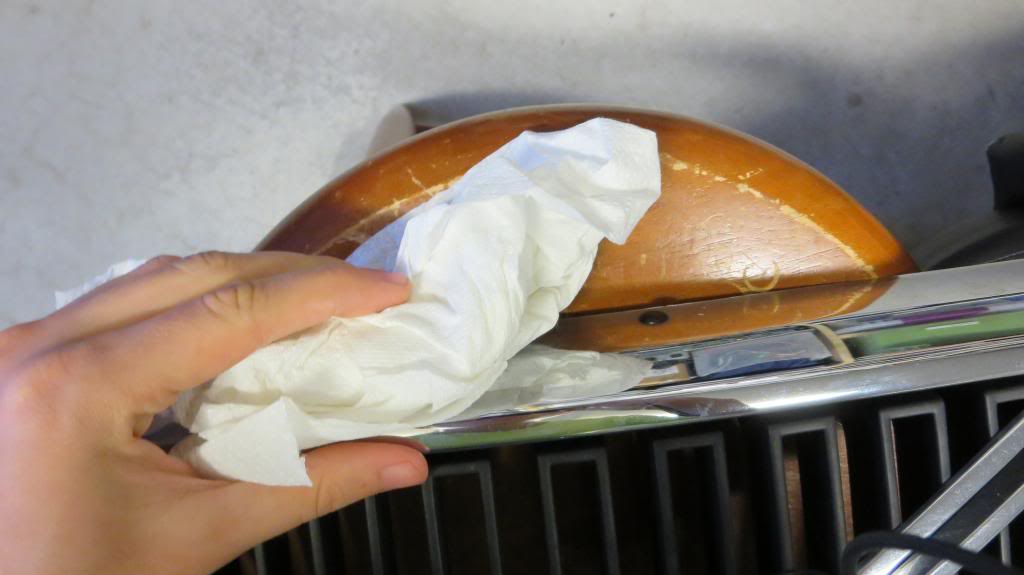
If you're going the same route as me, I want to cover the diagonal Volvo stripe and emblem with masking tape, so it resembles the appearance of the Volvo 240 racecars/rallycars I was talking about (I also covered the springs and what not).
http://i1366.photobucket.com/albums/...ps909a58f8.jpg
Step 6: Getting ready to paint
Make sure you put your items somewhere where it won't make a mess, or somewhere where you don't mind making a mess.
http://i1366.photobucket.com/albums/...ps47b3fb8e.jpg
Next you want to shake your PlastiDip can for at least a minute, as suggested per the bottle's instructions.
http://i1366.photobucket.com/albums/...ps45cce78f.jpg
Step 6: Painting (or rather, PlastiDipping?)
Basically, what I did was do a first coat that was light. It doesn't have to cover everything. The second coat will chemically bond with the first coat and produce a nice "wet" finish.
Then I wait 30 minutes for the previous coat to get a dry "matte" finish, then I apply the following coat and repeat the process.
http://i1366.photobucket.com/albums/...psd286257e.jpg
I did 4 coats and I left out some spots. So either do 5 coats or be more careful with your coats.
Step 7: Finishing up
Allow it at least four hours to dry. More hours would be better, but I found four to be adequate enough. That way you can install all of the pieces and they can finish drying there.
For re-installation, all I can say is do the previous steps in reverse order.
Your finished result should look something like this:
http://i1366.photobucket.com/albums/...ps978caff2.jpg
http://i1366.photobucket.com/albums/...ps18a616a5.jpg
Basically, you will transform your car from this to this:
What you'll need:
10mm socket/ratchet (and extensions depending on your comfort level)
Medium-large screwdriver
11 oz. can of black PlastiDip
Masking tape (optional)
Step 1: Open the hood
Step 2: Removing the grill
The top of the grill will have two rotatable clips.
Rotate them until they fit through the metal slots.
Because they are spring-loaded, they should pop right out. Set them somewhere safe.
The top of the grill is free, so pull the springs down with your fingers (otherwise it will have resistance coming out) and slowly but carefully pull the top of the grill towards you.
Now just pull the grill upwards and set it somewhere safe.
Step 3: Remove the headlights
There are 3 bolts per headlight.
There is also a 4th on the driver's right side. It is blocked by what appears to be an air conditioning component, so this is where you should use an extension.
You want to remove these bolts and let the headlight assembly come loose.
I disconnected the wires for the lighting so I can pull it out even more.
Step 4: Take the trim off
There are 3 medium-large screws per headlight assembly. Two are for the headlight chrome piece, and one is for the turn signal chrome piece. Take them off.
Step 5: Prepping for painting
Now that you have all of your chrome pieces off, as well as the grill, you should clean them with any cleaner/degreaser as long as they are safe and don't damage the chrome finish (this process ensures the PlastiDip will stick better to the clean surface).
If you're going the same route as me, I want to cover the diagonal Volvo stripe and emblem with masking tape, so it resembles the appearance of the Volvo 240 racecars/rallycars I was talking about (I also covered the springs and what not).
http://i1366.photobucket.com/albums/...ps909a58f8.jpg
Step 6: Getting ready to paint
Make sure you put your items somewhere where it won't make a mess, or somewhere where you don't mind making a mess.
http://i1366.photobucket.com/albums/...ps47b3fb8e.jpg
Next you want to shake your PlastiDip can for at least a minute, as suggested per the bottle's instructions.
http://i1366.photobucket.com/albums/...ps45cce78f.jpg
Step 6: Painting (or rather, PlastiDipping?)
Basically, what I did was do a first coat that was light. It doesn't have to cover everything. The second coat will chemically bond with the first coat and produce a nice "wet" finish.
Then I wait 30 minutes for the previous coat to get a dry "matte" finish, then I apply the following coat and repeat the process.
http://i1366.photobucket.com/albums/...psd286257e.jpg
I did 4 coats and I left out some spots. So either do 5 coats or be more careful with your coats.
Step 7: Finishing up
Allow it at least four hours to dry. More hours would be better, but I found four to be adequate enough. That way you can install all of the pieces and they can finish drying there.
For re-installation, all I can say is do the previous steps in reverse order.
Your finished result should look something like this:
http://i1366.photobucket.com/albums/...ps978caff2.jpg
http://i1366.photobucket.com/albums/...ps18a616a5.jpg


Thread
Thread Starter
Forum
Replies
Last Post
ycartf
Volvo 850
41
Sep 14, 2018 10:43 AM
ProStreetDriver
Volvo 850
0
Oct 5, 2012 10:55 AM