
Engine rebuild progress

#22
 11-23-2009, 06:08 PM

I never pulled out a motor. The reason I needed a hoist to get the motor I bought off the floor and onto a motor stand. The motor in the wagon has 300k miles on it, so it would have been a perfect candidate to work on, but that would mean that I couldn't pull the motor until spring and then would have to spend that time working on it, and with that many miles, I would have needed to get everything ported. So, I'm just gonna do a full tune up on the motor I have, and then when the time comes, all I have to do is slip it in the wagon.
#23
11-23-2009, 06:29 PM

Senior Member
#24
11-23-2009, 06:57 PM
Because it came out of a car that was very well taken care of, nice interior, no dings or dents, motor was very clean, just by looking at the condition on the car you can tell how well a motor was maintained.
Oh, and because it has 200k less miles.
Oh, and because it has 200k less miles.
#25
11-23-2009, 07:43 PM
Senior Member
#26
11-23-2009, 08:21 PM
I was planning on doing a compression test, but the motor is pretty clean, and it only has 100k miles that I'm not really worried about it. If time goes on and I feel that it needs a partial rebuild, I'll do it if necessary, and for poor compression I would really just need to do new rings and a gasket, which isn't that big of a deal.
#27
11-25-2009, 05:46 PM

Join Date: Jul 2009
Location: Sebastian, FLA
Posts: 459
Likes: 0
Received 0 Likes
on
0 Posts
Ok last night I tried to post but got kicked off after 10 -15 min.
I'll be brief in an attempt not to waste my time.
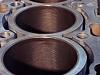
I spent well over 1 Hr scrubing the cylinders with a toilet scrub brush and hot soapy water. It was worth it. the honing marks look much better.

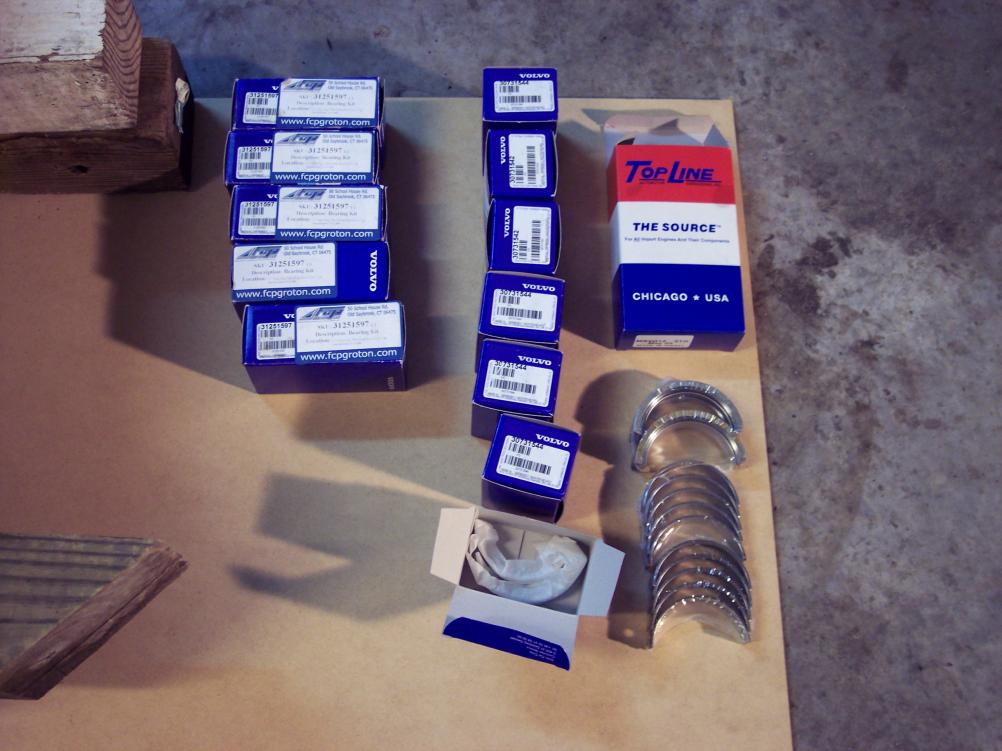
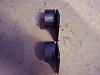
What set of main bearing to use
1)to the left someones idea that there are 5 bearing and all of them are thrust bearing...very wrong.
2)middle, the volvo's different colors top and bottom and they only come is sets of the same color
3)right, Top line complete set
As a public service I decided to try Number 3 first even though if they weren't within spec I'd have to do it all over again.
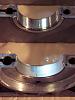
The plastigage laid in to the mains. Now 5 steps of bolt torquing. Hey it's good expeience for the real thing.
Top line works A okay. between 0.0015 and 0.002 ..within spec. build it.
Okay time to post before I get kicked off
I'll be brief in an attempt not to waste my time.
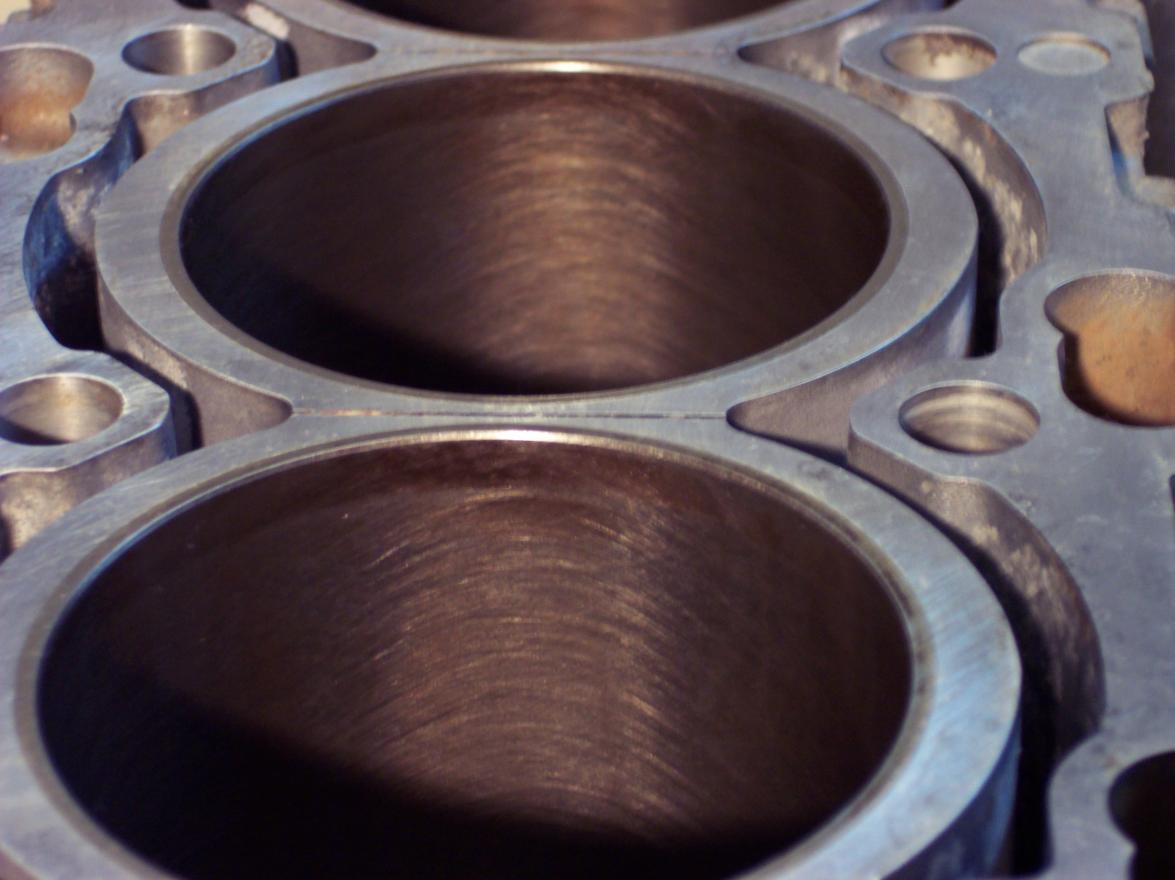
I spent well over 1 Hr scrubing the cylinders with a toilet scrub brush and hot soapy water. It was worth it. the honing marks look much better.
What set of main bearing to use
1)to the left someones idea that there are 5 bearing and all of them are thrust bearing...very wrong.
2)middle, the volvo's different colors top and bottom and they only come is sets of the same color
3)right, Top line complete set
As a public service I decided to try Number 3 first even though if they weren't within spec I'd have to do it all over again.

The plastigage laid in to the mains. Now 5 steps of bolt torquing. Hey it's good expeience for the real thing.
Top line works A okay. between 0.0015 and 0.002 ..within spec. build it.
Okay time to post before I get kicked off
#29
11-25-2009, 07:24 PM
Join Date: Jul 2009
Location: Sebastian, FLA
Posts: 459
Likes: 0
Received 0 Likes
on
0 Posts
Yes... because no one seems to have a clue. Even volvo. The main bearing grading seems to mean nothing because I bought an after market set and had consistant plastigage readings.

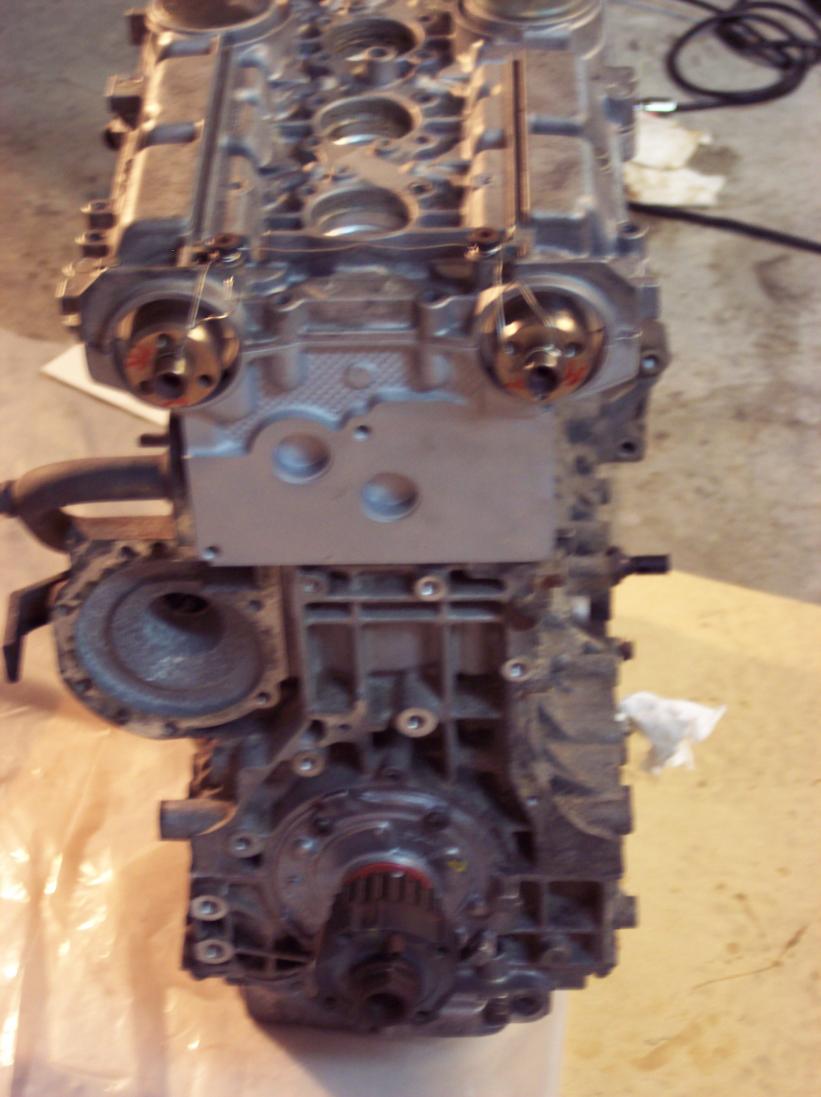
This is the oil pump oring ..just a "bit" sloppy. Where was I going to get an oring to put the oil pump in so I have a crank reference. Nowhere, so I had to whip out my oring reducing formula. Learned it in a shipyard and today it worked like a charm. Thanks to those guys who taught me these things.

You don't need a welding rod to do this, simple mechanical tie wire works fine.
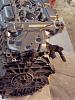
The cam position locking special tool. A must have in some fashion. I really wanted to place the cams in the lower head in about the right position and bolt the upper down....NOT HAPPENING whe you take a close look. Lobs on the cam are straight down. Post..post

This is the oil pump oring ..just a "bit" sloppy. Where was I going to get an oring to put the oil pump in so I have a crank reference. Nowhere, so I had to whip out my oring reducing formula. Learned it in a shipyard and today it worked like a charm. Thanks to those guys who taught me these things.
You don't need a welding rod to do this, simple mechanical tie wire works fine.
The cam position locking special tool. A must have in some fashion. I really wanted to place the cams in the lower head in about the right position and bolt the upper down....NOT HAPPENING whe you take a close look. Lobs on the cam are straight down. Post..post
#30
11-25-2009, 07:43 PM
Join Date: Jul 2009
Location: Sebastian, FLA
Posts: 459
Likes: 0
Received 0 Likes
on
0 Posts
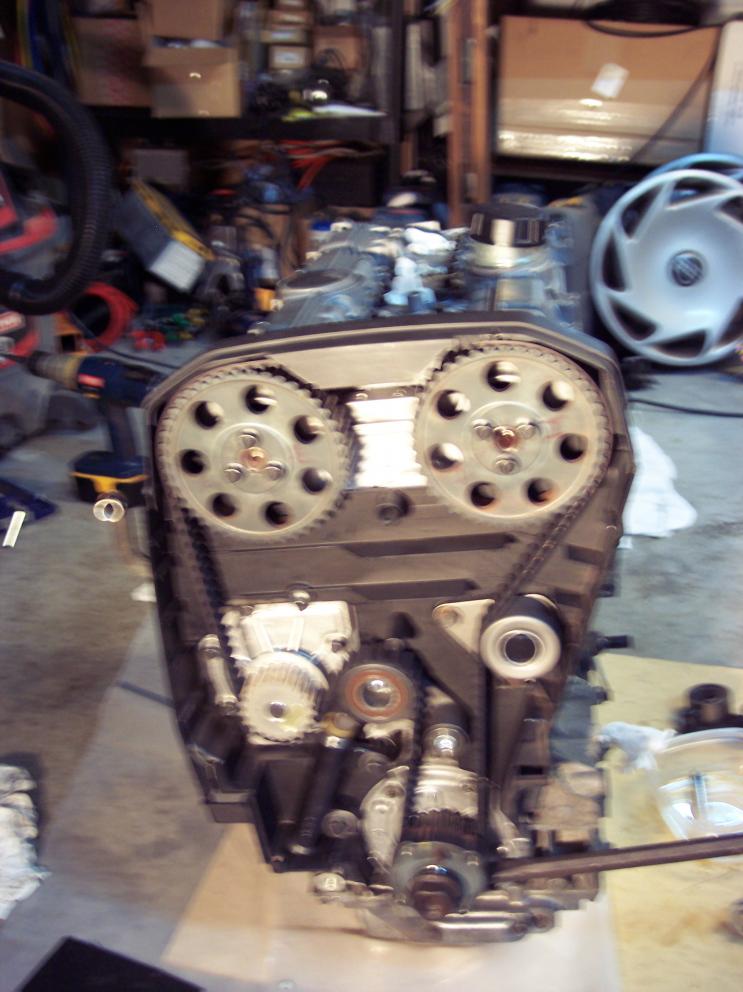
I Bought a new engine stand for this project. This motor, I think, is easier built on the floor. (1) piece of MDF at HD $<6. a few short sections of 4 x 4. When torquing the head bolts I had a friend holding the block While I placed one foot firmly against one corner and pulled the stage 3 130 degrees. It's easier than breaking the dry threads free though. Anyway the floor worked perfectly...The floor MUST be very clean! it's open heart surgery on a volvo engine...
Last edited by Bobec; 11-26-2009 at 06:11 AM.
#31
11-28-2009, 05:48 PM
Join Date: Jul 2009
Location: Sebastian, FLA
Posts: 459
Likes: 0
Received 0 Likes
on
0 Posts
Engine's in and running. Lit the fire this morning at about 10:00am.

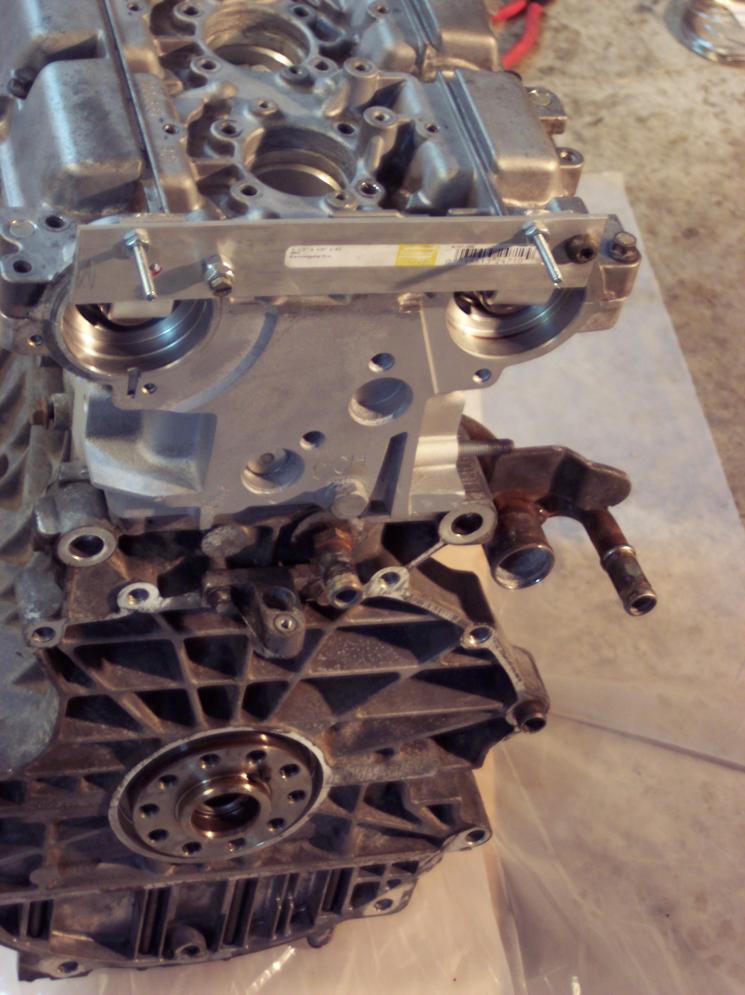
This shot is about making reference markes on the cam sprockets. Making this mark made re-assembly much easier, there is no key.
The new timing belt idler pulley was a bit of a disappointment. Stamped steel pulley and not as robust as the original. It's the bearing that counts so as long as it lasts.

The best thing I did was to buy a cheap load leveler. I mounted the tranny by myself. btw close attention must be paid to making sure the torque converter is fully engaged with the tranny splines. I had to take it apart twice because the TC was not in deep enough.
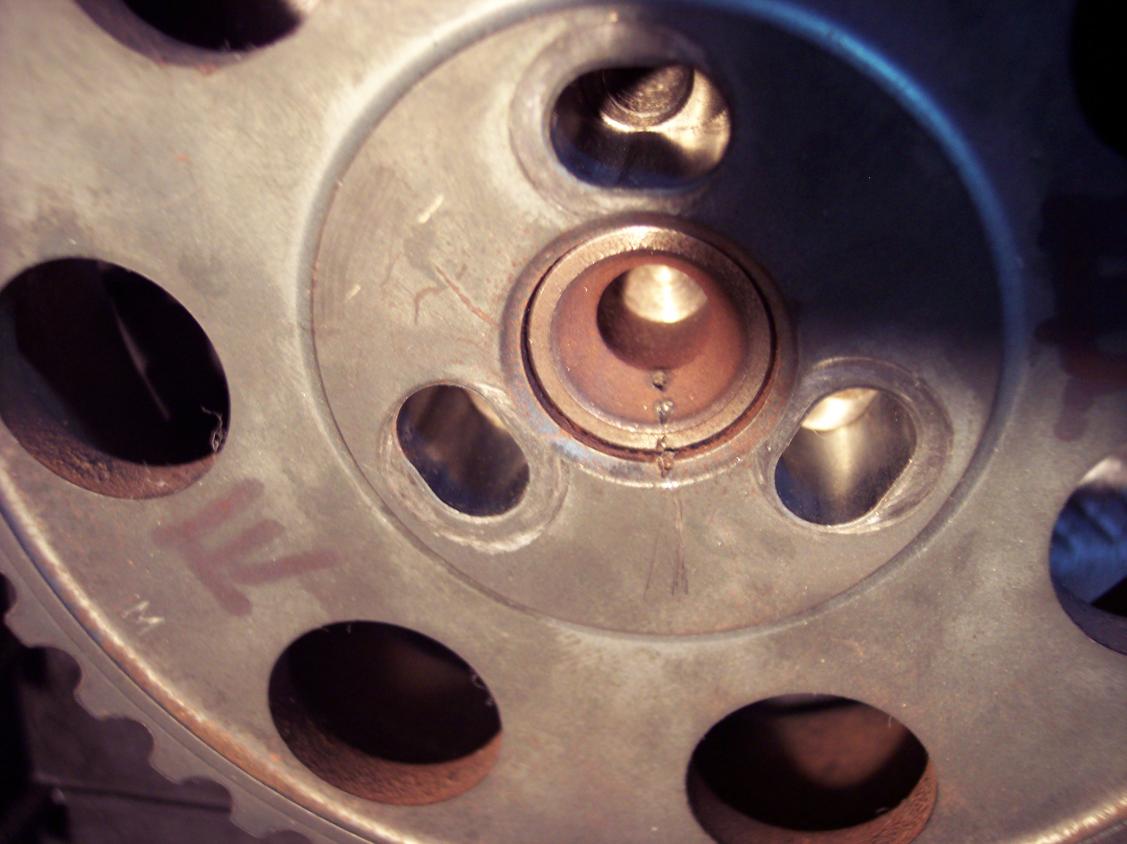
This shot is about making reference markes on the cam sprockets. Making this mark made re-assembly much easier, there is no key.

The new timing belt idler pulley was a bit of a disappointment. Stamped steel pulley and not as robust as the original. It's the bearing that counts so as long as it lasts.
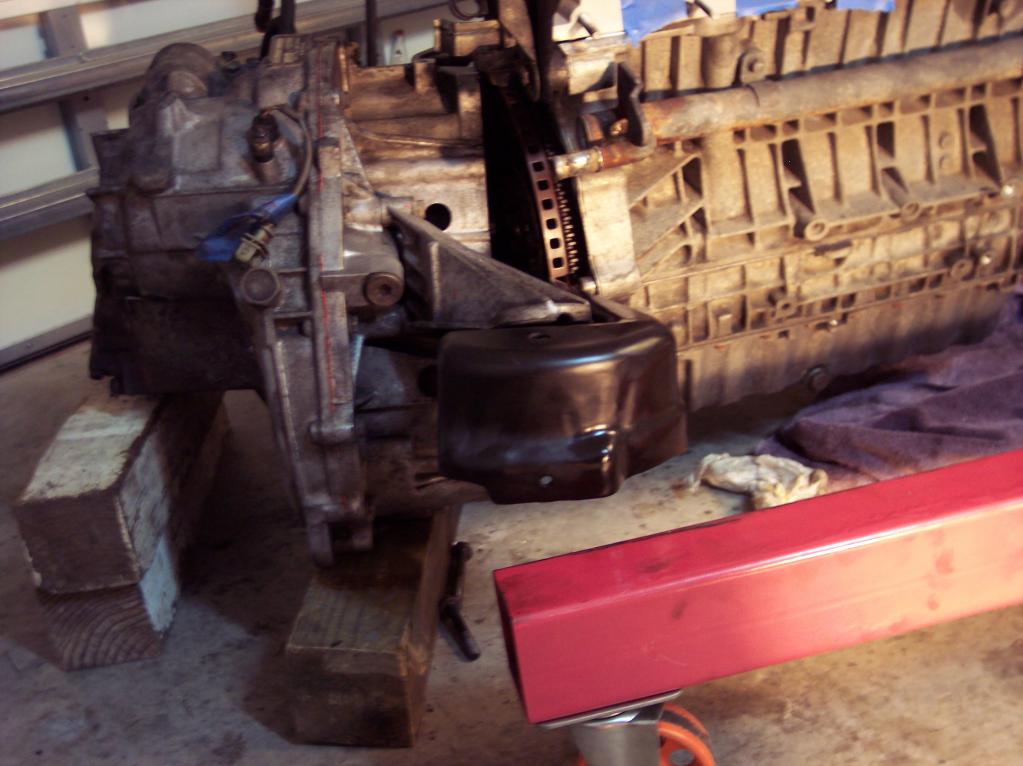
The best thing I did was to buy a cheap load leveler. I mounted the tranny by myself. btw close attention must be paid to making sure the torque converter is fully engaged with the tranny splines. I had to take it apart twice because the TC was not in deep enough.
#32
11-28-2009, 06:21 PM
Join Date: Jul 2009
Location: Sebastian, FLA
Posts: 459
Likes: 0
Received 0 Likes
on
0 Posts
Wow this is theeee best way to change a timing belt and water pump and everything else.
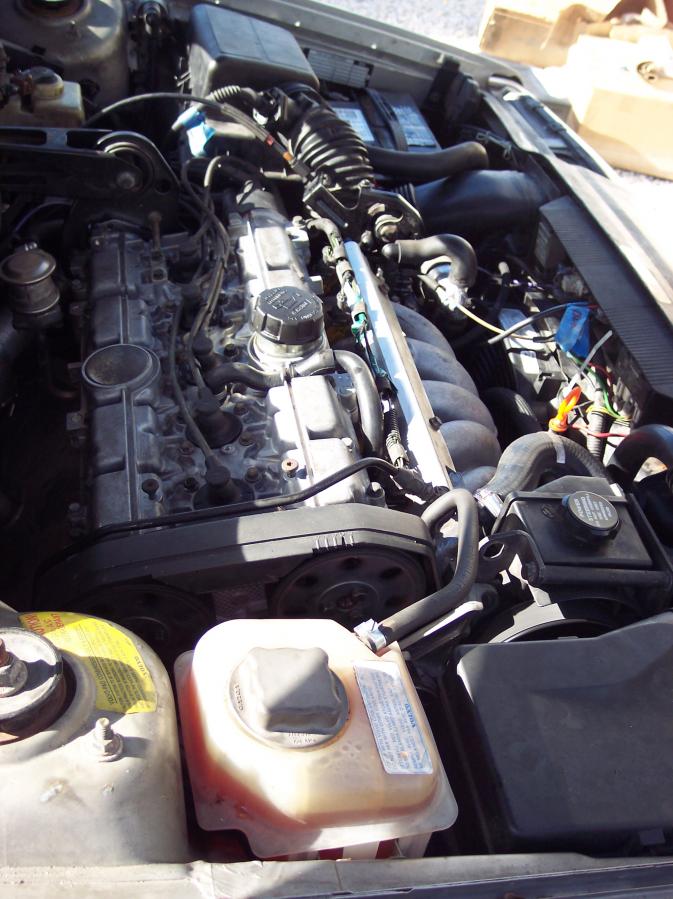
The fire is burning, open header. I really wanted to step on the gas but knew better. It sound great, I'd love to drive around town like this.
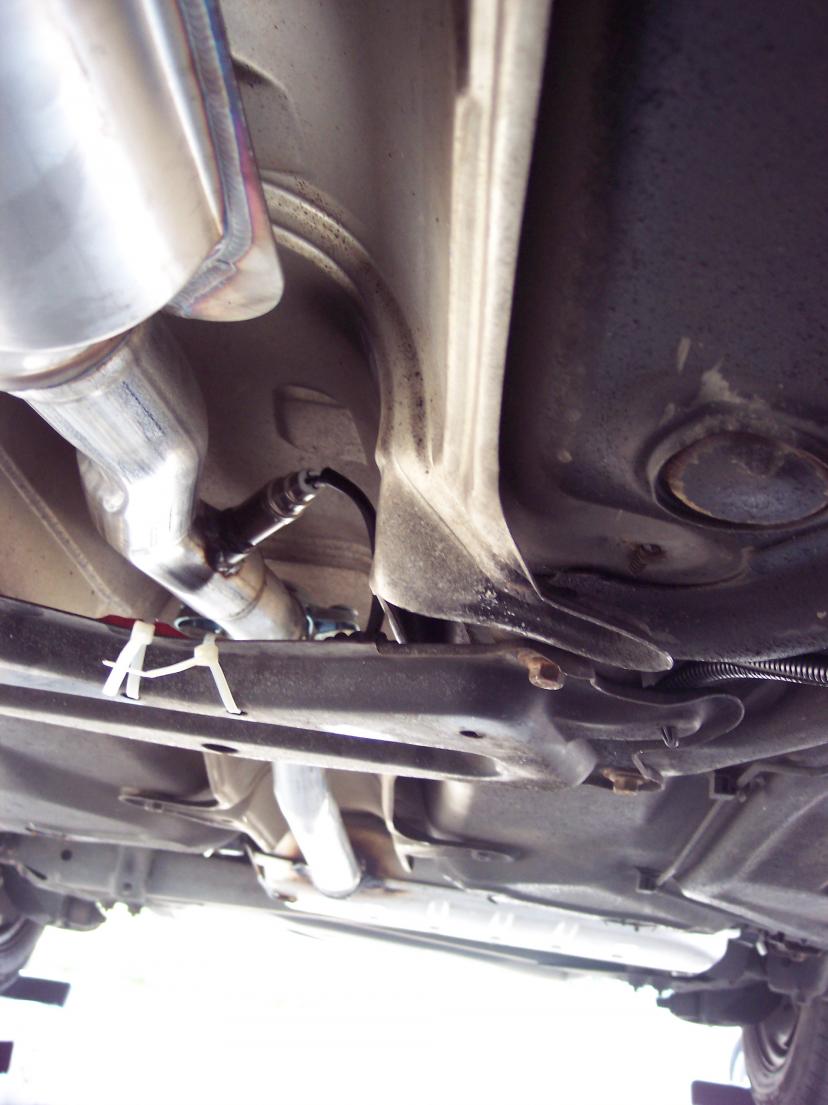
New exhaust system installed by about 3:00pm engine sounds bad. Drive it around the block a few times, lots of back fires. I know I need new wires because I got nailed a few weeks ago fiddling around the dist. cap, yeah it hurt. Go get new wires...BINGO she is now purring. Drive her around the the blocks. Perfect, for now. I really want to get on her(but know beter) and thankfully my girlfriend will drive her next week.
This was a tough project, I know it might not be over but I'm happy with the results so far.
#34
11-29-2009, 01:20 PM
Join Date: Jul 2009
Location: Sebastian, FLA
Posts: 459
Likes: 0
Received 0 Likes
on
0 Posts

#36
11-29-2009, 10:52 PM
Senior Member
Join Date: Jul 2006
Location: Memphis, Tn.
Posts: 123
Likes: 0
Received 0 Likes
on
0 Posts
Bobec,
Hey man, just curious which rings you used. Were they steel, chrome-moly or plasma-moly?
With steel rings and the appropriate grit hone, going easy is just fine. With rings like chrome-moly and plasma, they require a more aggressive break-in procedure to get them to seal properly. If the rings you used were chrome and you honed with the correct grit bottle brush hone, the window of opportunity to fully break-in the rings is much smaller than steel rings.
The roughness and crosshatch pattern from honing, is primarily used to seat the new rings. The roughness only lasts a short period of time and must be taken advantage of. With chrome and plasma rings, this time is about 20 miles. In this time, at least 10 full loading cycles should be conducted. This process should be conducted right after the first warm up. Drive the car at 30mph and then accelerate full throttle to 50mph and then let off throttle back to 30mph and then accelerate to 50mph full throttle. Repeat this cycle 10 times.
Not taking advantage of this window of opportunity is not detrimental but does reduce the sealing of the new rings. It is important with steel rings but much more important with chrome and plasma. By doing an "easy" break-in on chrome and plasma rings, you can reduce the sealing by 20% or more.
By no means should you redline a new engine but you should definitely do full throttle loads to seal the new rings.
This goes against conventional thinking from 30-40 years ago but, for some reason, most people still think that baby'ing a new engine is the best way. WRONG!
Here is just one bit of confirmation from a major ring manufacturer that applies to all rings they make. It is a small company known as Hastings http://www.hastingsmfg.com/ServiceTi..._procedure.htm
Small story from my past:
The first experience I had with ring seating procedures and chrome rings was a rebuild on a 1986 Toyota MR 2 back in 1992. I basically treated chrome rings like they were steel and bad things happened. The cylinders measured well within total diameter and out-of-round limits. I honed with a conventional 3 stone hone. Upon start-up, the engine smoked and continued to smoke. After learning about the rings I used which were chrome, I tried the high pressure/loading procedure but it did no good because it was too late and the hone used was too fine to begin with. I had to pull it back apart, hone with the correct grit hone and install a new set of rings. Lesson learned but I lost my *** on that job.
Last edited by schigara; 11-30-2009 at 01:13 AM.
#37
11-30-2009, 05:49 PM
Join Date: Jul 2009
Location: Sebastian, FLA
Posts: 459
Likes: 0
Received 0 Likes
on
0 Posts
John.. thanks and great to hear you're back at it. The cleaning is worth the effort. I'll PM with an interesting experience I had with the head bolts. Hope it doesn't bite me in the butt, but so far so good.
Schigara.. Thanks for the info. I used steel rings from Grant, spoke with Hastings(very nice people) but they didn't have a set put together, Grant did(also very nice and helpful). Even though it might have been too late I took her out tonight for a little stomping per your and Hastings' intructions. Everything worked great, she felt strong, no smoke( never has been) and I'm starting to gain some confidence. Next week we take to I95 and the 150 mile commute. A couple of weeks of that and I'll feel convinced.
Schigara.. Thanks for the info. I used steel rings from Grant, spoke with Hastings(very nice people) but they didn't have a set put together, Grant did(also very nice and helpful). Even though it might have been too late I took her out tonight for a little stomping per your and Hastings' intructions. Everything worked great, she felt strong, no smoke( never has been) and I'm starting to gain some confidence. Next week we take to I95 and the 150 mile commute. A couple of weeks of that and I'll feel convinced.
#38
12-05-2009, 06:31 PM
Join Date: Jul 2009
Location: Sebastian, FLA
Posts: 459
Likes: 0
Received 0 Likes
on
0 Posts
Okay so I'd just like to post a short update on how well my car is running and some mistakes I made.
First, I dove the car on my 150 mile commute on friday after draining all of the synthetic oil and refilling with 5w-30 at the recommendation of a member of the forum. I know better, and even stated my conviction on using conventional oil for break in, but was swayed by a BS artist.
So now after about 60 miles of easy break in driving that might have glazed the freshly honed cylinders, new rings and all that work, I was desperate to make it work. To quote the member who helped me out, "well there's a good possibility that the syn. oil was slick enough that it didn't wear the honing and you can still get the rings to seat". GGGGGreat advise. Thank you.
The motor finally started to come to life after 75 mile of highway miles of just plain and simple hammering. cruising at 75 stomp on it 85 -90 let off repeatedly many times to and from work. After 150 mile I saw that this was very effective treatment. The irony was as I approached my exit there was a much later model S70 in the left lane that did not want me to pass on the right we were both gradually stepping on the gas until we were going 85 -90 and I had to brake to exit. Nothing malicious on my part I just wanted to wave.
Tonight I switched to sport mode at a light, when it turned green I stepped on it and I thought I was driving a different car.
#40
12-06-2009, 06:30 PM
Join Date: Jul 2009
Location: Sebastian, FLA
Posts: 459
Likes: 0
Received 0 Likes
on
0 Posts
Thanks Gilbert. I really like the new avatar, much better than the bear, although the bear was unique and I liked it too. But could you please take a pic of those fine cars without the dumpsters in the bcakground, they deserve better(I mean the cars), Hahaha.
I really need to do a youtube vid from inside my car as I stomp on it. Kid you not, on dry pavement, in sport mode, from first to second the tires do cherp. I first thought I heard signs on wet roads but this morning the roads were dry and I heard it, looked at my girlfriend for reassurance, she said you "are" going to get a ticket. Yeah Whoooo!!!!! Ok so reallity sets in and the tranny needs some repect??? no way.
I really need to do a youtube vid from inside my car as I stomp on it. Kid you not, on dry pavement, in sport mode, from first to second the tires do cherp. I first thought I heard signs on wet roads but this morning the roads were dry and I heard it, looked at my girlfriend for reassurance, she said you "are" going to get a ticket. Yeah Whoooo!!!!! Ok so reallity sets in and the tranny needs some repect??? no way.