Volvo 850 Made from 1993 to 1997, this Volvo line was available in both a wagon and a sedan, both with were graced with several trim levels.

New Year Teaser

Thread Tools
 
Search this Thread
 
  #21  
Old 01-19-2011, 02:07 PM
gilber33's Avatar
Senior Member
Thread Starter
Join Date: Apr 2008
Location: Milwaukee, WI
Posts: 3,964
Likes: 0
Received 3 Likes on 3 Posts
Default

Name:  179398_501273510856_724720856_6713840_1377261_n.jpg
Views: 126
Size:  65.5 KB


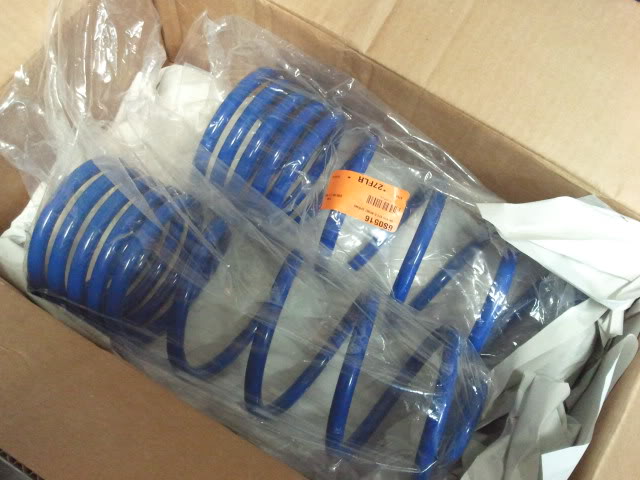
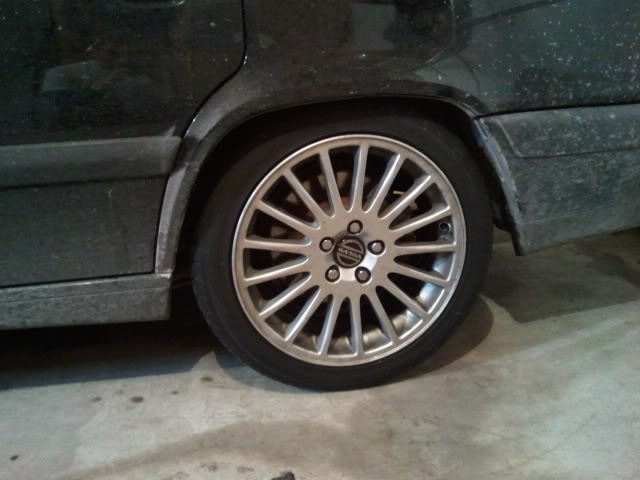
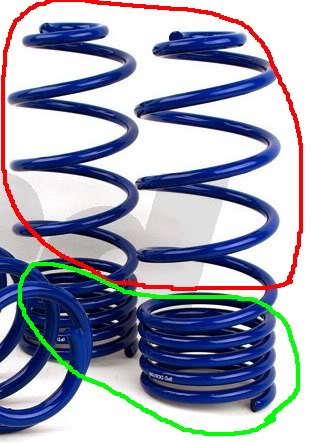
Ordered these for the rear:

Name:  IPDSPRINGS.jpg
Views: 84
Size:  30.3 KB

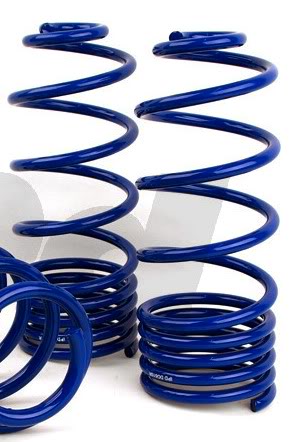
My rear springs didn't have any dead coils and had to cut a live coil and now it rides like **** and the springs are really noisy. So will be installing these, let them settle, then cutting them as much as I can without effecting ride quality too much, and then drop the front some more.
 

Last edited by gilber33; 01-19-2011 at 02:47 PM.
  #22  
Old 01-20-2011, 08:19 AM
docmot's Avatar
Member
Join Date: Jan 2010
Posts: 87
Likes: 0
Received 0 Likes on 0 Posts
Default

How very nice to see those pix of cool cars, cold beer and good friends.
 
  #23  
Old 01-24-2011, 01:00 PM
gilber33's Avatar
Senior Member
Thread Starter
Join Date: Apr 2008
Location: Milwaukee, WI
Posts: 3,964
Likes: 0
Received 3 Likes on 3 Posts
Default

These are going in tomorrow night

Name:  2011-01-24091503.jpg
Views: 51
Size:  54.6 KB

Will get my rear further down so I'll be less raked and then I can drop the front some more.
 
  #24  
Old 01-24-2011, 01:12 PM
ibified's Avatar
Senior Member
Join Date: May 2010
Posts: 1,712
Likes: 0
Received 1 Like on 1 Post
Default

nice!
 
  #25  
Old 01-26-2011, 08:16 AM
gilber33's Avatar
Senior Member
Thread Starter
Join Date: Apr 2008
Location: Milwaukee, WI
Posts: 3,964
Likes: 0
Received 3 Likes on 3 Posts
Default

Name:  2011-01-25172204.jpg
Views: 124
Size:  51.6 KB

IPD springs minus one coil. Going to let them settle and then probably take another or two off. Ride is amazing with these new springs

Name:  2011-01-25175940.jpg
Views: 115
Size:  42.5 KB

Name:  2011-01-25175959.jpg
Views: 111
Size:  56.1 KB
 
  #26  
Old 01-27-2011, 07:31 AM
Henry10's Avatar
Senior Member
Join Date: Oct 2010
Location: NY, NY
Posts: 1,218
Likes: 0
Received 2 Likes on 2 Posts
Default

Which side of the coil are you cutting, or cutting in both sides?
 
  #27  
Old 01-27-2011, 08:13 AM
gilber33's Avatar
Senior Member
Thread Starter
Join Date: Apr 2008
Location: Milwaukee, WI
Posts: 3,964
Likes: 0
Received 3 Likes on 3 Posts
Default

I'm cutting the dead coils (like in the picture above). You can't cut the bottom of the spring where it's pigtailed, otherwise it won't seat properly.
 
  #28  
Old 01-27-2011, 08:19 AM
Henry10's Avatar
Senior Member
Join Date: Oct 2010
Location: NY, NY
Posts: 1,218
Likes: 0
Received 2 Likes on 2 Posts
Default

I see the bottoms now -- correct, the bottom has to be be able to be clamped in.
 
  #29  
Old 01-27-2011, 08:22 AM
gilber33's Avatar
Senior Member
Thread Starter
Join Date: Apr 2008
Location: Milwaukee, WI
Posts: 3,964
Likes: 0
Received 3 Likes on 3 Posts
Default

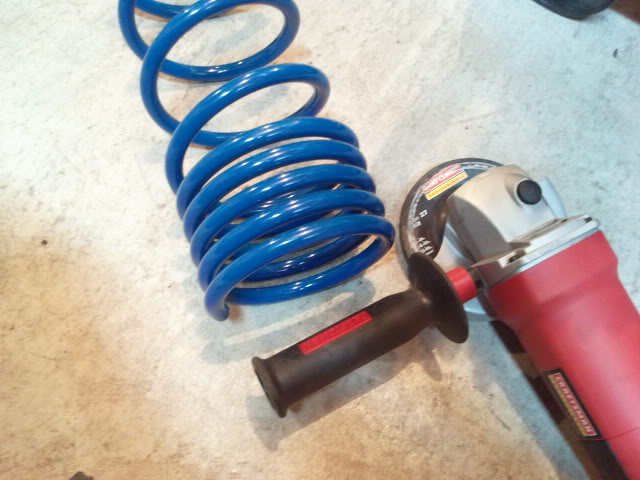
And you shouldn't really cut springs that don't have any dead coils like these IPD ones do because the spring won't seat properly on the top either, and if you're cutting the main coils, your ride will become complete **** like mine did when I cut the Kilen springs I had in there.
 
  #30  
Old 01-27-2011, 08:29 AM
Henry10's Avatar
Senior Member
Join Date: Oct 2010
Location: NY, NY
Posts: 1,218
Likes: 0
Received 2 Likes on 2 Posts
Default

Originally Posted by gilber33
main coils
i.e. OEM?
 
  #31  
Old 01-27-2011, 08:32 AM
gilber33's Avatar
Senior Member
Thread Starter
Join Date: Apr 2008
Location: Milwaukee, WI
Posts: 3,964
Likes: 0
Received 3 Likes on 3 Posts
Default

Green means go, red means don't even think about it.

Name:  deadcoils.jpg
Views: 85
Size:  38.9 KB
 
  #32  
Old 01-27-2011, 08:39 AM
Henry10's Avatar
Senior Member
Join Date: Oct 2010
Location: NY, NY
Posts: 1,218
Likes: 0
Received 2 Likes on 2 Posts
Default

Got it. Did you ever cut the OEM ones or just Kilen's?
 
  #33  
Old 01-27-2011, 09:09 AM
gilber33's Avatar
Senior Member
Thread Starter
Join Date: Apr 2008
Location: Milwaukee, WI
Posts: 3,964
Likes: 0
Received 3 Likes on 3 Posts
Default

No, I never touched the OEM ones. I'm guessing the oem ones would be easier to cut since they're about twice the length of lowering springs, but it will ride like ****.
 
  #34  
Old 01-30-2011, 09:30 PM
gilber33's Avatar
Senior Member
Thread Starter
Join Date: Apr 2008
Location: Milwaukee, WI
Posts: 3,964
Likes: 0
Received 3 Likes on 3 Posts
Default

Other random updates on the car:

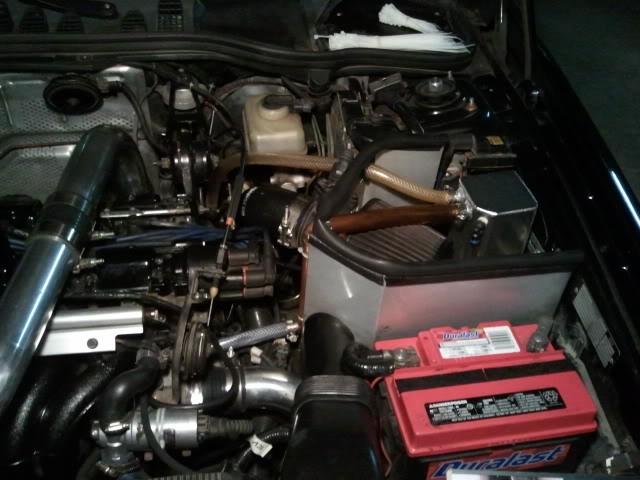
added a drain to the catch can so I don't have to remove it to drain it

Name:  2011-01-29130442.jpg
Views: 54
Size:  38.7 KB

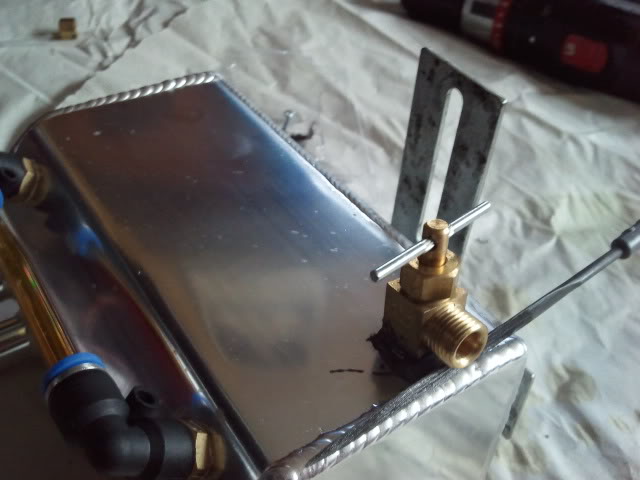
routed a line through the intake shield and underneath the battery tray

Name:  2011-01-30133526.jpg
Views: 68
Size:  37.0 KB

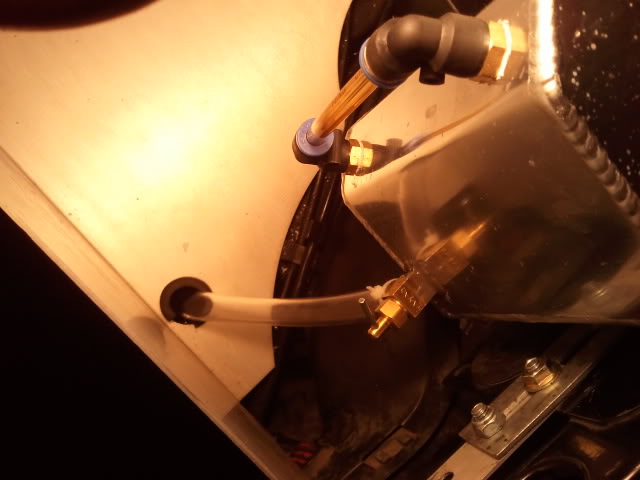
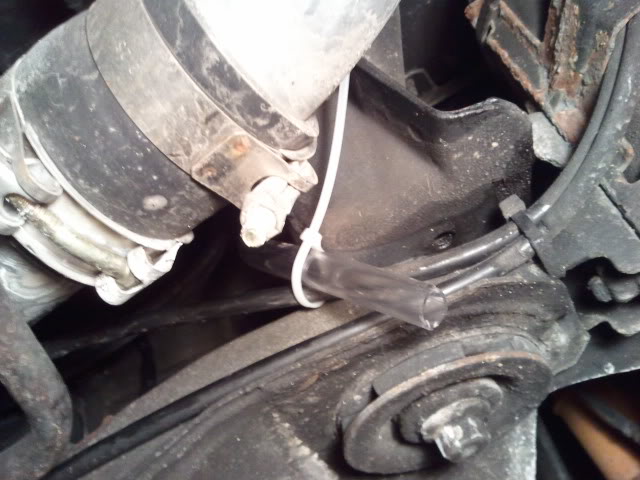
and out the bottom. now all I have to do to drain is stick an oil pan under the car

Name:  2011-01-30135106.jpg
Views: 45
Size:  55.7 KB

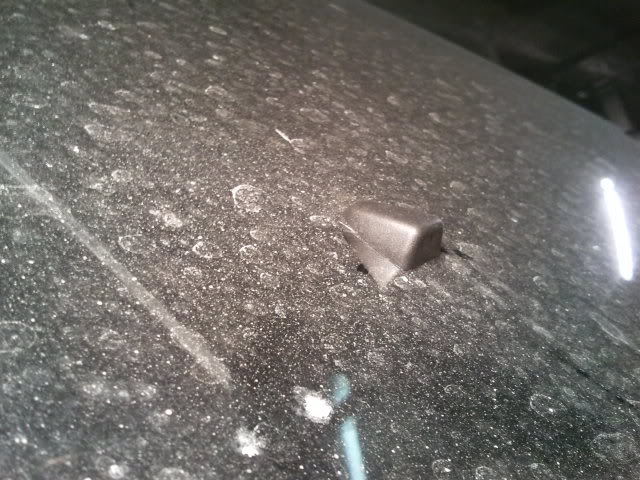
S70 fan style spray nozzles

Name:  2011-01-29145343.jpg
Views: 56
Size:  75.2 KB

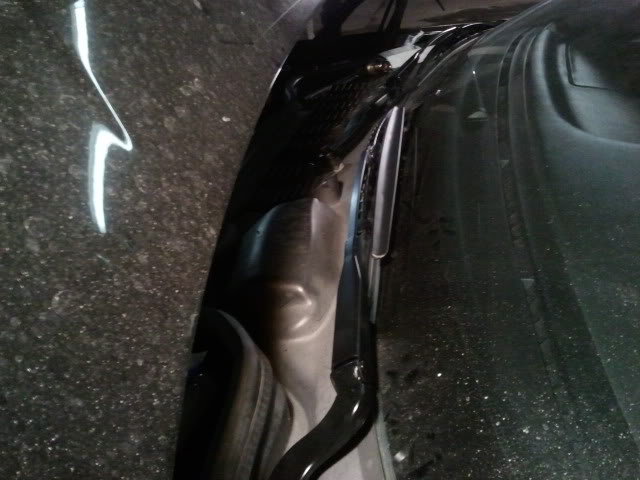
And new windshield wipers and arms

Name:  2011-01-29145325.jpg
Views: 44
Size:  47.7 KB

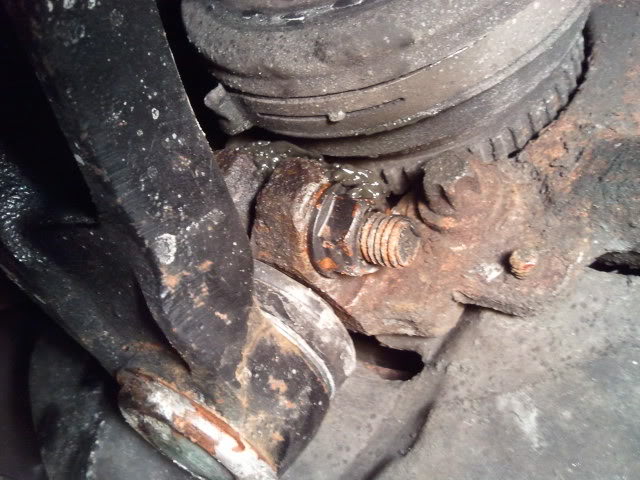
Also found this while searching for my vibration I still had coming from the passenger side. Soooo, New axle is going in later this week. Hopefully that fixes my vibration issue.

Name:  2011-01-29162005.jpg
Views: 91
Size:  77.1 KB


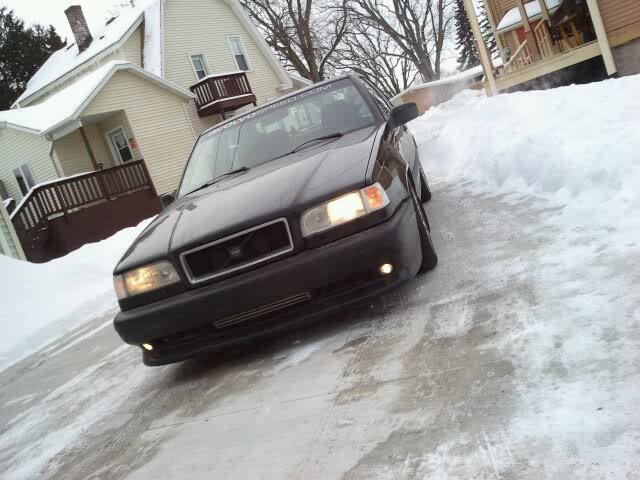
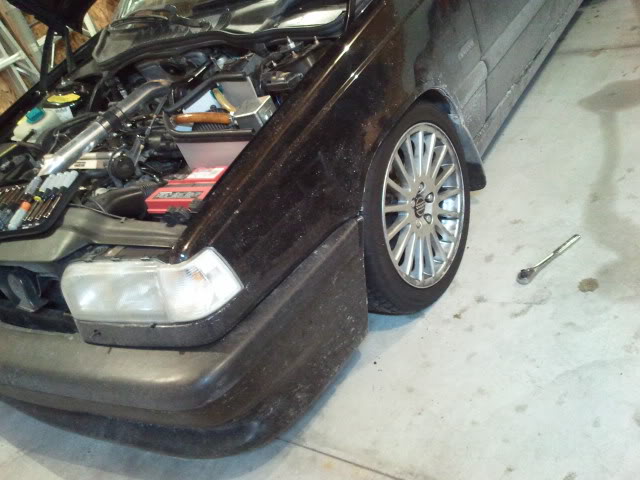
Oh, and almost accomplished my goal with my car. Took me about ten minutes to get my jack underneath the jacking point on the side of the car, I had to wiggle it under there. My goal is to have to drive on boards to get a jack under it, and with my next spring cutting session, I should reach that goal. lol.
 

Last edited by gilber33; 01-30-2011 at 09:34 PM.
  #35  
Old 01-30-2011, 10:04 PM
tech's Avatar
Administrator
Join Date: Sep 2004
Location: Orlando, Florida
Posts: 36,351
Likes: 0
Received 40 Likes on 38 Posts
Default

Congrats it is really coming together!
 
  #36  
Old 01-31-2011, 07:18 AM
gilber33's Avatar
Senior Member
Thread Starter
Join Date: Apr 2008
Location: Milwaukee, WI
Posts: 3,964
Likes: 0
Received 3 Likes on 3 Posts
Default

Thanks Tech! Trying to get the car in tip top shape. Doing round trips out to Virginia and Pennsylvania in a few months. Also, I'll be able to purchase IPD's Stage III tune in about a month or so.
 
  #37  
Old 02-01-2011, 08:11 AM
vjaneczko's Avatar
Senior Member
Join Date: Feb 2009
Location: Glen Ellyn, IL
Posts: 564
Likes: 0
Received 0 Likes on 0 Posts
Default

Think I missed something - what's the catch can (and it's new drain) for?
 
  #38  
Old 02-01-2011, 08:23 AM
gilber33's Avatar
Senior Member
Thread Starter
Join Date: Apr 2008
Location: Milwaukee, WI
Posts: 3,964
Likes: 0
Received 3 Likes on 3 Posts
Default

Originally Posted by vjaneczko
Think I missed something - what's the catch can (and it's new drain) for?
It's spliced into the PCV system

Name:  2010-12-27185858.jpg
Views: 89
Size:  55.5 KB

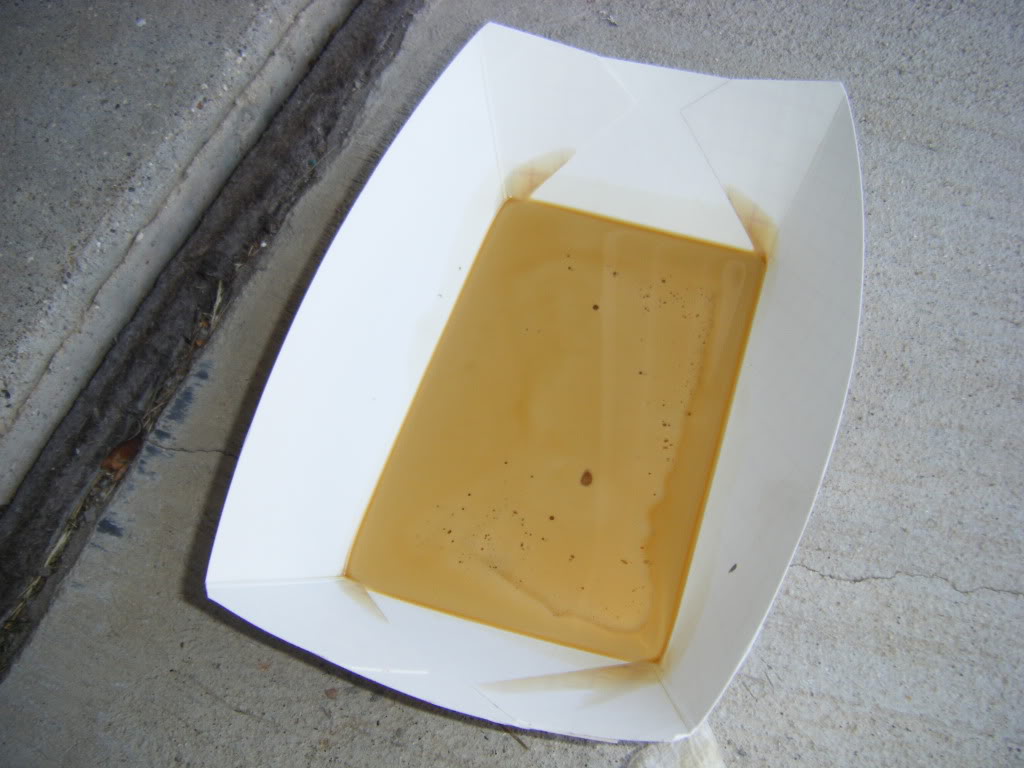
catches this stuff from going back into your intake pipe

Name:  DSCF2477.jpg
Views: 48
Size:  108.1 KB
 
  #39  
Old 02-01-2011, 09:04 AM
vjaneczko's Avatar
Senior Member
Join Date: Feb 2009
Location: Glen Ellyn, IL
Posts: 564
Likes: 0
Received 0 Likes on 0 Posts
Default

Wait, you dump that?! I thought that was the frothing for my morning cappuccino – no wonder they taste bitter.

Looks like a good option to add to any car. Did you make it yourself or was that a purchased item?
 
  #40  
Old 02-01-2011, 09:36 AM
gilber33's Avatar
Senior Member
Thread Starter
Join Date: Apr 2008
Location: Milwaukee, WI
Posts: 3,964
Likes: 0
Received 3 Likes on 3 Posts
Default

Yeah, dumped that out. Empty it about every other week depending on driving habits. If your car is stock, it's not completely necessary. Its more so of your in higher rpms a lot and running more boost, then you need a more effective breather system.

Yes it's purchased, but you have to run the hoses, it's a universal product.


Quick Reply: New Year Teaser


All times are GMT -5. The time now is 10:56 PM.