
Detailed my XC 90


Thread Starter
Joined: Mar 2008
Posts: 6
Likes: 0
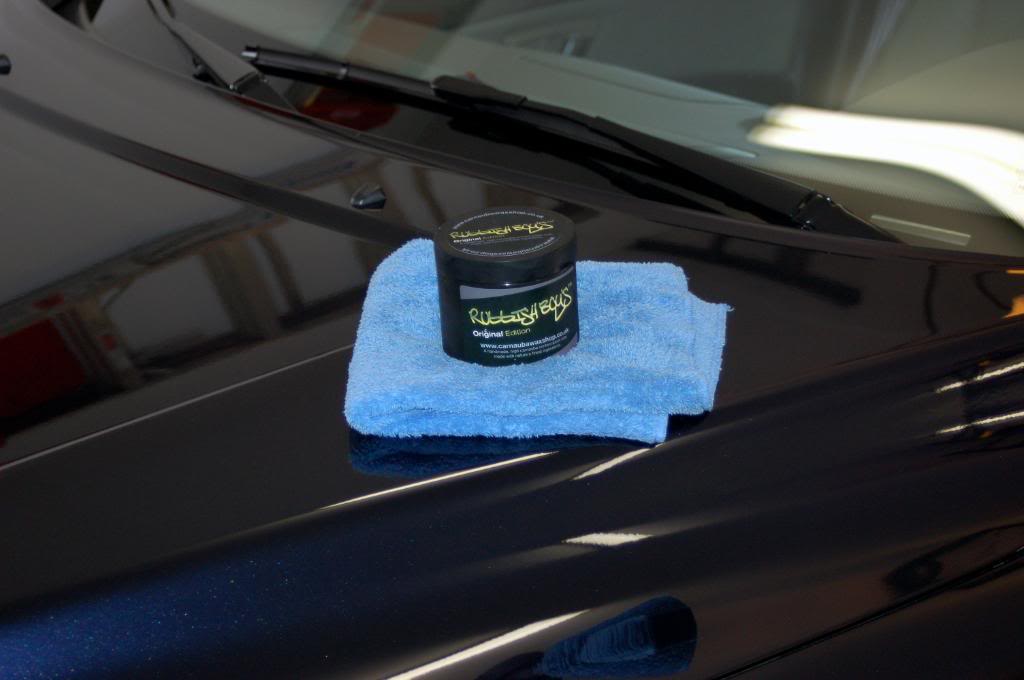
Well I got my Rubbish Boys combo pack yesterday and couldn't wait to use it. I got both the Original Edition and the Dodo Juiced Edition. Rubbish Boys is a very high end wax that is only sold in the UK. I got to know the waxes creatoron one of the detailing forums that I am an active member of and after discussing the wax with him at length decided to buy both of his offerings.Ben says that the OE tends to give more depth and glow and is a little harder to work with than the Juiced Edition which gives a little more clarity. I'll do a review of the wax here along with the mini show and shine.
I decided to redo my wife's Volvo XC90 and give the Rubbish Boys a go! Well I did a good detail inside and out but the only pics are of the exterior to give a show at this wax. I will give you a little hint about the wax.....I LOVE IT! Well here's what I did:
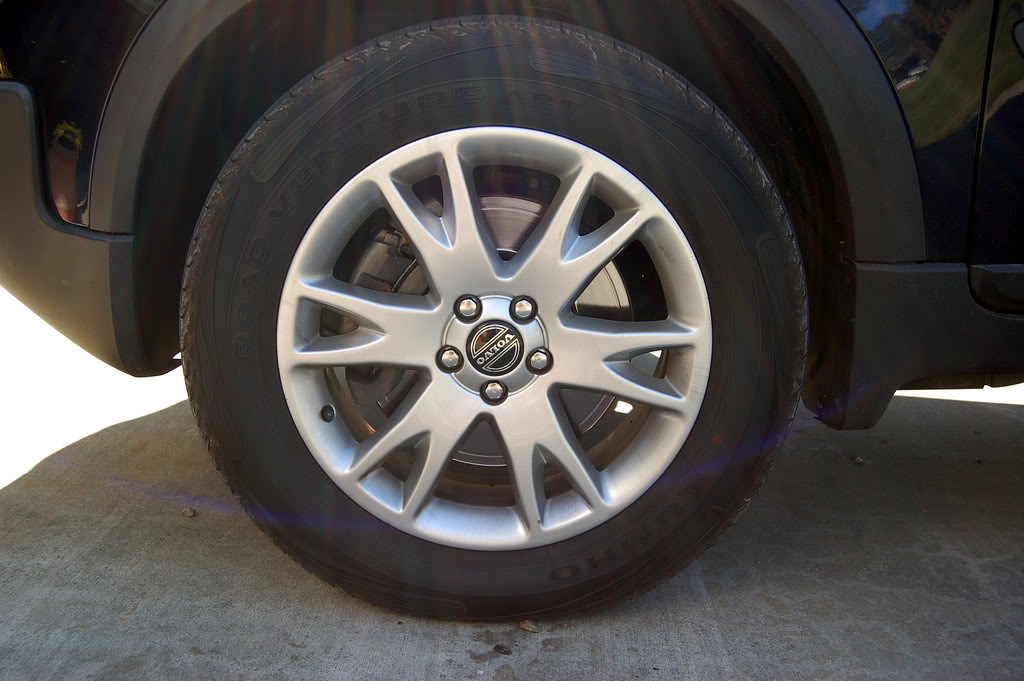
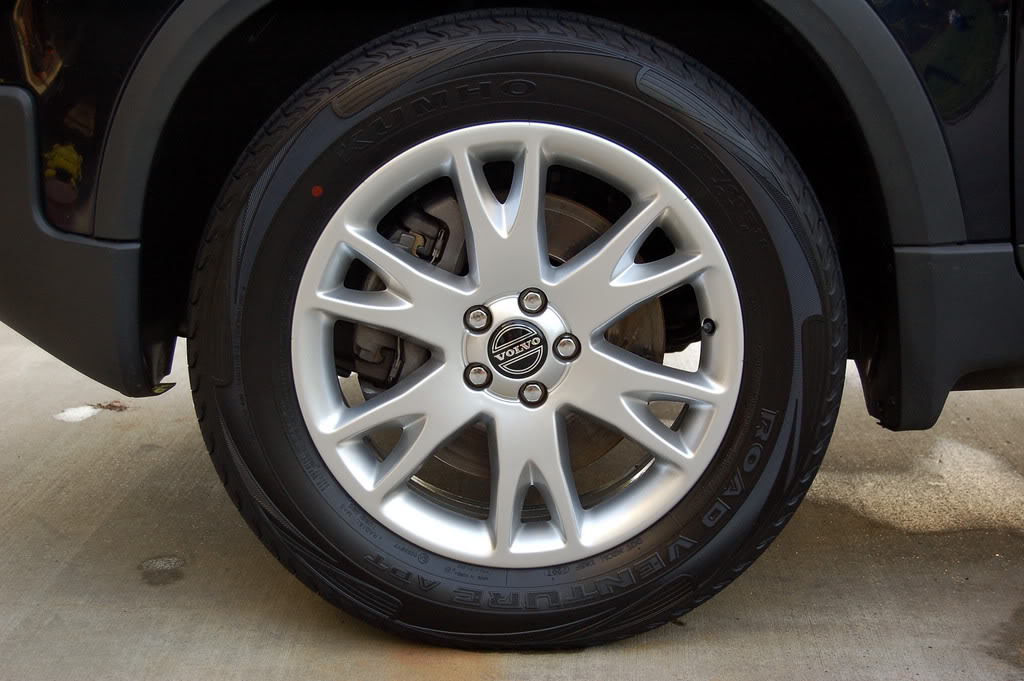
Tires/Wheels: I made up a mixture of Chemical GuysCitrus Wash & Gloss and Majestic Solutions Wash n Wax soap with 32 oz of water in an old spray bottle and attached it to my foam lance and used that for tires, wells, and wheels. The Volvo is well maintained so the tires/wheels were not that dirty. I used my black wheel shmitt and Swissvax wheel brush. Wells were treated with CGs Bare Bones and I decided to do something a little different with the wheels. I have some Majestic Solutions Super Dress All that is very durable but I don't really care for the look because it is really matte, I mean moreso than Surf City. It is very durable so I thought I would use it as a base layer and top that with CGs VRP. Man I love the look and if it's more durable that's just another plus. Both dressings were applied with CGs tire applicator.
Interior: I vacuumed with my shop vac and dusted all cracks and crevices with my Megs slide lock brush. I protected the interior plastic and vinyl with Optimum Interior Protectant applied with a Turtle Wax MF mitt. All woodgrain plastic, radio display, DVD screens and Speedo gauge cluster were cleaned with DP Plex All. Leather was cleaned with Leather Master Strong cleaner at 1:1 with demineralized water and a Megs interior brush. I then conditioned the leather with Wolfgangs Leather conditioner.
Door Jambs: I tried something on a couple of details I did this weekend and it worked great. I never got great success with QDs on really dirty door jambs because a lot of time it would just smear the dirt thus causing even more work. I decided to use Chemical Guys ONE. I used it just like I would on the car's paint. I sprayed it on wiped in one direction and after it hazed I buffed it off to a beautiful shine.
Wash: I used a strong mixture of Chemical Guys Citrus Wash & Gloss in my foam cannon and dried with a leaf blower and CGs Miracle Towel. I used a wash mop from Griots and a boars hair brush on all lower panels and bumpers.
Paint Prep: I wanted to make sure I had stripped off all the old LSP so I decided to clean the paint with Duragloss 501, the Flex 3401 polisherwith a 6" white Sonus Pad at speed 3. I buffed it off with a blue MF from Detailers Domain. Next I applied a layer of CGs Jetseal by hand with my polishing pal and a blue 4" LC CCS pad. I buffed it off with a CGs black and yellow MF.
LSP: Now the moment I had anxiously been waiting for. I opened the Original Edition and it smells like a combo of lemons and oranges. It's not as hard as I thought. I had been in contact with Ben the wax's creator about how to use it and I followed his instructions. I scraped a little bit of the top layer with a spoon and left it in the jar. I then took a 3" red pad and heated it with a hair dryer (this was an ad lib by me) and put it in the jar and worked it into the wax to get the oils going. I then applied in small circular motions very thin. The wax went on very easy and I made sure to go thin because Ben continually stressed this.
Because the original edition has slow evaporating solvents it's best to let it stand and cure for about 20 min. after application. I let it cure for about 30 mins before removing. I buffed it off with a CGs green edgeless MF. The wax was a little harder than others to come off but not overly hard. A little more work but boy was it worth it! After buffing it off I went back and gave the car a buff with a Cookie Monster MF from eShine.
Man I was astounded at the shine, depth, glow and slickness of this wax! I am so glad I started talking to Ben and bought both of these waxes. Per the instructions for the OE it says to wait about 2 more hours for the wax to cure and then hit it with a QD and buff it again. So 2 hours later I hit it with Clearkote Quickshine and one of the Eurow towels and then rebuffed it with the Cookie Monster. When I finished I was like !
!
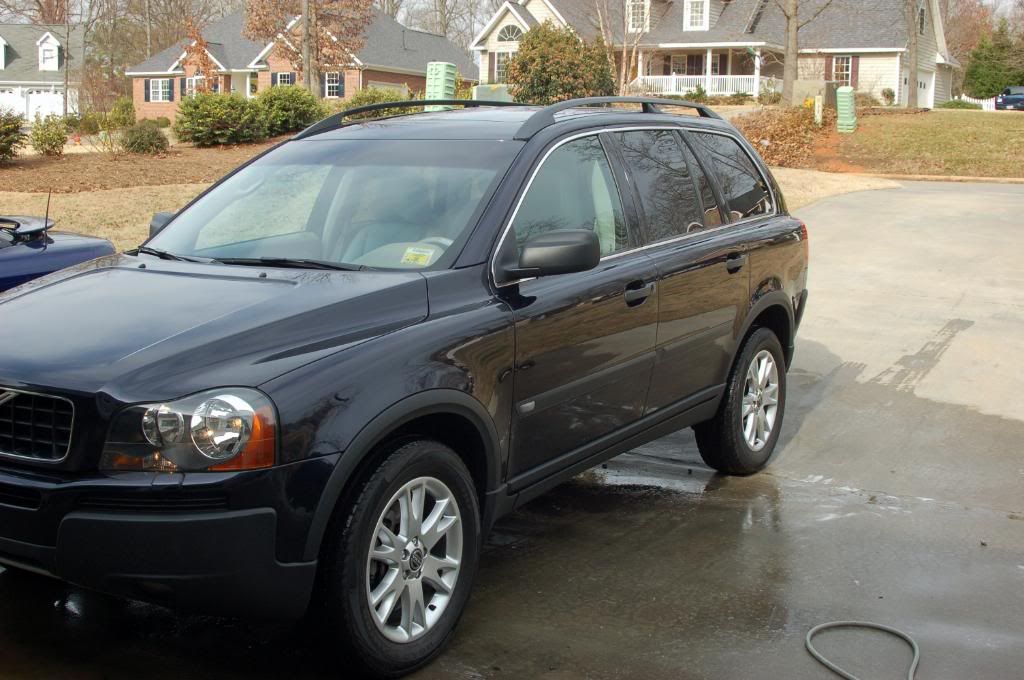
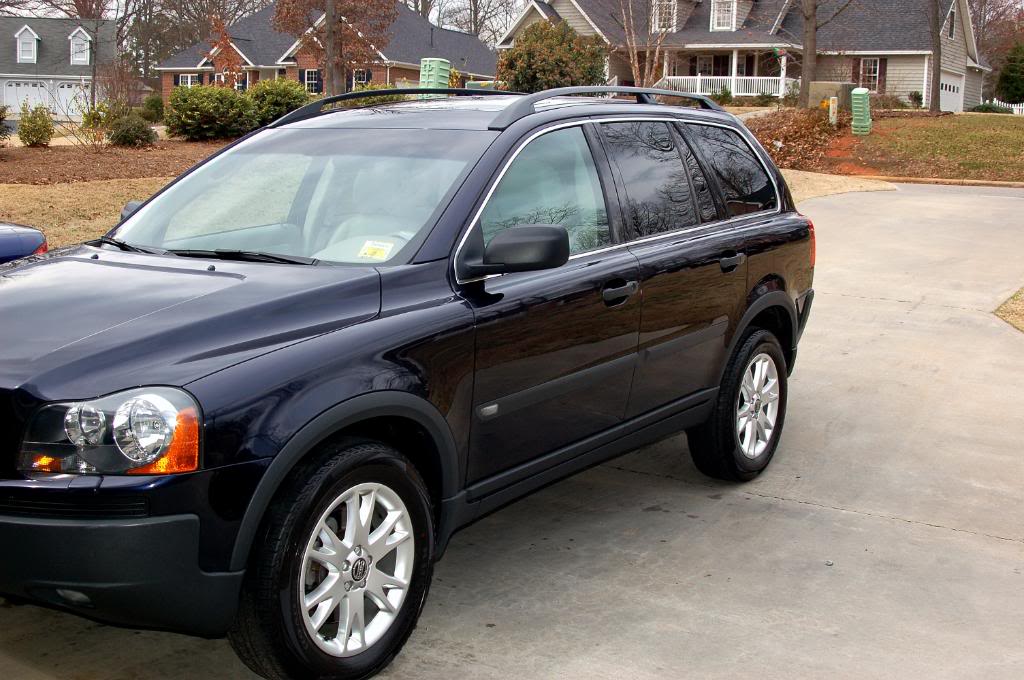
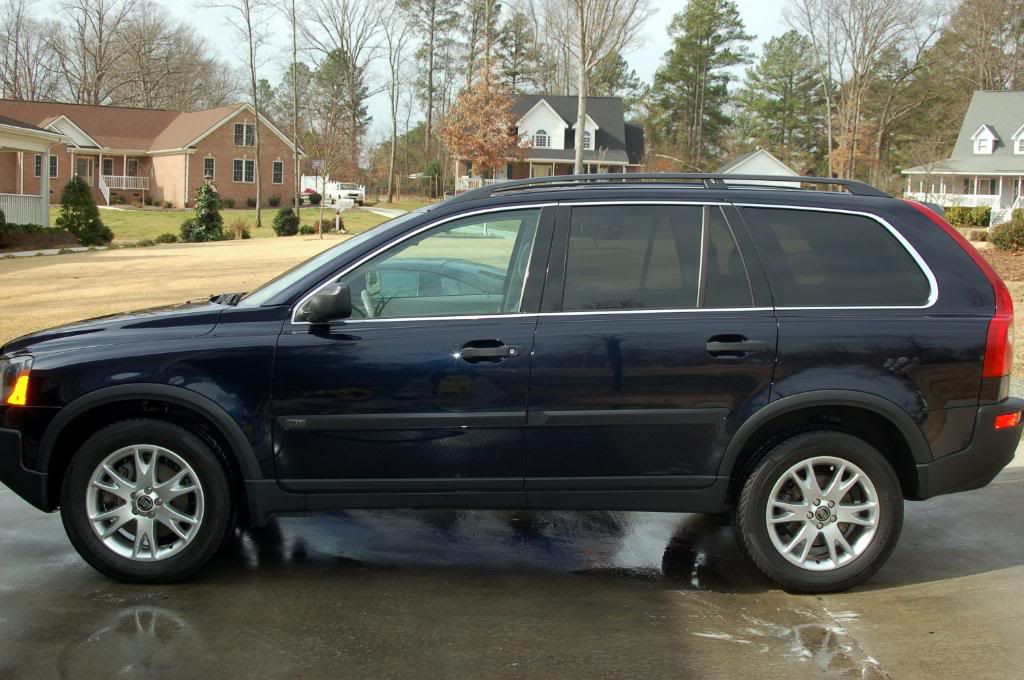
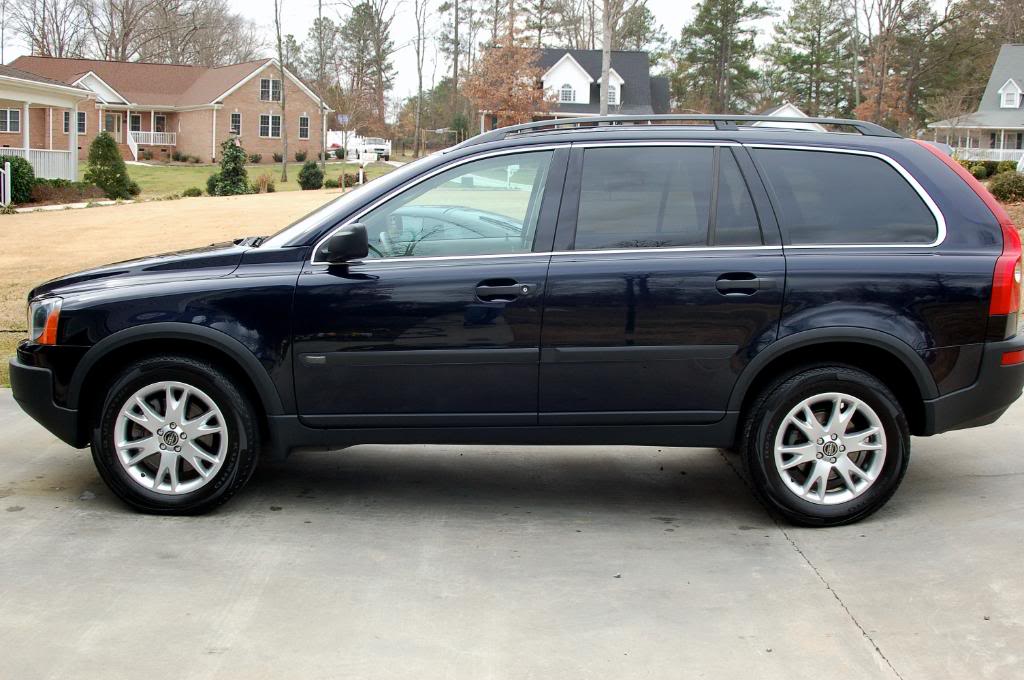
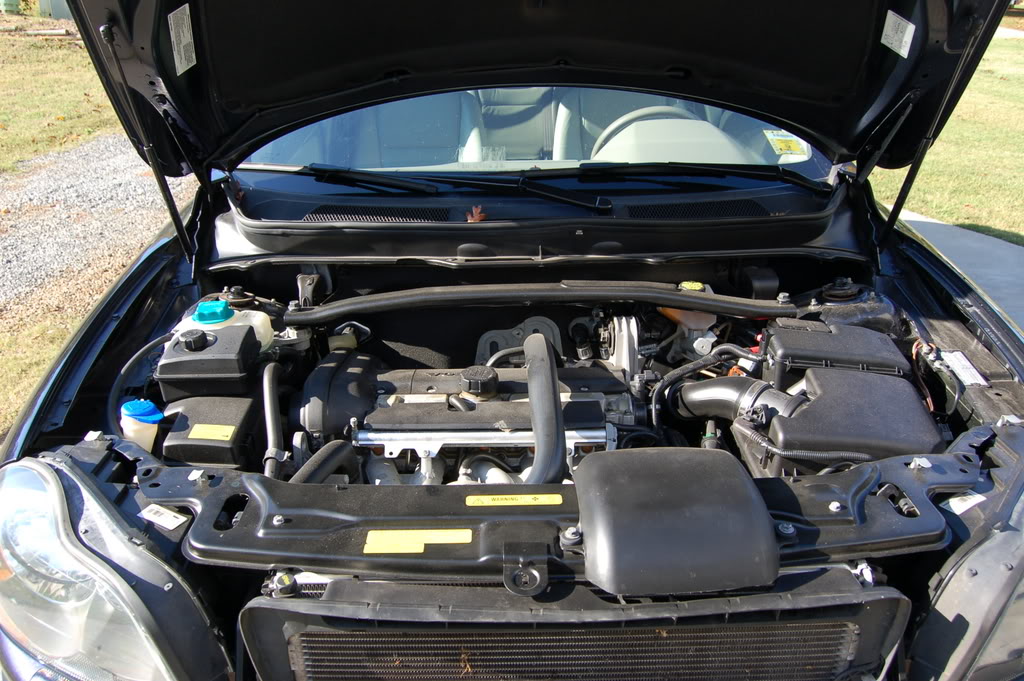
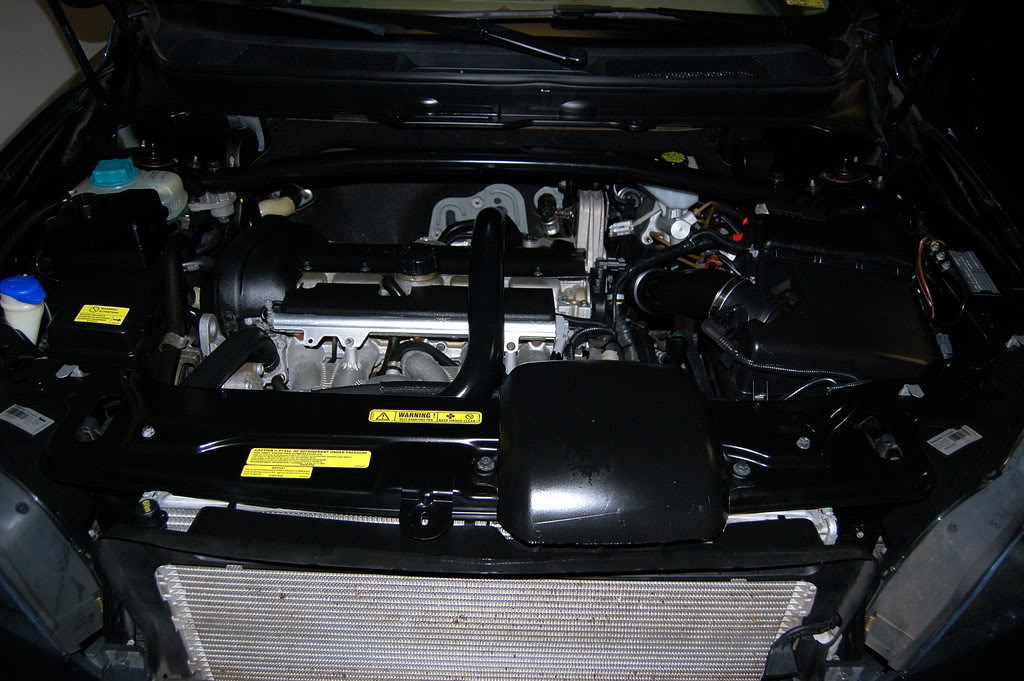
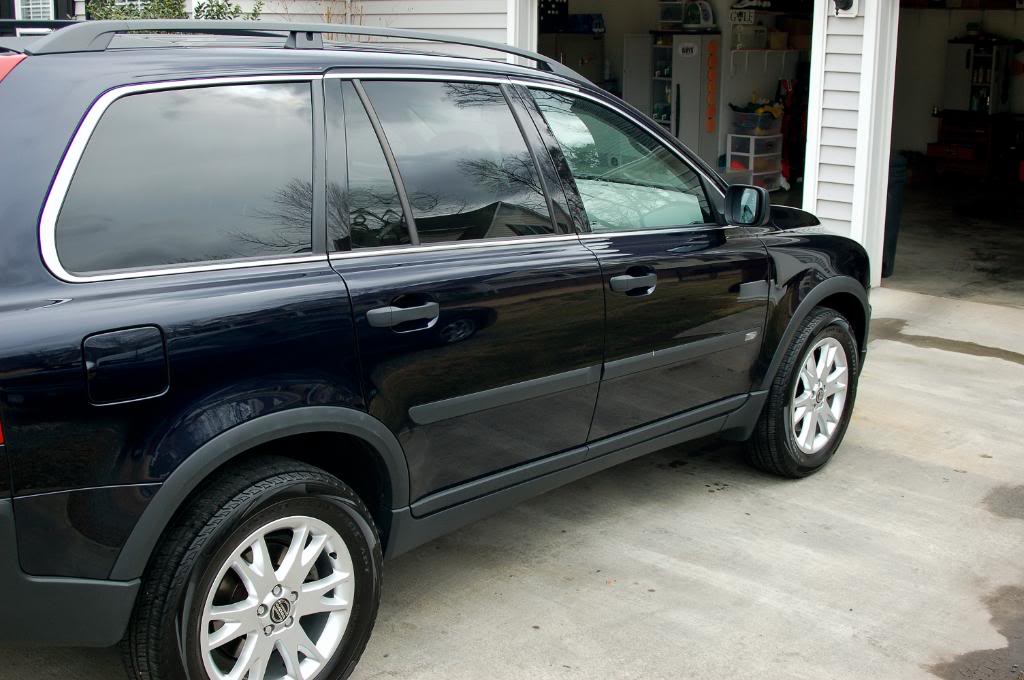
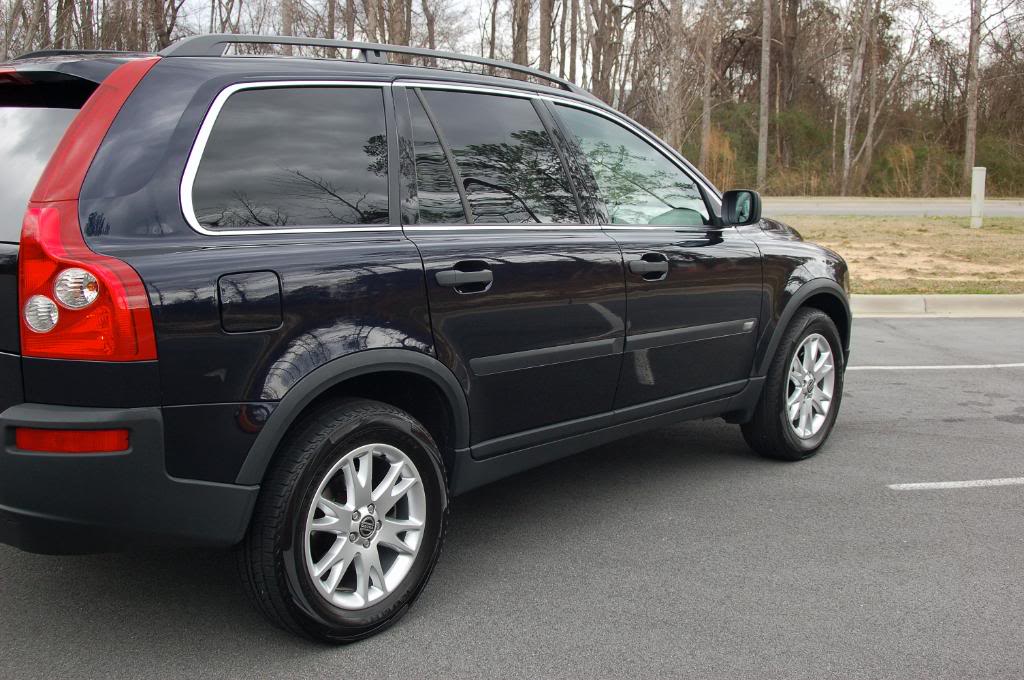
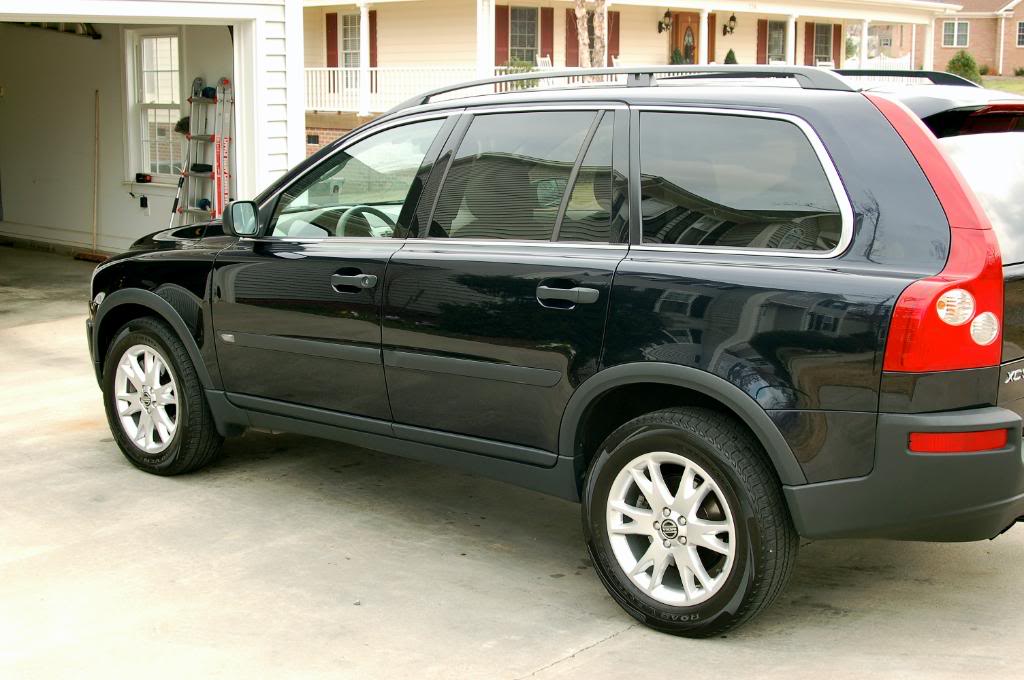
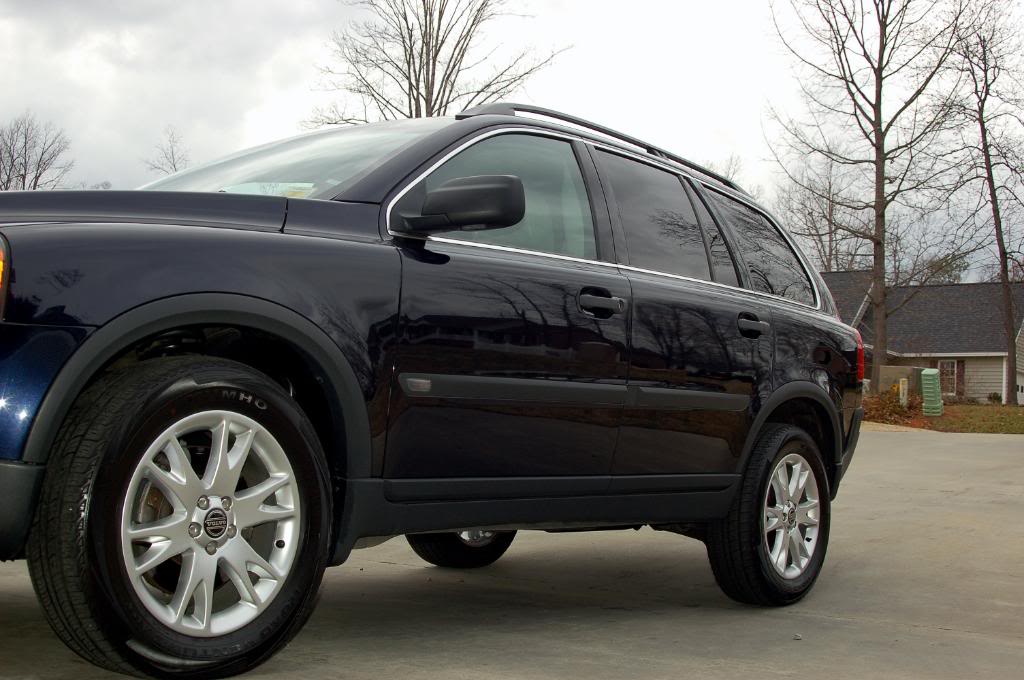
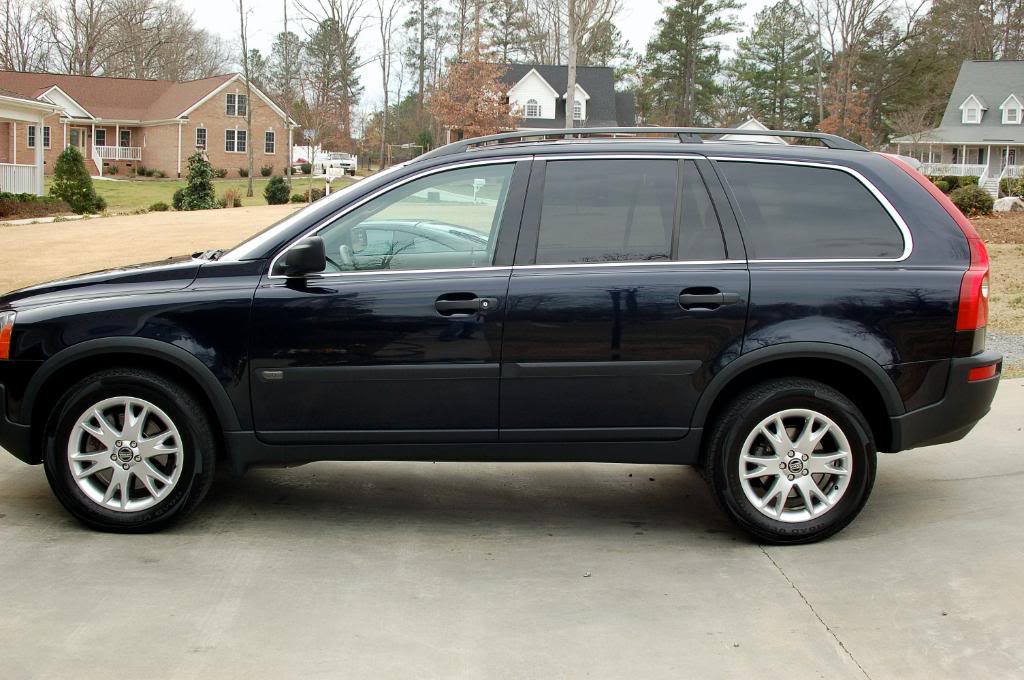
Well here are the pics:
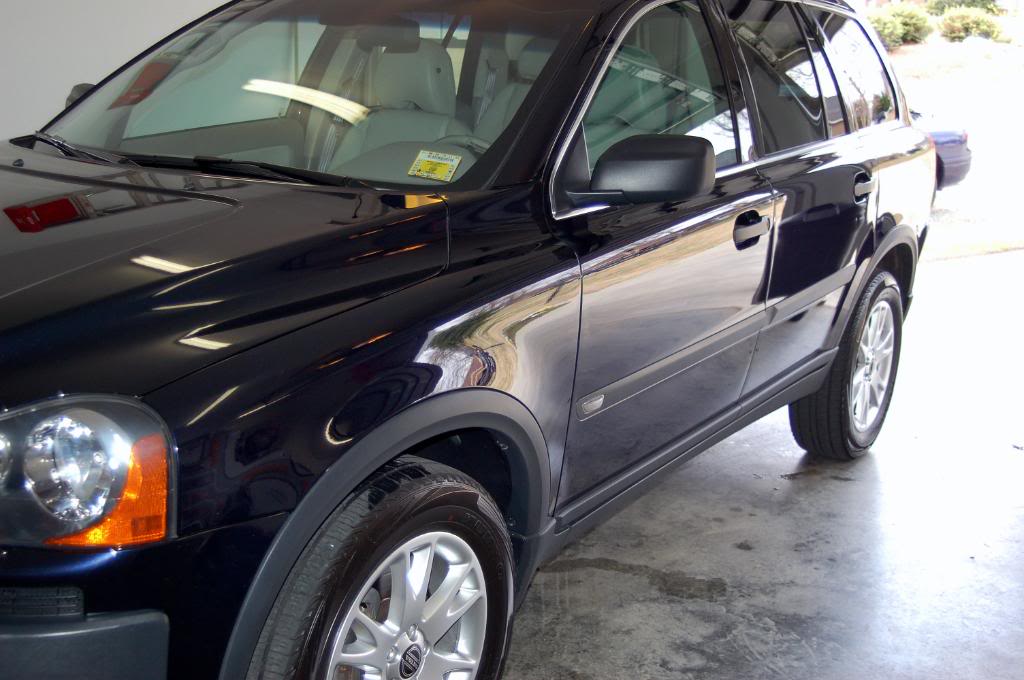
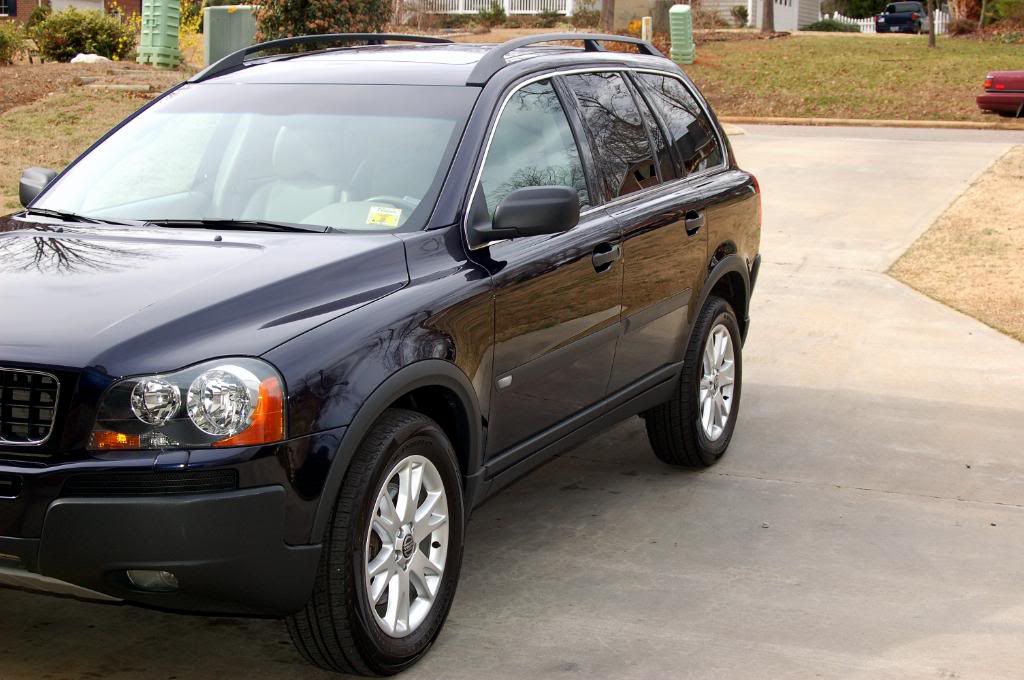
Some befores (really after the wash) and afters (after the application of Rubbish Boys):
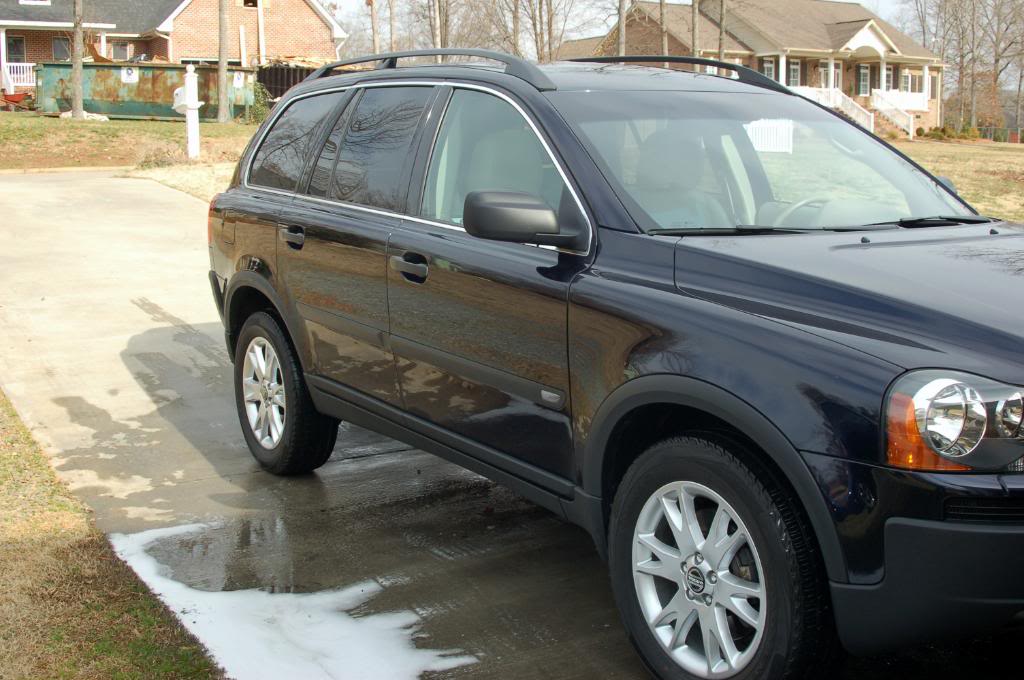
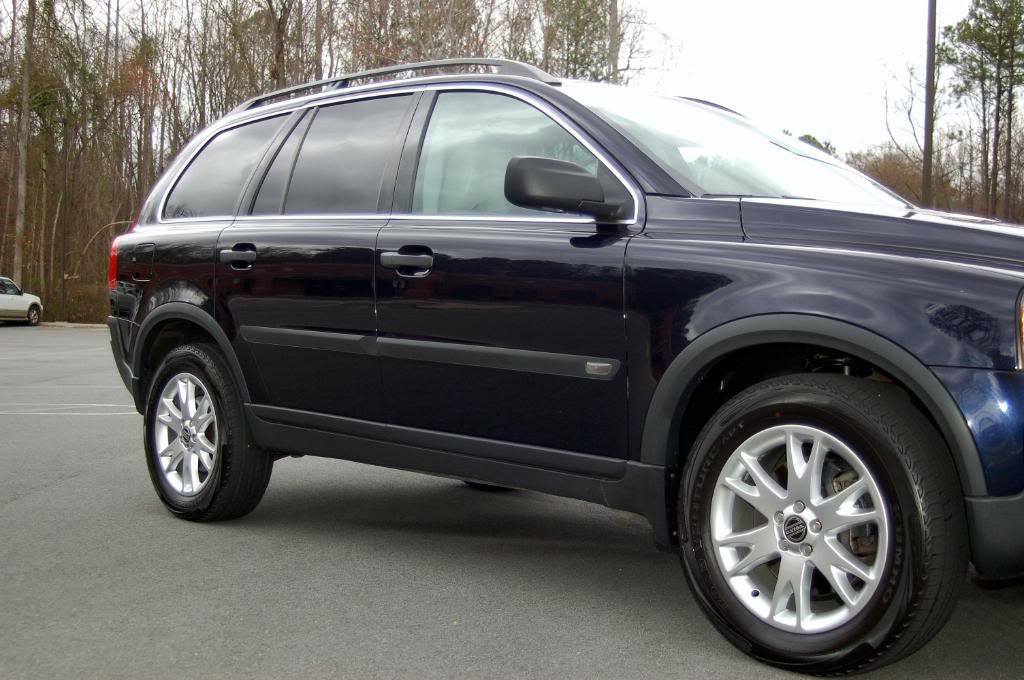
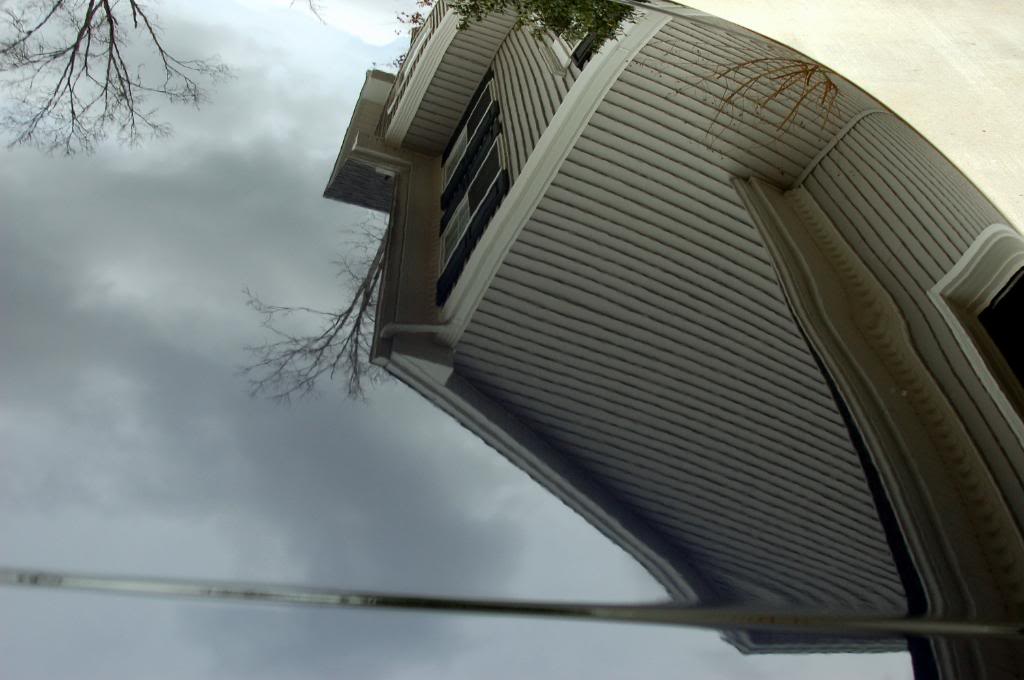
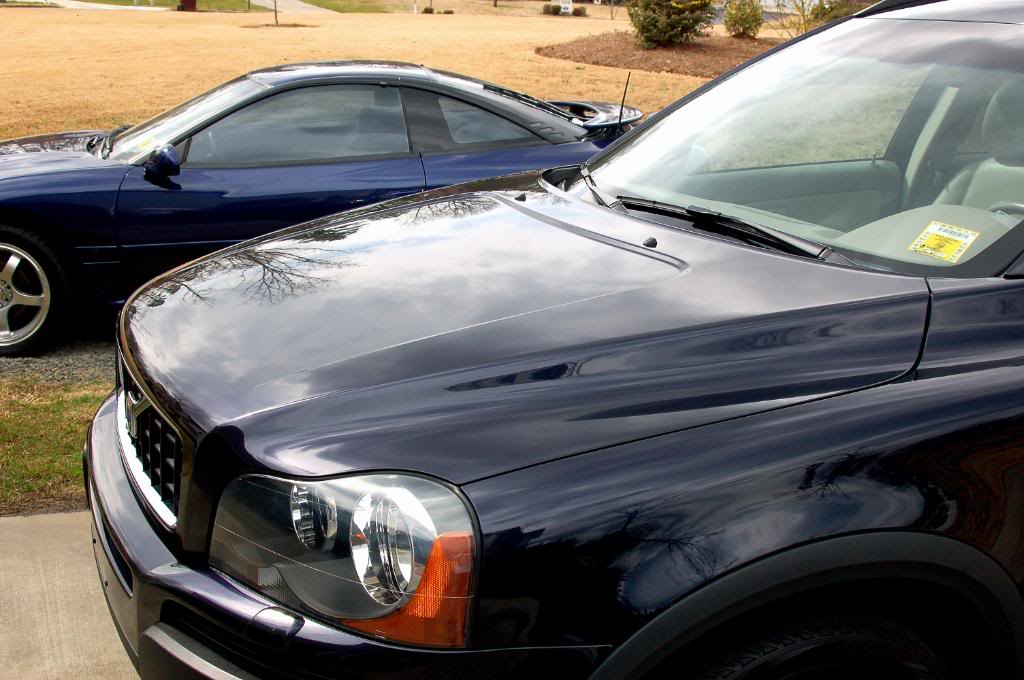
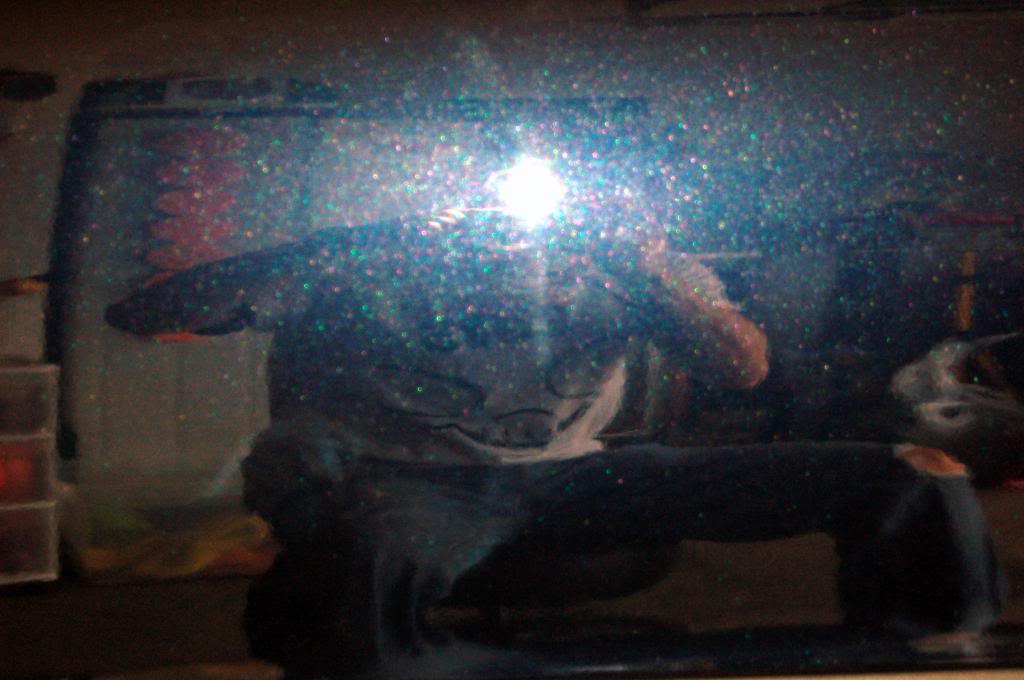
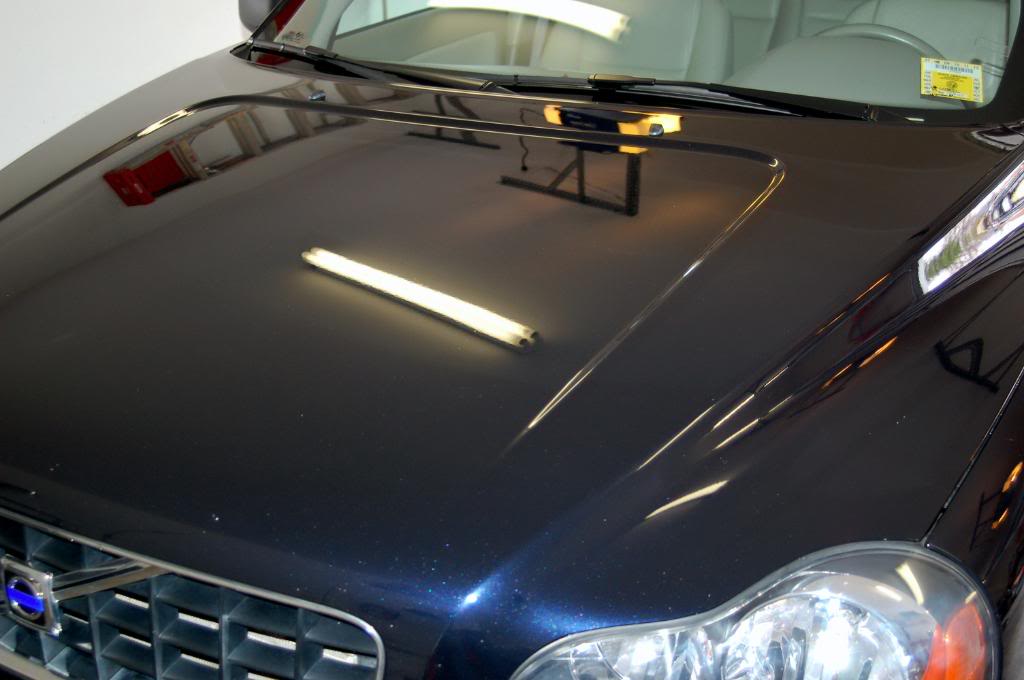
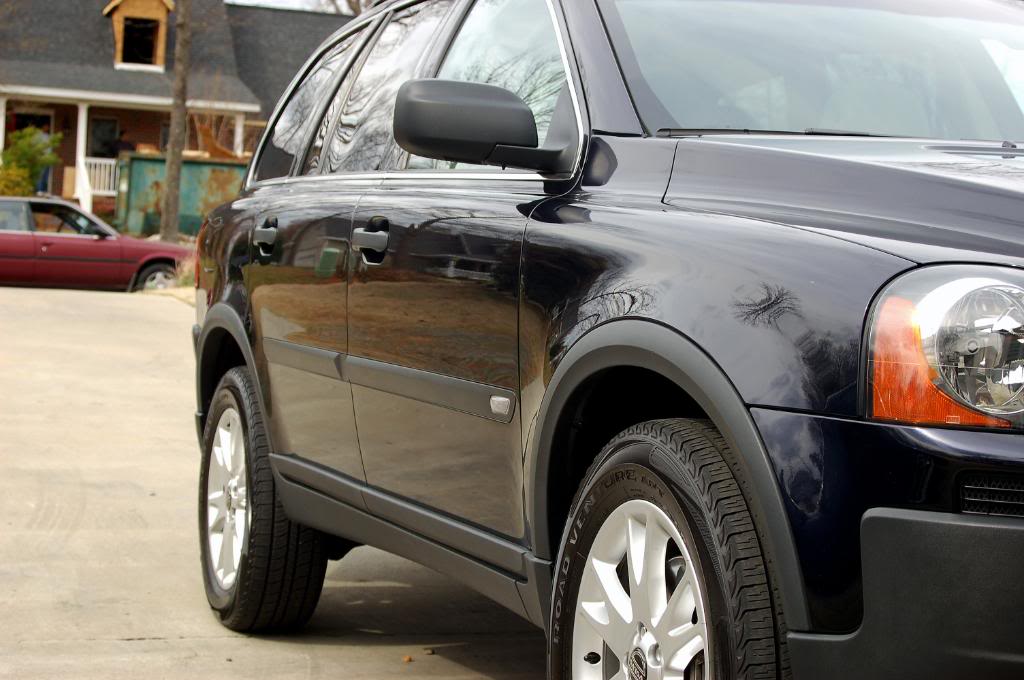
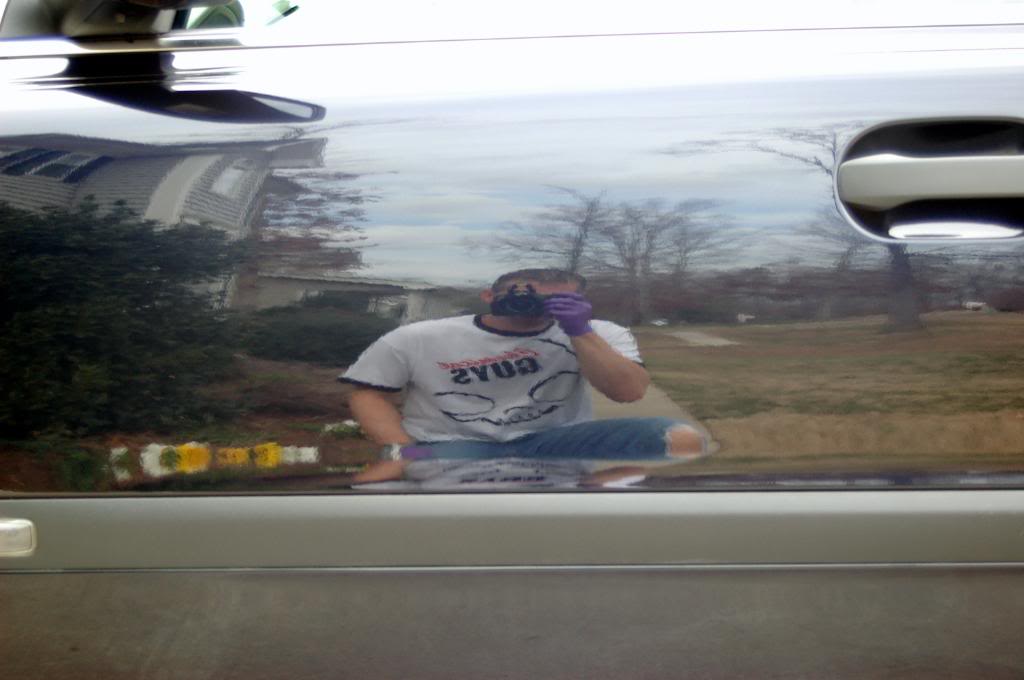
Some random and reflection shots

I decided to redo my wife's Volvo XC90 and give the Rubbish Boys a go! Well I did a good detail inside and out but the only pics are of the exterior to give a show at this wax. I will give you a little hint about the wax.....I LOVE IT! Well here's what I did:
Tires/Wheels: I made up a mixture of Chemical GuysCitrus Wash & Gloss and Majestic Solutions Wash n Wax soap with 32 oz of water in an old spray bottle and attached it to my foam lance and used that for tires, wells, and wheels. The Volvo is well maintained so the tires/wheels were not that dirty. I used my black wheel shmitt and Swissvax wheel brush. Wells were treated with CGs Bare Bones and I decided to do something a little different with the wheels. I have some Majestic Solutions Super Dress All that is very durable but I don't really care for the look because it is really matte, I mean moreso than Surf City. It is very durable so I thought I would use it as a base layer and top that with CGs VRP. Man I love the look and if it's more durable that's just another plus. Both dressings were applied with CGs tire applicator.
Interior: I vacuumed with my shop vac and dusted all cracks and crevices with my Megs slide lock brush. I protected the interior plastic and vinyl with Optimum Interior Protectant applied with a Turtle Wax MF mitt. All woodgrain plastic, radio display, DVD screens and Speedo gauge cluster were cleaned with DP Plex All. Leather was cleaned with Leather Master Strong cleaner at 1:1 with demineralized water and a Megs interior brush. I then conditioned the leather with Wolfgangs Leather conditioner.
Door Jambs: I tried something on a couple of details I did this weekend and it worked great. I never got great success with QDs on really dirty door jambs because a lot of time it would just smear the dirt thus causing even more work. I decided to use Chemical Guys ONE. I used it just like I would on the car's paint. I sprayed it on wiped in one direction and after it hazed I buffed it off to a beautiful shine.
Wash: I used a strong mixture of Chemical Guys Citrus Wash & Gloss in my foam cannon and dried with a leaf blower and CGs Miracle Towel. I used a wash mop from Griots and a boars hair brush on all lower panels and bumpers.
Paint Prep: I wanted to make sure I had stripped off all the old LSP so I decided to clean the paint with Duragloss 501, the Flex 3401 polisherwith a 6" white Sonus Pad at speed 3. I buffed it off with a blue MF from Detailers Domain. Next I applied a layer of CGs Jetseal by hand with my polishing pal and a blue 4" LC CCS pad. I buffed it off with a CGs black and yellow MF.
LSP: Now the moment I had anxiously been waiting for. I opened the Original Edition and it smells like a combo of lemons and oranges. It's not as hard as I thought. I had been in contact with Ben the wax's creator about how to use it and I followed his instructions. I scraped a little bit of the top layer with a spoon and left it in the jar. I then took a 3" red pad and heated it with a hair dryer (this was an ad lib by me) and put it in the jar and worked it into the wax to get the oils going. I then applied in small circular motions very thin. The wax went on very easy and I made sure to go thin because Ben continually stressed this.
Because the original edition has slow evaporating solvents it's best to let it stand and cure for about 20 min. after application. I let it cure for about 30 mins before removing. I buffed it off with a CGs green edgeless MF. The wax was a little harder than others to come off but not overly hard. A little more work but boy was it worth it! After buffing it off I went back and gave the car a buff with a Cookie Monster MF from eShine.
Man I was astounded at the shine, depth, glow and slickness of this wax! I am so glad I started talking to Ben and bought both of these waxes. Per the instructions for the OE it says to wait about 2 more hours for the wax to cure and then hit it with a QD and buff it again. So 2 hours later I hit it with Clearkote Quickshine and one of the Eurow towels and then rebuffed it with the Cookie Monster. When I finished I was like
!Well here are the pics:
Some befores (really after the wash) and afters (after the application of Rubbish Boys):
Some random and reflection shots


Thread
Thread Starter
Forum
Replies
Last Post
4ofHearts
Volvo 260, 760 & 960
0
Mar 17, 2008 04:40 AM