
Gas Tank Removal/Leak Fix +Pics


Thread Starter
|
Senior Member
Joined: Jun 2010
Posts: 752
Likes: 3
From: Palm Springs, FL
Here is the write-up.
I followed a link on matthewsvolvosite.com as a reference. Mine is a little different.
1. Disconnect the negative battery cable for safety.
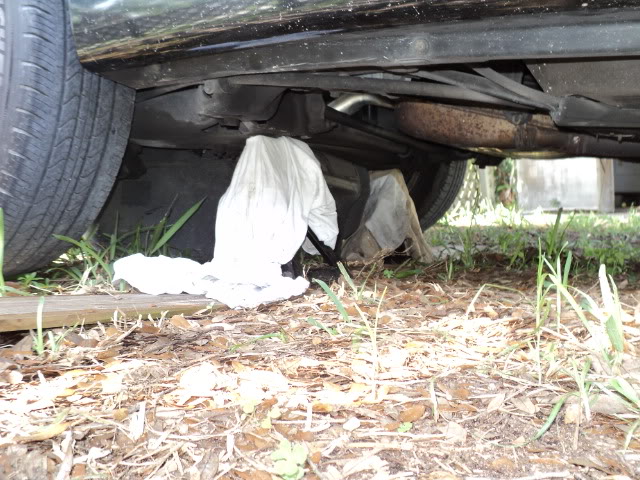
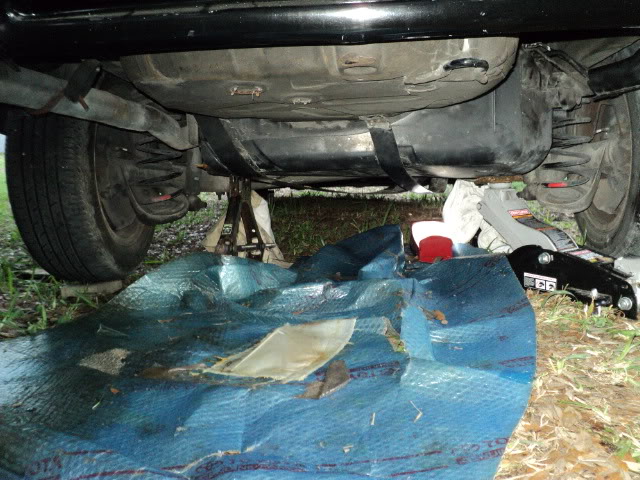
2. Block the front wheels, jack up the rear, use some jack stands to hold up the rear.
3. Remove the floor board to open up the area to access the top of the fuel pump and sender.
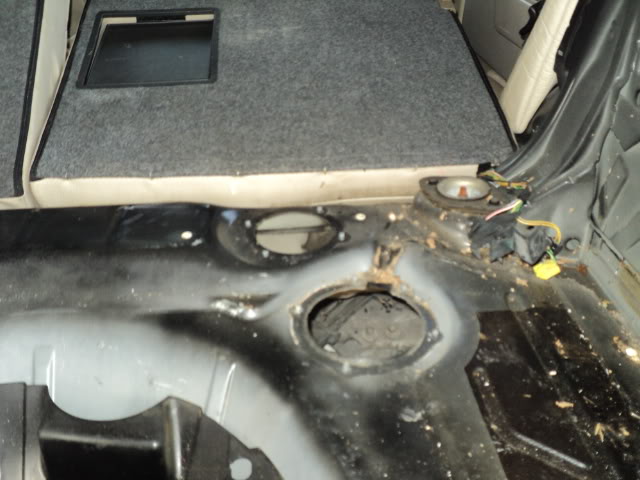
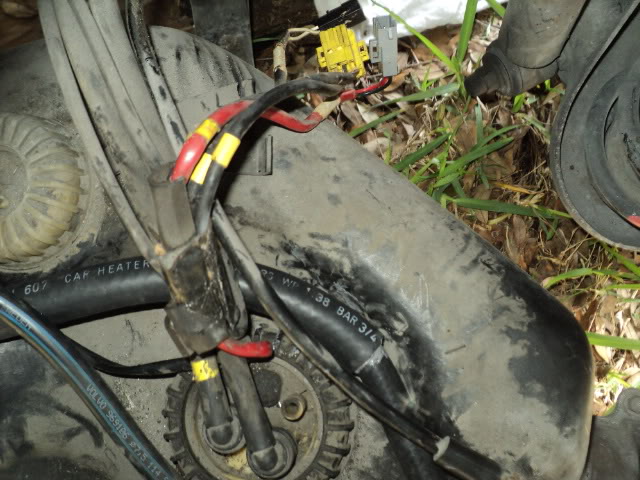
4. Unbolt the cover over the fuel pump and sender. Unhook the electrical connectors so they can go through the hole when dropping the tank.
5. Unscrew the gas cap so you can lower the tank.
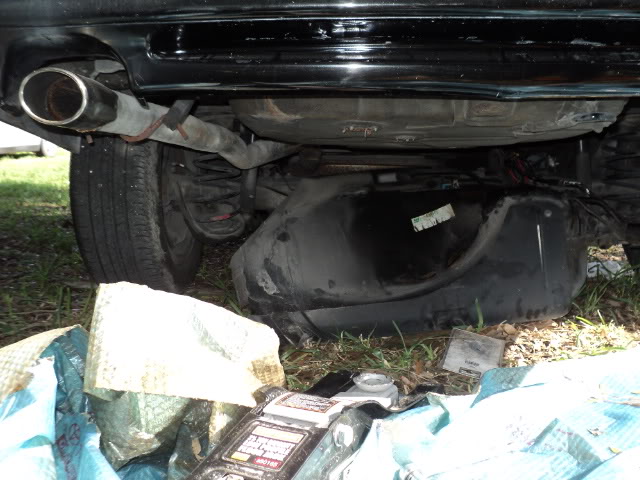
6. Line up a floor jack to support the gas tank when you unbolt the supports. There are 3 bolts that hold up the metal band supports. Unbolt them and use your floor jack to slowly lower the tank while guiding the fuel filler tube as you slowly lower the tank. Move the metal bands out of the way and lower the tank. Make sure your electrical connectors come through the holes without getting hung up.
7. The cracked hose has two different sized ends.
Get one 3/4" and 1/2" fuel line hose will suffice, just get some JB Weld to make sure the hoses are joined airtight.
The hose where my finger's on is the rigged replacement..as you can tell at the center of the hose is where I applied JB Weld before slowly twisting the smaller 1/2" hose into the larger 3/4" inch hose.
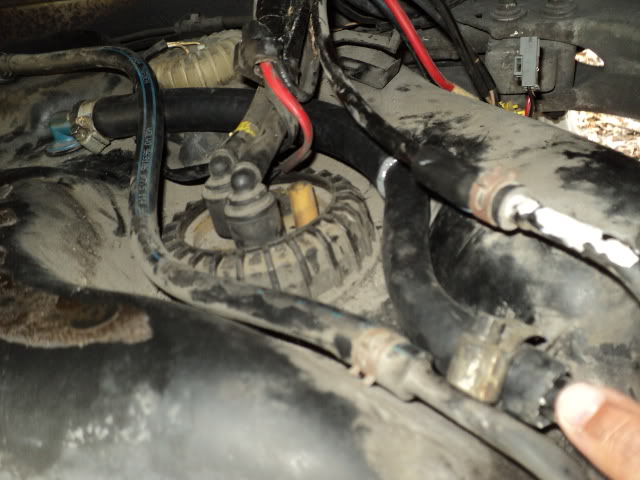
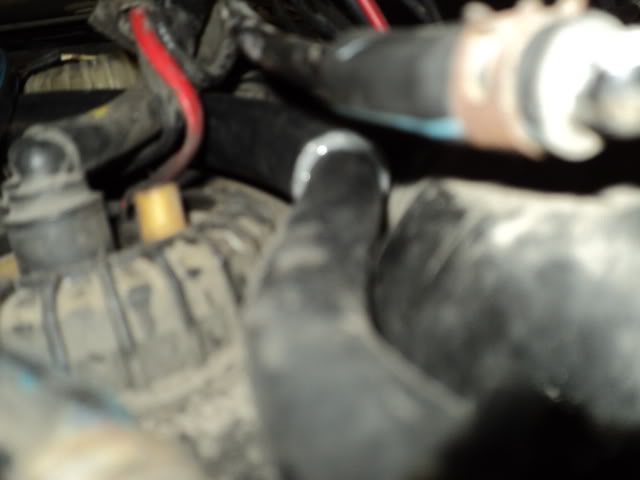
The skinny blue/yellow lined Volvo hose SHOULD BE LOWER THAN THE RIGGED HOSE I redid this but took no pics.
8. After hooking up the hoses, get your tank back on the floor jack and begin the process of raising the tank. Make sure your jack is not in the way of the metal supports. Guide the filler hose back up to the filler door as you jack up the tank. As the tank gets higher, work the electrical connectors back through the hole, jack and line up the tank gooseneck to push through the filler hole.
9. BRING OUT YOUR VACUUM CLEANER! SUCK OUT THE EXCESS DIRT SHARDS ACCUMULATED IN THE TANK GOOSENECK FROM TWISTING AND LINING UP TO GET THROUGH THE FUEL DOOR.
10. You'll have to get a flathead and work the rubber seal around the metal filler neck so you can screw back on the gas cap.
11. Now to put on the two metal supports for the gas tank. Just get a few threads started on the front bolt and then work on getting the rear bolts. They can be very tricky but stick it out.
I had to get my other OEM jack from my old car to hold one end of the tank, while using the floor jack to hold the other end up to get the metal supports on correctly.
Done!
Car should feel more consistent under part/full throttle now that there are no air pockets in the fuel line.
I followed a link on matthewsvolvosite.com as a reference. Mine is a little different.
1. Disconnect the negative battery cable for safety.
2. Block the front wheels, jack up the rear, use some jack stands to hold up the rear.
3. Remove the floor board to open up the area to access the top of the fuel pump and sender.
4. Unbolt the cover over the fuel pump and sender. Unhook the electrical connectors so they can go through the hole when dropping the tank.
5. Unscrew the gas cap so you can lower the tank.
6. Line up a floor jack to support the gas tank when you unbolt the supports. There are 3 bolts that hold up the metal band supports. Unbolt them and use your floor jack to slowly lower the tank while guiding the fuel filler tube as you slowly lower the tank. Move the metal bands out of the way and lower the tank. Make sure your electrical connectors come through the holes without getting hung up.
7. The cracked hose has two different sized ends.
Get one 3/4" and 1/2" fuel line hose will suffice, just get some JB Weld to make sure the hoses are joined airtight.
The hose where my finger's on is the rigged replacement..as you can tell at the center of the hose is where I applied JB Weld before slowly twisting the smaller 1/2" hose into the larger 3/4" inch hose.
The skinny blue/yellow lined Volvo hose SHOULD BE LOWER THAN THE RIGGED HOSE I redid this but took no pics.
8. After hooking up the hoses, get your tank back on the floor jack and begin the process of raising the tank. Make sure your jack is not in the way of the metal supports. Guide the filler hose back up to the filler door as you jack up the tank. As the tank gets higher, work the electrical connectors back through the hole, jack and line up the tank gooseneck to push through the filler hole.
9. BRING OUT YOUR VACUUM CLEANER! SUCK OUT THE EXCESS DIRT SHARDS ACCUMULATED IN THE TANK GOOSENECK FROM TWISTING AND LINING UP TO GET THROUGH THE FUEL DOOR.
10. You'll have to get a flathead and work the rubber seal around the metal filler neck so you can screw back on the gas cap.
11. Now to put on the two metal supports for the gas tank. Just get a few threads started on the front bolt and then work on getting the rear bolts. They can be very tricky but stick it out.
I had to get my other OEM jack from my old car to hold one end of the tank, while using the floor jack to hold the other end up to get the metal supports on correctly.
Done!
Car should feel more consistent under part/full throttle now that there are no air pockets in the fuel line.
Last edited by Vmax; Jul 10, 2011 at 01:19 PM. Reason: '


Junior Member
Joined: Aug 2012
Posts: 4
Likes: 0
Thanks Vmax, this helped me a great deal while doing the tank drop today. Lowering it was a breeze but getting it back in place was a pain in the rear end. I am now taking a break to cool off and then back to test the car and close everything up.

Thread
Thread Starter
Forum
Replies
Last Post