Bumper Trim/Door Handle Painting (Kiwi Leather Dye)
#1
 06-16-2007, 08:53 PM


Join Date: Sep 2006
Posts: 1,181
Likes: 0
Received 0 Likes
on
0 Posts
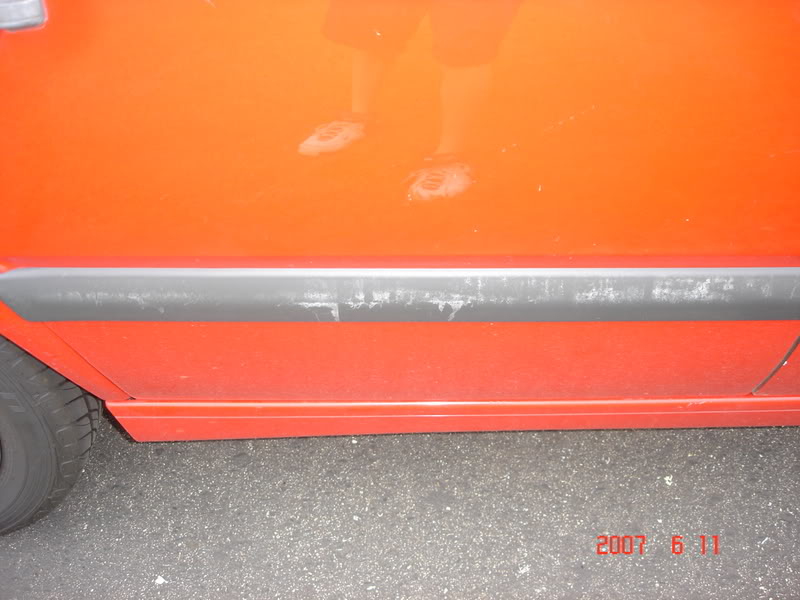
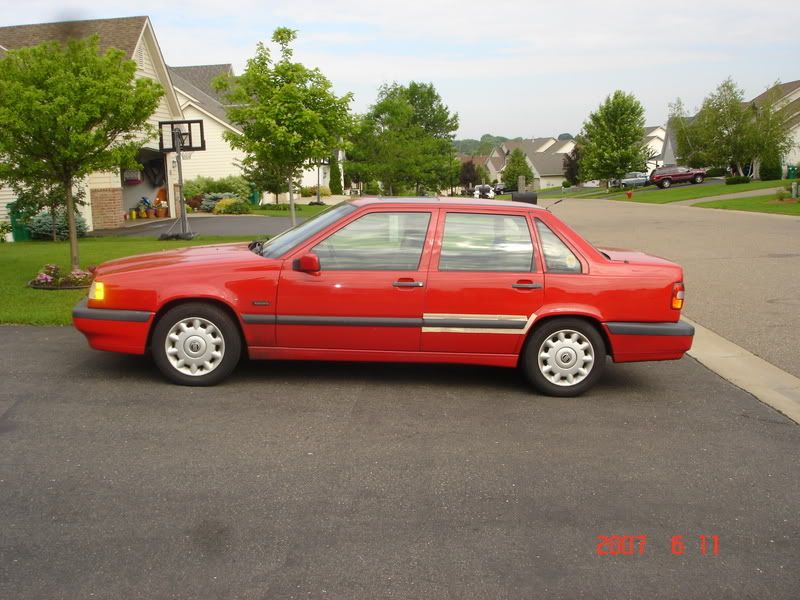
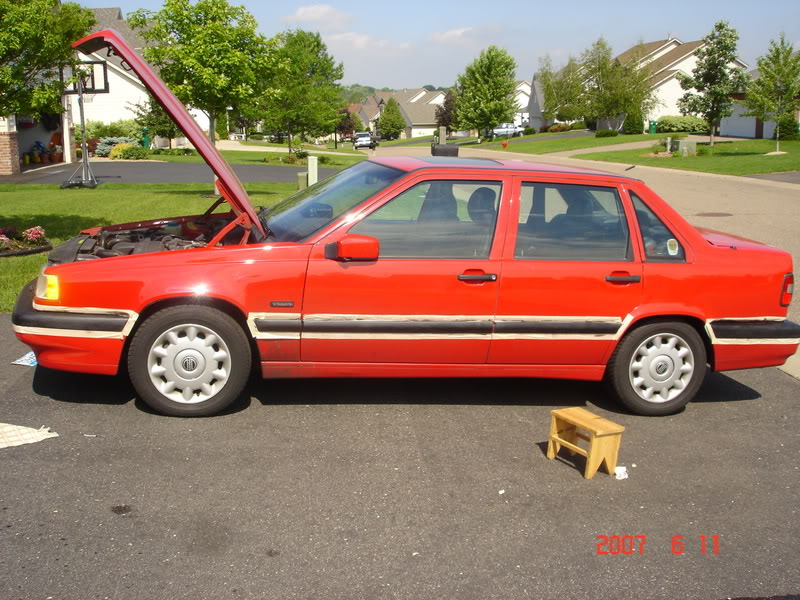
So my bumpers were kind of faded, so I decided to paint them w/ Kiwi Leather Dye. It was $3.49 and I could only manage to find it at the local supermarket.
Before
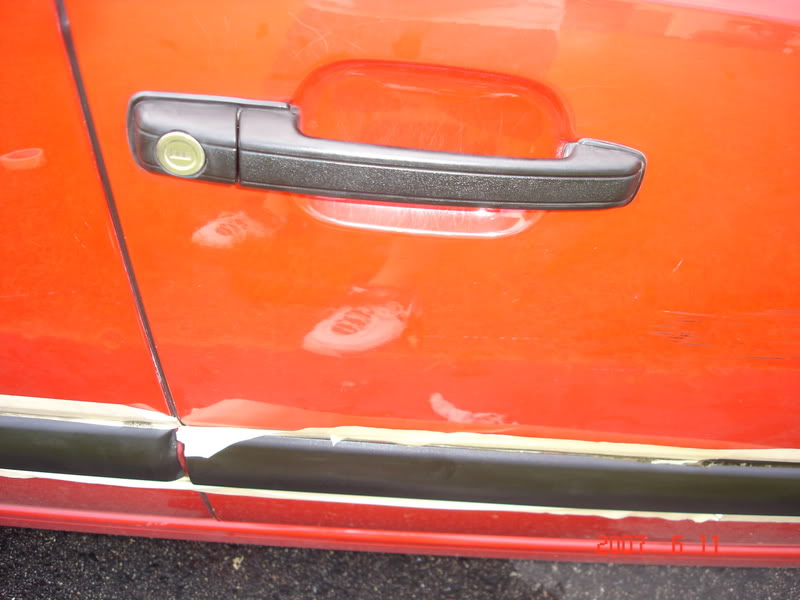
During
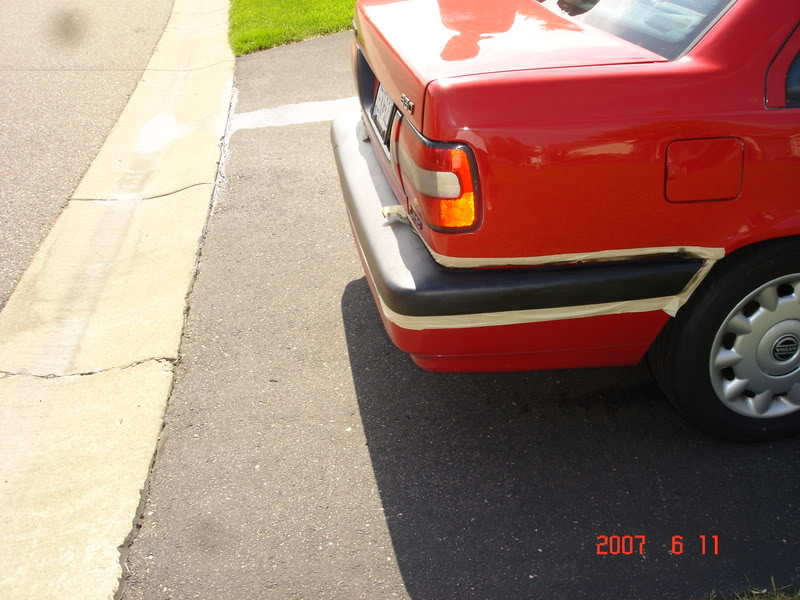
After
On a 10 point scale w/ 10 being the hardest, I'd say it's about a 6-7.
-The prep work (taping) is not needed, since a wet towel can get the Kiwi Dye right off, but it makes the job somewhat easier since you don't need to continually rub off all the residue off your point.
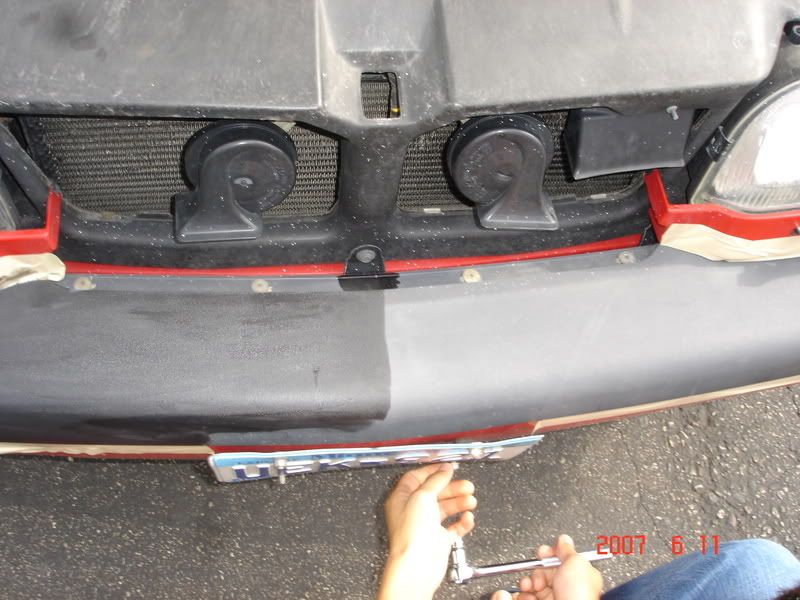
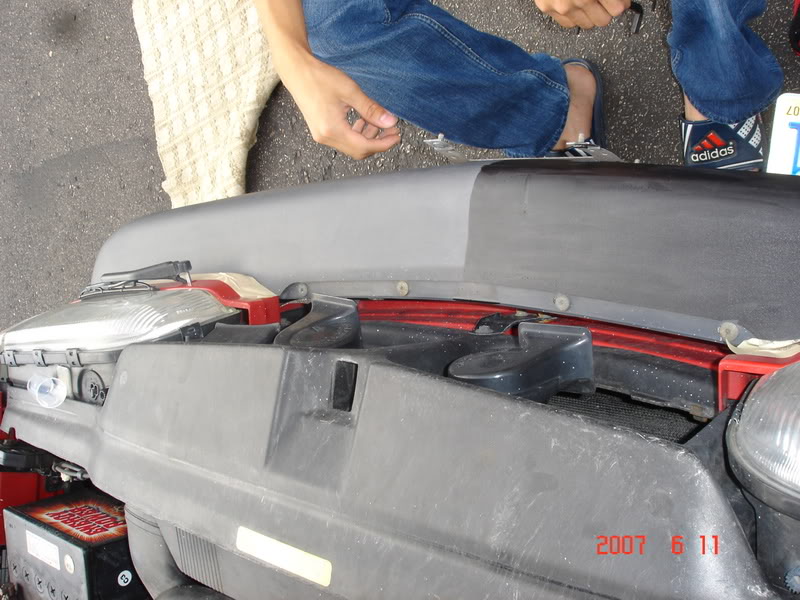
-I'd say prepping the car, and doing the prep was a major PITA since you need to tape right on the edge of the bumper trim.
-Brushing it evenly is pretty hard too. It's hard to get the bumper looking like it came that way. Especially in the sunlight, you can really tell that someone painted over the bumper. Also, some spots for whatever reason don't seem to take to the dye very well and you need a couple coats for it to really stick.
-The Day was really really really really hot, and it sucked lol.
-It's very hard to get at the areas where the body panel meets the trim since the head that comes w/ the Kiwi Dye doesn't fit very well. Right now, I still need to touch those areas up. I tried using a Q-tip, but it didn't work great. You really only notice if you're upclose.
In the end, I would say it's a worthwhile job if you have the time since it's pretty cheap.
I'm kind of 60/40 about the job.
It looks a lot better than the faded bumper, and in the nighttime, it looks perfect, and is a flat black.
However, during the day, it looks somewhat sloppy up close (within 10 feet).
Hope this helps someone in the future, or at least gives them some confidence in doing such a job. Really, the toughest part is getting the dye to look like your bumper came black stock. Maybe someone else can jump in and give some tips.
Before
During
After
On a 10 point scale w/ 10 being the hardest, I'd say it's about a 6-7.
-The prep work (taping) is not needed, since a wet towel can get the Kiwi Dye right off, but it makes the job somewhat easier since you don't need to continually rub off all the residue off your point.
-I'd say prepping the car, and doing the prep was a major PITA since you need to tape right on the edge of the bumper trim.
-Brushing it evenly is pretty hard too. It's hard to get the bumper looking like it came that way. Especially in the sunlight, you can really tell that someone painted over the bumper. Also, some spots for whatever reason don't seem to take to the dye very well and you need a couple coats for it to really stick.
-The Day was really really really really hot, and it sucked lol.
-It's very hard to get at the areas where the body panel meets the trim since the head that comes w/ the Kiwi Dye doesn't fit very well. Right now, I still need to touch those areas up. I tried using a Q-tip, but it didn't work great. You really only notice if you're upclose.
In the end, I would say it's a worthwhile job if you have the time since it's pretty cheap.
I'm kind of 60/40 about the job.
It looks a lot better than the faded bumper, and in the nighttime, it looks perfect, and is a flat black.
However, during the day, it looks somewhat sloppy up close (within 10 feet).
Hope this helps someone in the future, or at least gives them some confidence in doing such a job. Really, the toughest part is getting the dye to look like your bumper came black stock. Maybe someone else can jump in and give some tips.

Thread
Thread Starter
Forum
Replies
Last Post