
Unofficial 855 Project Threadz


Thread Starter
|
Senior Member
Joined: Apr 2008
Posts: 3,948
Likes: 3
From: Milwaukee, WI
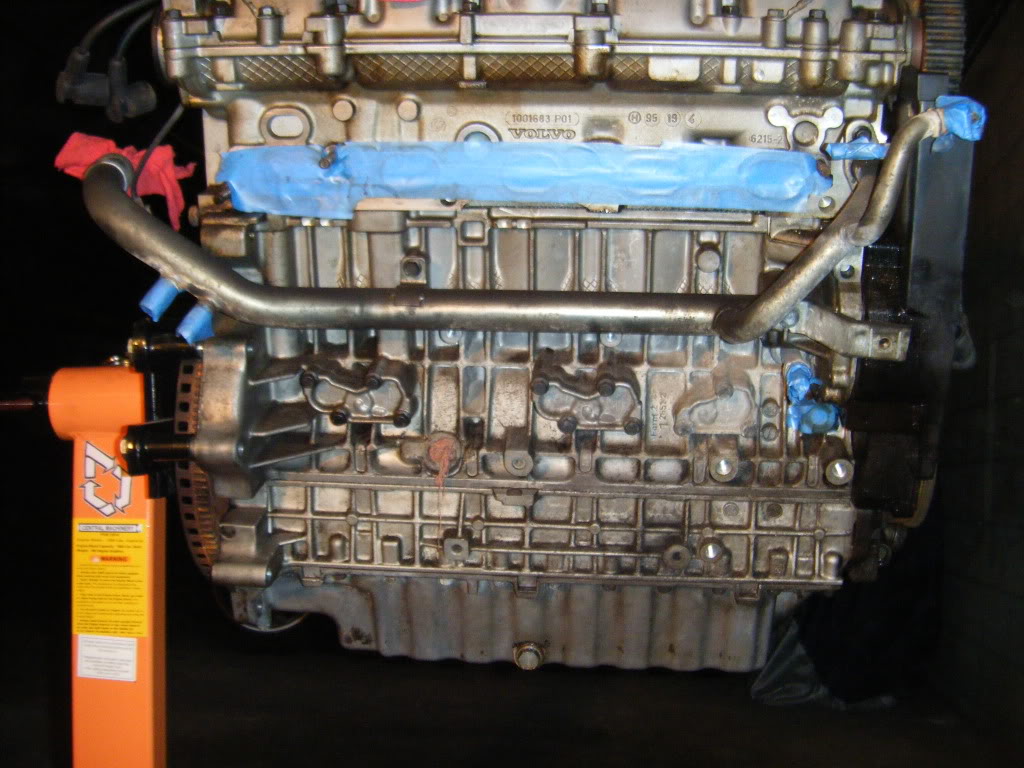
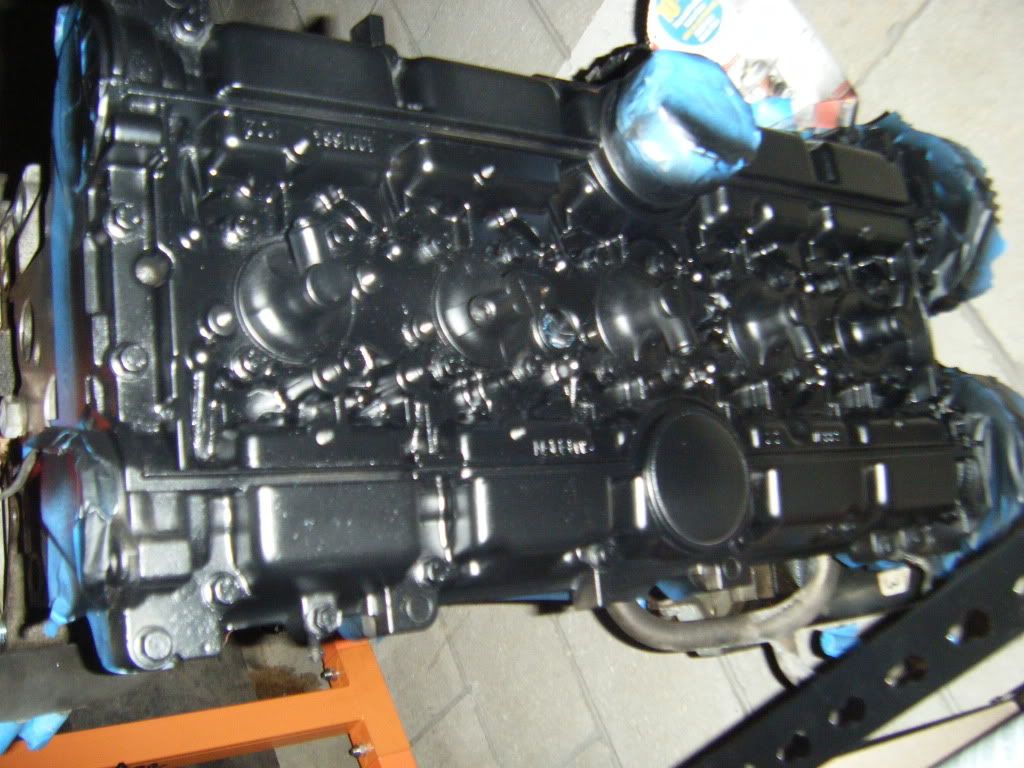
Did some more engine cleaning today. I only have a wee bit on the front to do, and then timing belt side (I need a 12 wrench to get off the motor mount so I can take the rest of the t belt cover off). Here's some pics for yous guys.
Backside
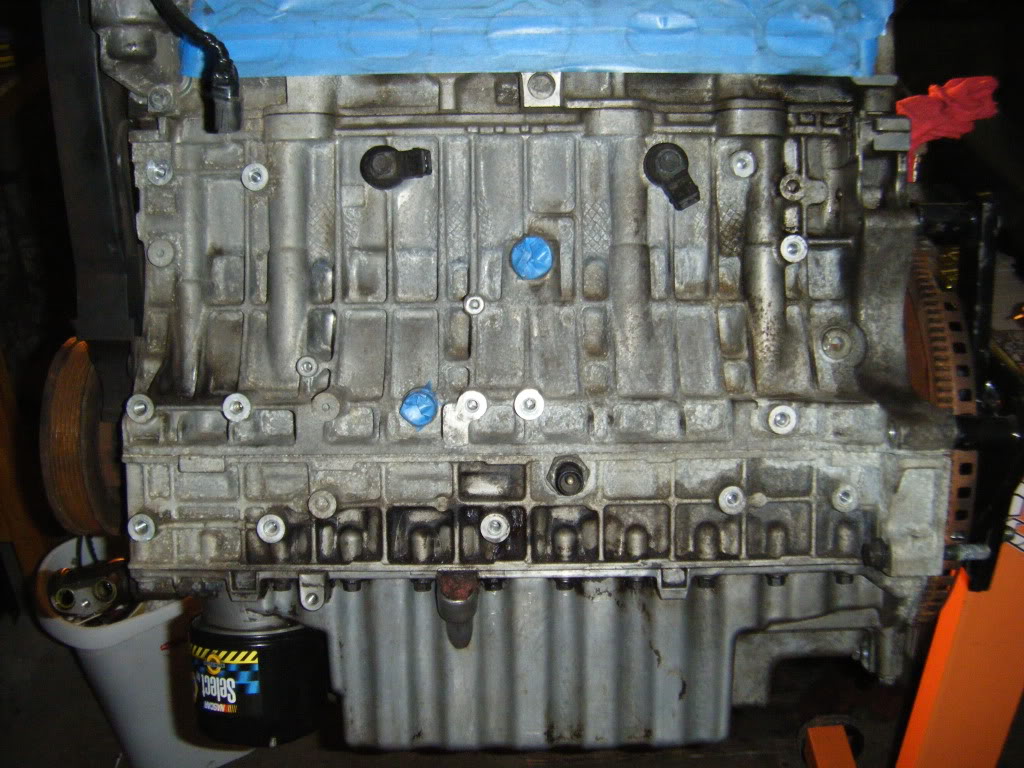
Front-Before (someone needs a new dipstick gasket):

After:
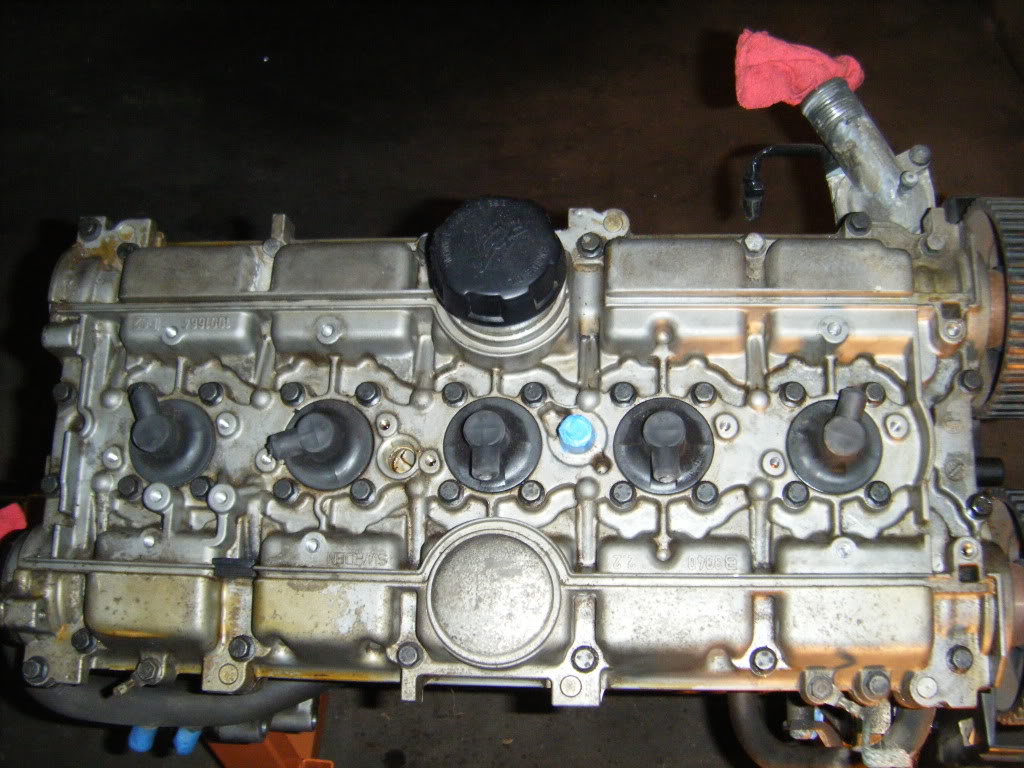
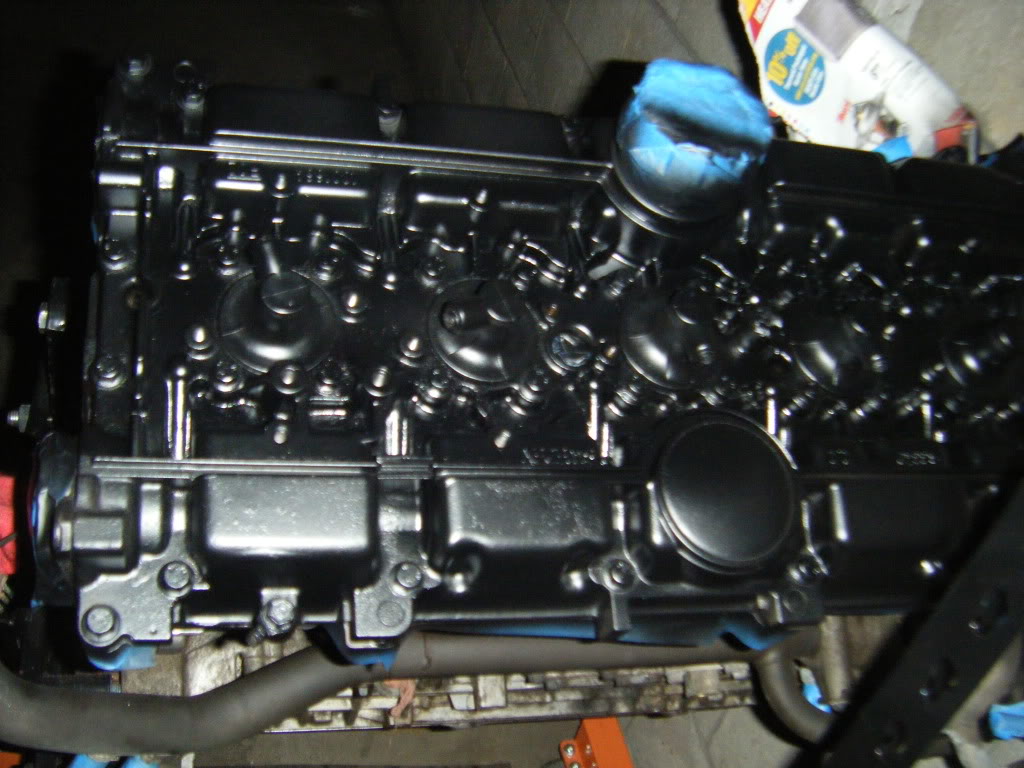
The top (basically all done):
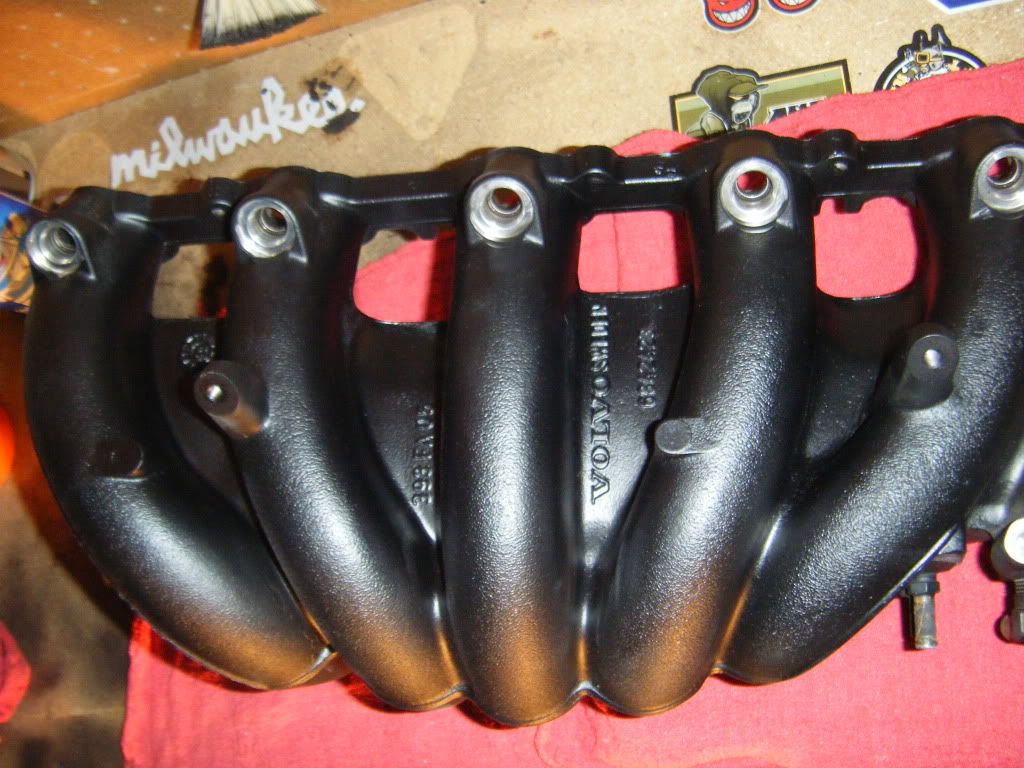
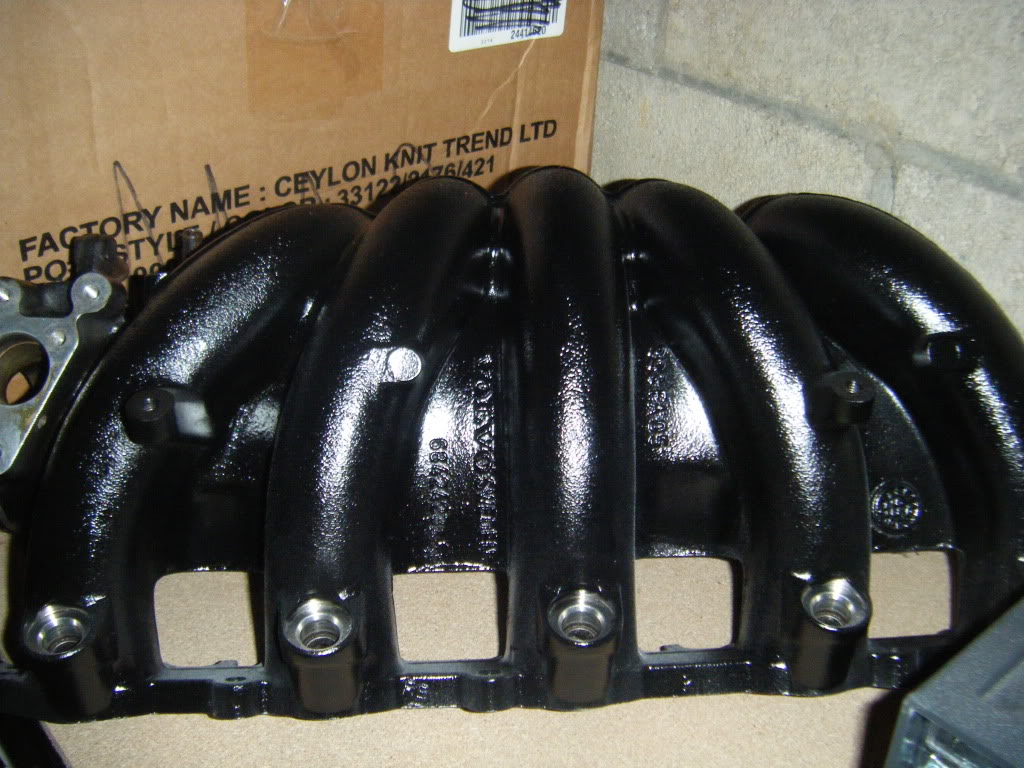
And the intake manifold:
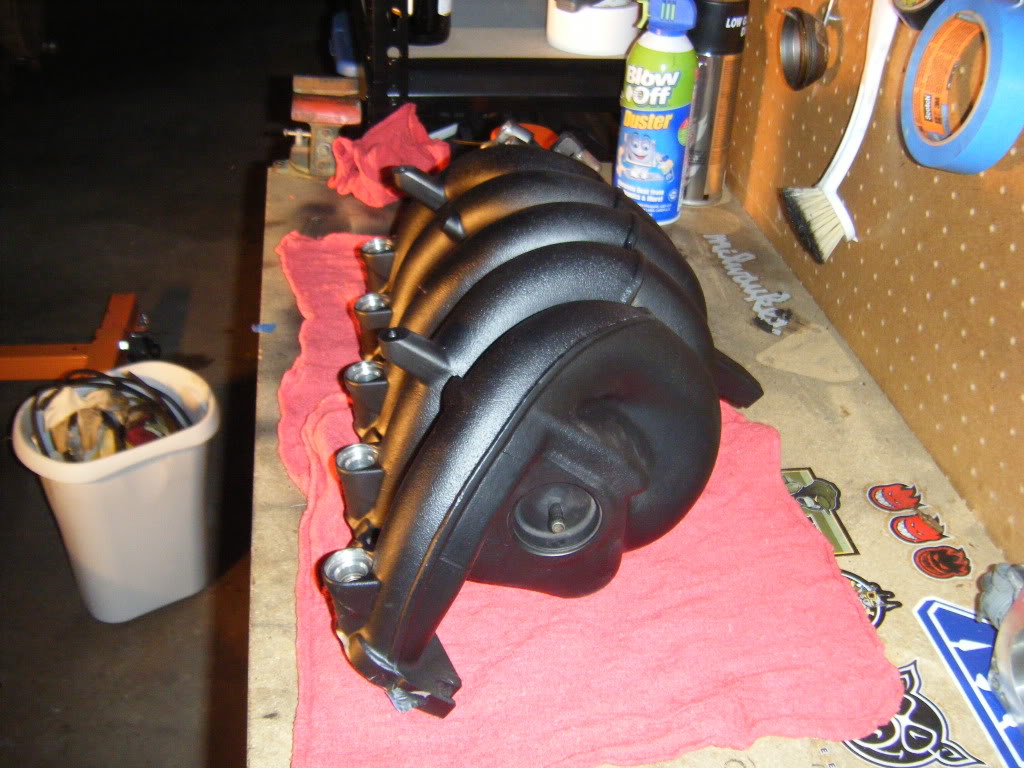
I'm going to throw on a couple coats of clear just as an added protection, I think the flat black is kind of soft. That is what the top of the motor will look like as well.
And something something I got for my birthday, pretty much best parents evar.
(that and 5 drawer Craftsman tool chest )
)
That is all for now. After Christmas it will probably get painted, and then shortly after I should be able to start Phase 1: engine parts. And I can start putting the motor back together.
Backside
Front-Before (someone needs a new dipstick gasket):
After:
The top (basically all done):
And the intake manifold:
I'm going to throw on a couple coats of clear just as an added protection, I think the flat black is kind of soft. That is what the top of the motor will look like as well.
And something something I got for my birthday, pretty much best parents evar.
(that and 5 drawer Craftsman tool chest
)That is all for now. After Christmas it will probably get painted, and then shortly after I should be able to start Phase 1: engine parts. And I can start putting the motor back together.


Thread Starter
|
Senior Member
Joined: Apr 2008
Posts: 3,948
Likes: 3
From: Milwaukee, WI
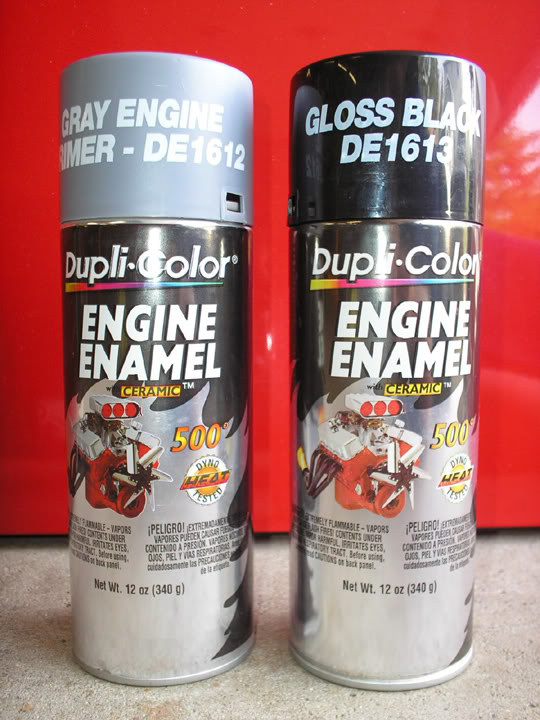
No, that's just the flat black. Hopefully soon it will get CC. I think it might get a little bit more glossy, but I'm not sure if this high temp is a gloss or just clear, all I saw was the clear cap.


Thread Starter
|
Senior Member
Joined: Apr 2008
Posts: 3,948
Likes: 3
From: Milwaukee, WI
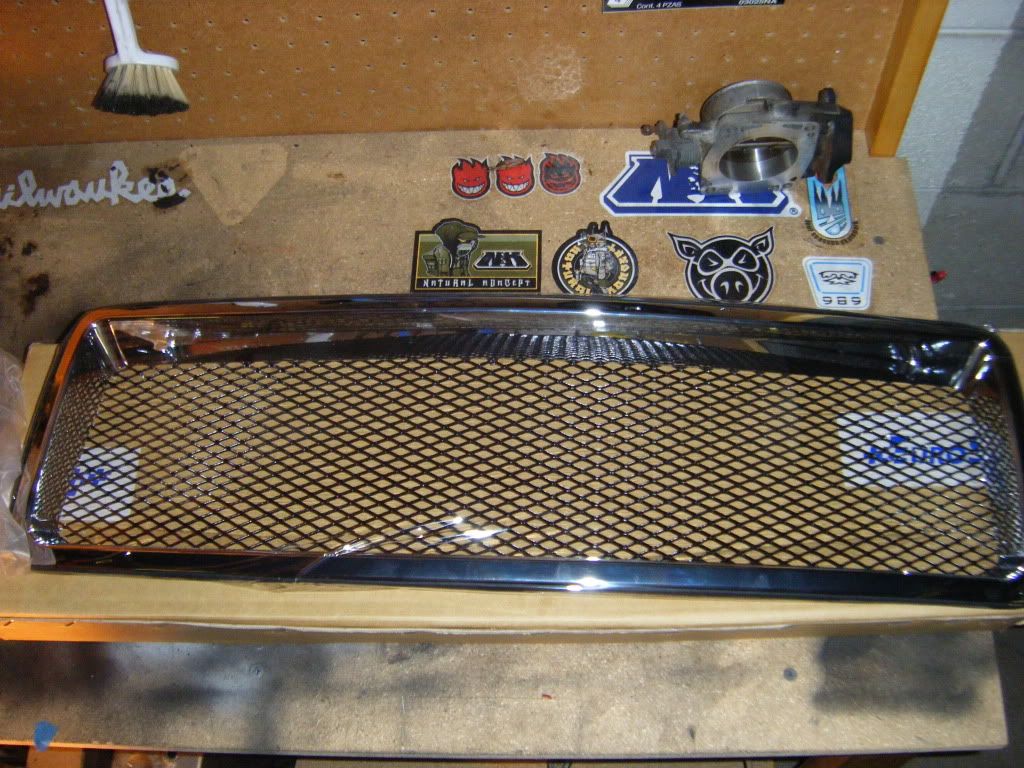
It's the EST one. Um, it looks really nice in person, but they're definitely not the quality then I thought they were. The black mesh is plastic and not metal, and they're just glued on. I assume that's how they all are, but it's just not what I thought. I mean, it's definitely not falling apart or anything.
Thread Starter
|
Senior Member
Joined: Apr 2008
Posts: 3,948
Likes: 3
From: Milwaukee, WI
Top of motor painted. First coats. I will go back probably after Christmas or New Years to hit any spots that I missed. I will also purchase paint soon to do the rest of the motor. I still need to get one more damn bolt (the bolt from the motor mount by the timing system) so I can remove the shield and finish that side, and of course a socket doesn't fit and it's the one wrench I don't have  So if I don't get any wrenches for Christmas I'll go and get me a couple, that will be my Christmas present. I wanna wrap this motor up so I can start buying the parts for it and then get started on my wheels.
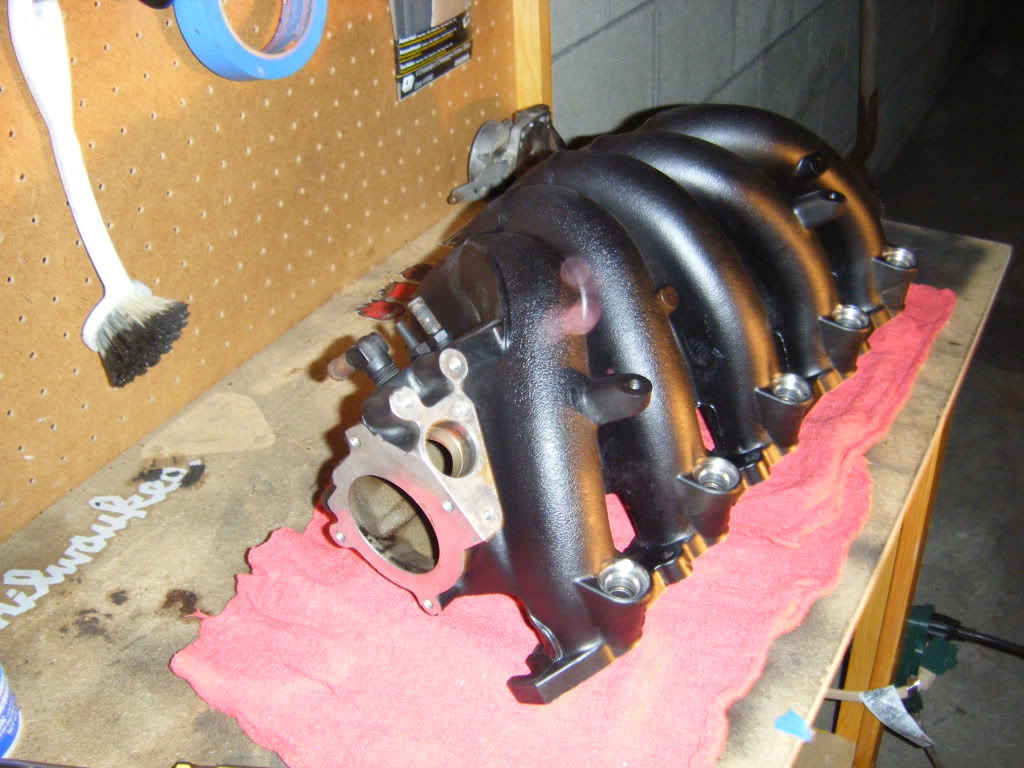
And the intake manifold with a coat of clear on it, it makes it a bit glossy, but I like it. Plus the flat black felt really soft, but this hardened the paint as well has smoothed it out, I'm happy with it, I'll give it a couple more coats, and also hit the valve cover once the black's done.
That's it, stay tuned for more!!!!
So if I don't get any wrenches for Christmas I'll go and get me a couple, that will be my Christmas present. I wanna wrap this motor up so I can start buying the parts for it and then get started on my wheels. And the intake manifold with a coat of clear on it, it makes it a bit glossy, but I like it. Plus the flat black felt really soft, but this hardened the paint as well has smoothed it out, I'm happy with it, I'll give it a couple more coats, and also hit the valve cover once the black's done.
That's it, stay tuned for more!!!!

Junior Member
Joined: Jun 2009
Posts: 5
Likes: 0
From: Toronto ON Canada
gilber,
Love the engine!!! Question for you: what product(s)/procedures did you use to clean the engine prior to painting? Would like to do this to my spare engine. Thanks for any info.
Great job on yours.
Love the engine!!! Question for you: what product(s)/procedures did you use to clean the engine prior to painting? Would like to do this to my spare engine. Thanks for any info.
Great job on yours.
Thread Starter
|
Senior Member
Joined: Apr 2008
Posts: 3,948
Likes: 3
From: Milwaukee, WI
I used engine degreaser from Autozone, sprayed parts of the engine at a time, used a rag to wipe it down, did that a few times. For the valve cover and tighter areas I used q-tips. I also wrapped a rag around a screwdriver to get a little more force behind the rag in tougher grime spots. Hope that helps, if you have anymore questions, let me know.