
Unofficial 855 Project Threadz


Thread Starter
|
Senior Member
Joined: Apr 2008
Posts: 3,948
Likes: 3
From: Milwaukee, WI
Thanks. Usually I like the metal look, but only if it's polished, and I was kinda going for a little more aggressive, I don't know. Haha, we'll see how it looks once it's all put together, and I put a couple coats of clear on it and it looks way better than the flat.

Thread Starter
|
Senior Member
Joined: Apr 2008
Posts: 3,948
Likes: 3
From: Milwaukee, WI

Should be putting on the first coat on the rest of the block tonight. Hopefully I remember to take some pics.
Thread Starter
|
Senior Member
Joined: Apr 2008
Posts: 3,948
Likes: 3
From: Milwaukee, WI
Anyone know where I can find the studs for the turbo to exhaust manifold? Any help would be super duper.
IPD Exhaust studs
These say exhaust manifold studs, would these be the same for the turbo/manifold????
Thaaaanks.
IPD Exhaust studs
These say exhaust manifold studs, would these be the same for the turbo/manifold????
Thaaaanks.
Last edited by gilber33; Dec 28, 2009 at 05:18 PM.
Thread Starter
|
Senior Member
Joined: Apr 2008
Posts: 3,948
Likes: 3
From: Milwaukee, WI
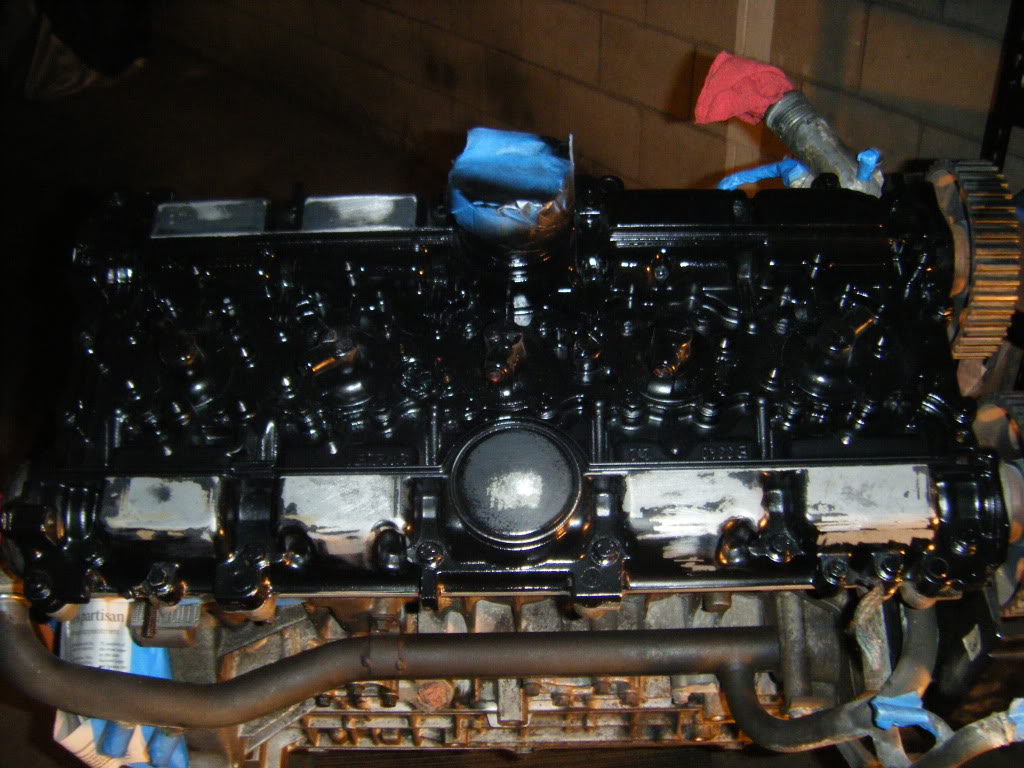
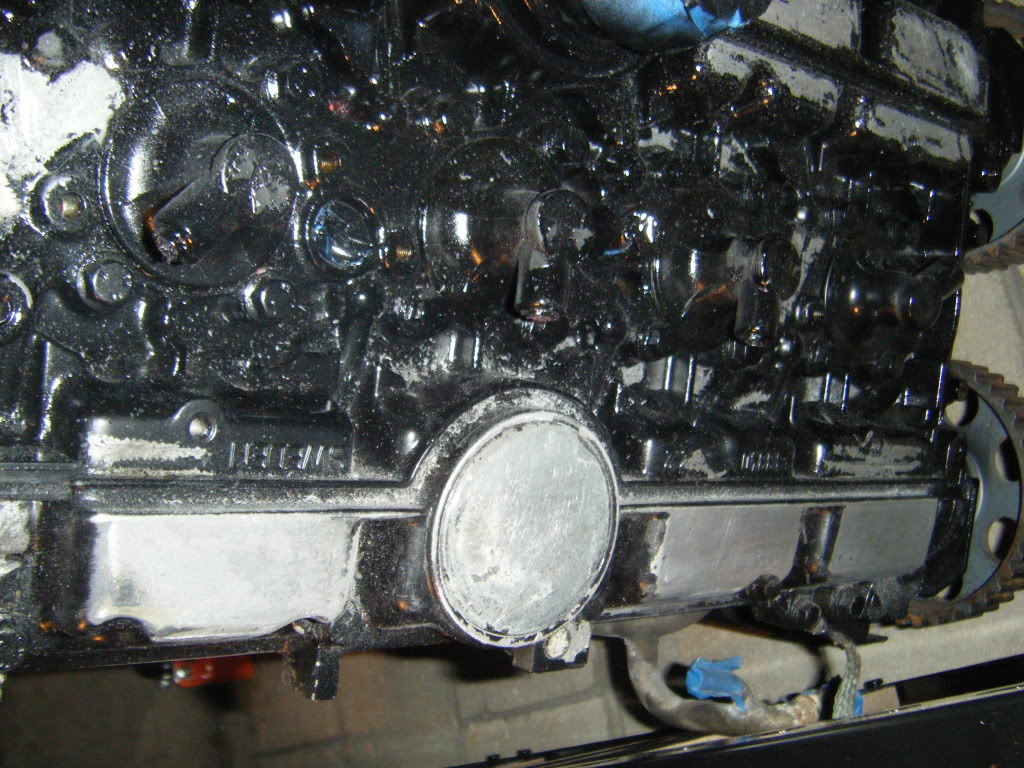
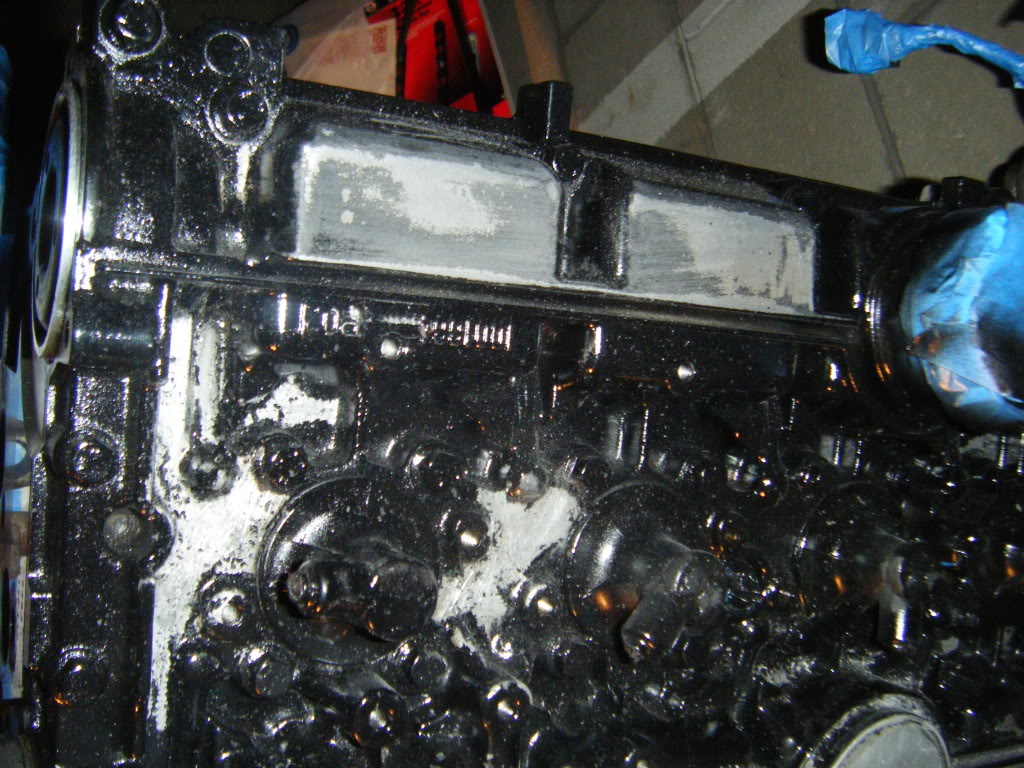
Well, unfortunately hit a snag tonight. As I was prepping the motor to paint the block I found a fault in the valve cover paint job. I was taping up the valve cover and some tape peeled back a little bit and some paint was on it, sure enough, when I stuck the tape to the top of the valve cover it took the paint right off with it. And yes, I was using painter's tape. I tried spot painting it, but that just caused the paint to bubble up along the edges.
The only thing I can really do is either take all the paint off myself, or go through the trouble of removing the valve cover to take in to get chemically sanded and PC. I am going to power my dad's dremel kit this week and use that to sand the valve cover and I am going to polish it. I still have a gloss intake manifold that I don't know if I want to leave gloss black or paint it with the silver paint that I originally bought for the block. Oh well, polished is even better than painted.
15 minutes worth of scraping and sanding. Oh well, live and learn, right?
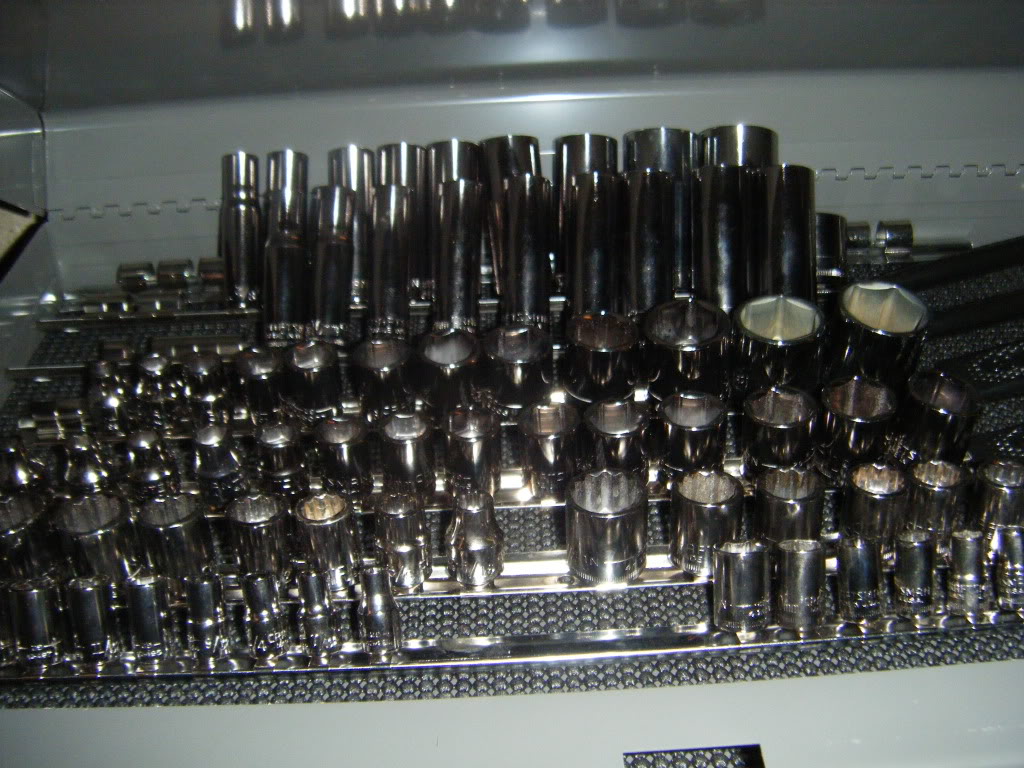
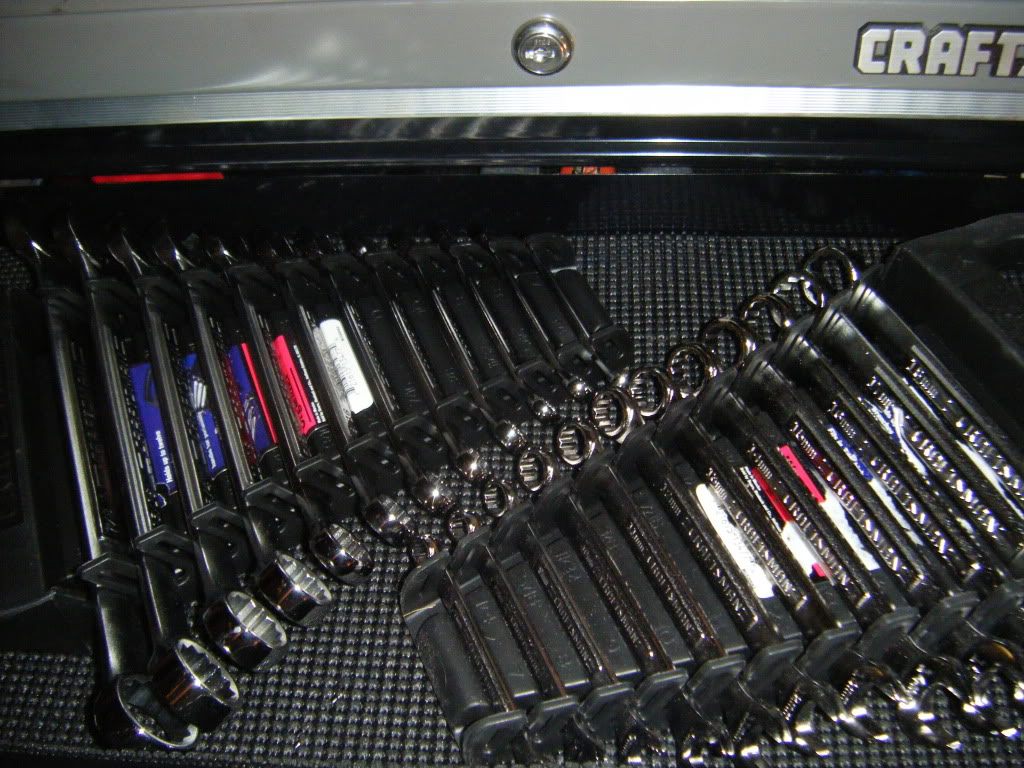
At least putting away my new tools lifted my spirits.
Well, more after this weekend when I get down to sanding the valve cover and then hopefully polish.
The only thing I can really do is either take all the paint off myself, or go through the trouble of removing the valve cover to take in to get chemically sanded and PC. I am going to power my dad's dremel kit this week and use that to sand the valve cover and I am going to polish it. I still have a gloss intake manifold that I don't know if I want to leave gloss black or paint it with the silver paint that I originally bought for the block. Oh well, polished is even better than painted.
15 minutes worth of scraping and sanding. Oh well, live and learn, right?
At least putting away my new tools lifted my spirits.
Well, more after this weekend when I get down to sanding the valve cover and then hopefully polish.
Thread Starter
|
Senior Member
Joined: Apr 2008
Posts: 3,948
Likes: 3
From: Milwaukee, WI
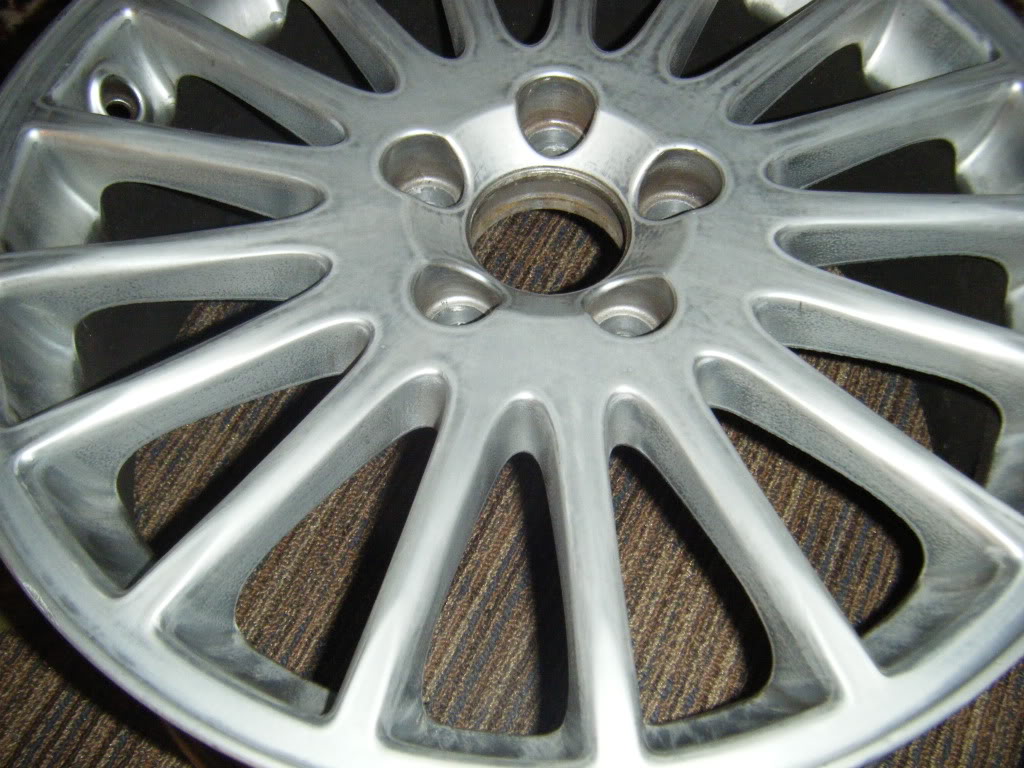
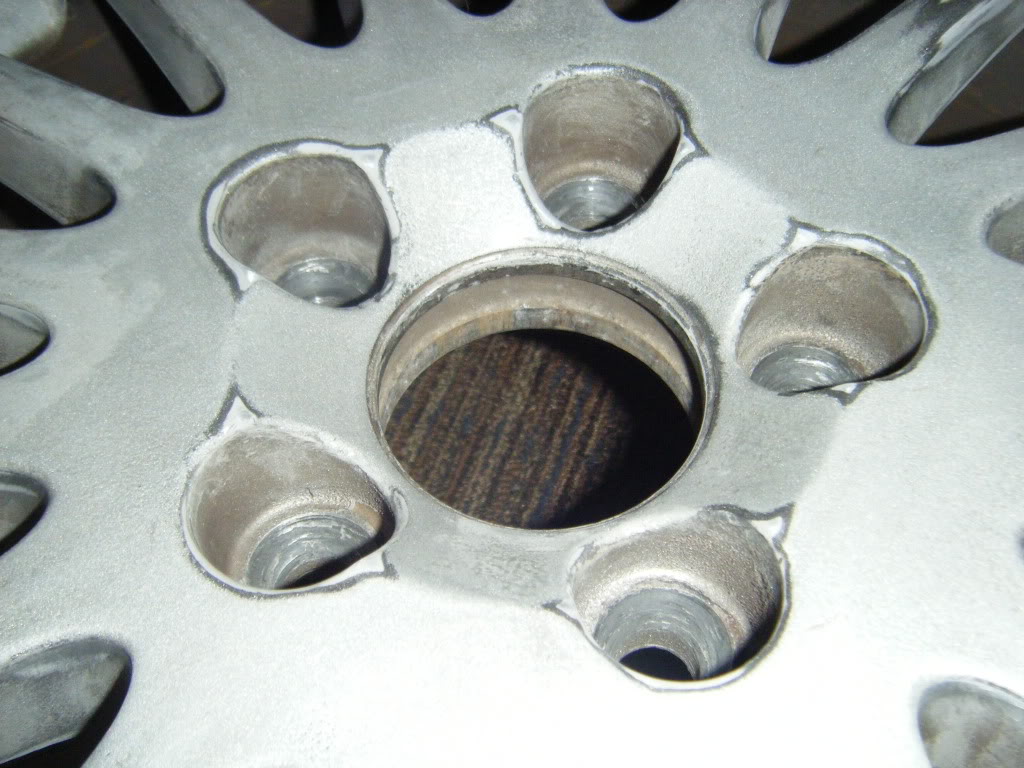
Prepped my first Tethy for paint. 180 grit sandpaper to remove blemishes and what not, followed by a 600 grit to smooth it out. Then I'll put down a primer of some kind, wet sand with 1500 grit, base coat, wet sand with 1500 grit, clear coat. And those wheels are just as much fun to sand as they look, with all those spokes. I can't wait until I have to clean them.

Thread Starter
|
Senior Member
Joined: Apr 2008
Posts: 3,948
Likes: 3
From: Milwaukee, WI
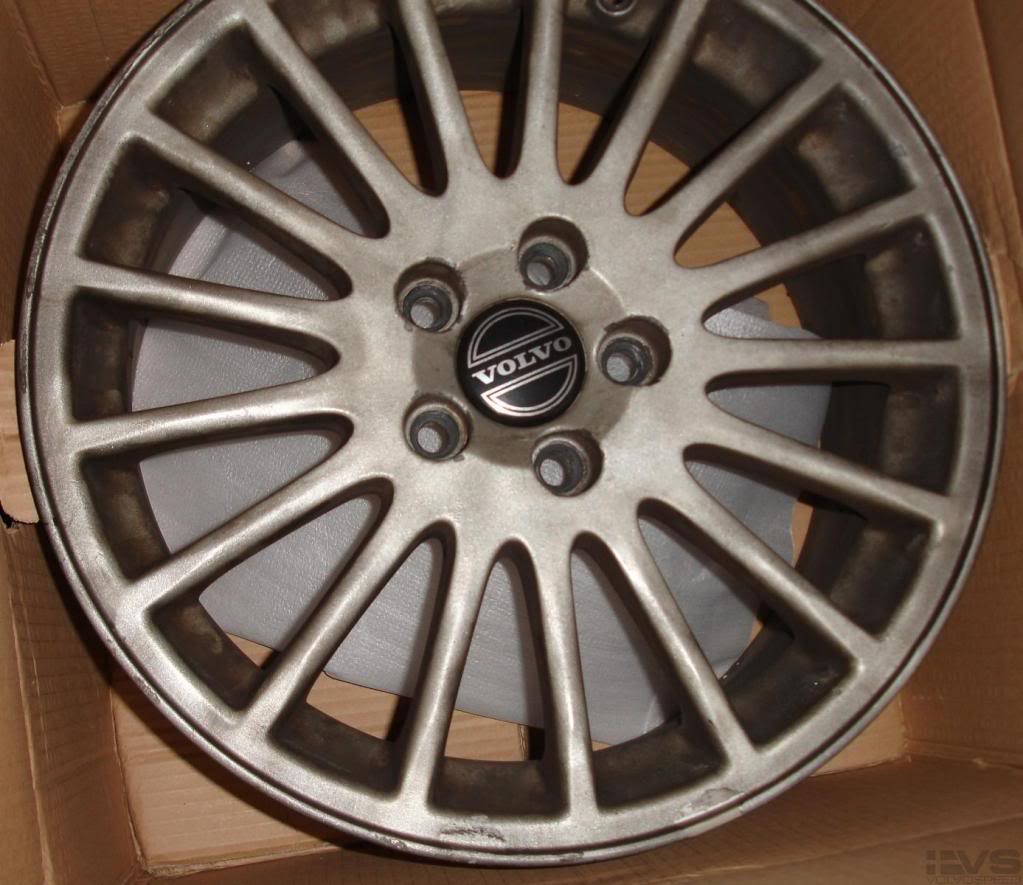
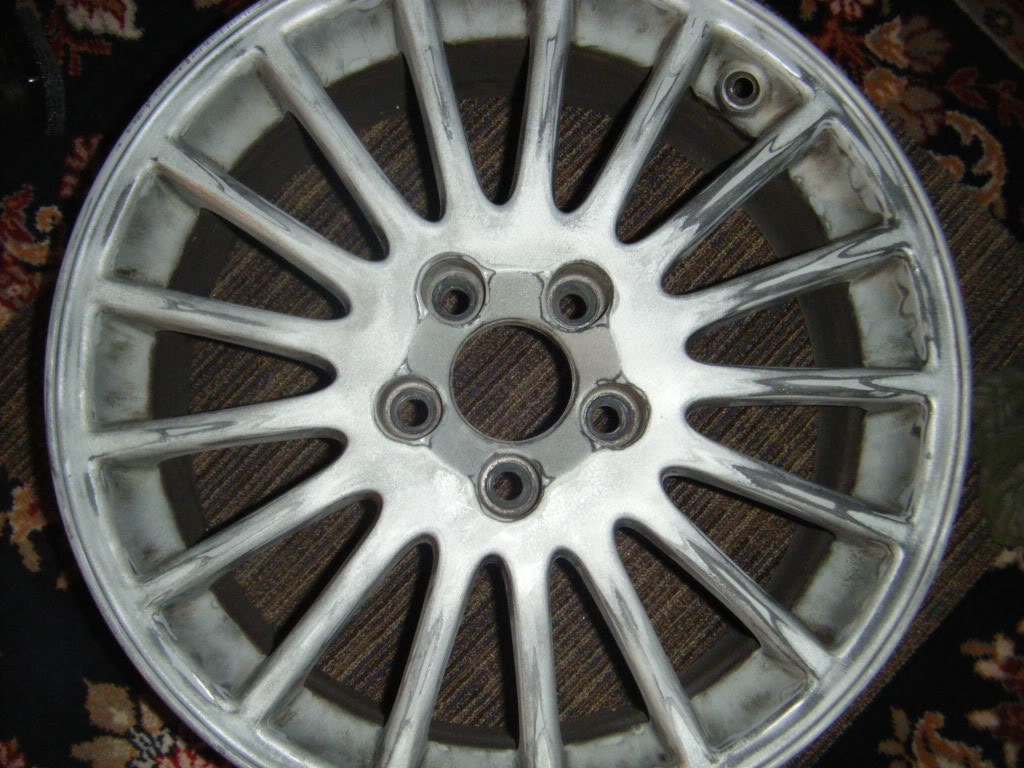
Finished another one, this one was quite a bit more time consuming. The first wheel I did had the oem finish on it and was in really good shape, but this next one had been painted and the paint was really coarse and chipping pretty bad.
After a good sanding
Oh yeah, and when I was swapping door panels on my sedan, I took off the door inserts and the little sticker on the panels was 11/26/93...my 5th birthday. It's a sign.
After a good sanding
Oh yeah, and when I was swapping door panels on my sedan, I took off the door inserts and the little sticker on the panels was 11/26/93...my 5th birthday. It's a sign.
Thread Starter
|
Senior Member
Joined: Apr 2008
Posts: 3,948
Likes: 3
From: Milwaukee, WI
Well, project has come to a standstill. Went down to my car this morning because I was going to drive to work so I could leave right from there to start taking apart my wagon. Get down to my car, move some things around so I can load up my tools, and guess what. They're gone. All of them. Stolen. And my receiver that I used to listen to music, and my other tool box, granted it was empty, but still. I'm livid.....LIVID. I officially dislike this city now, I no longer wish to live here. As far as I see it, this is added motivation to do well in school so I can go somewhere else for graduate school. Luckily they left my car parts and I'm covered under my parents' homeowners insurance.
UGHGHGHGHGHHHHGHGHHHH!!!!!!

UGHGHGHGHGHHHHGHGHHHH!!!!!!
Thread Starter
|
Senior Member
Joined: Apr 2008
Posts: 3,948
Likes: 3
From: Milwaukee, WI
Yeah, you have no idea how upset I am. Tonight I am taking my mini workshop apart. The shelving and all of the parts are going to go in my closet. I'll leave the little wooden workbench down there, but that's it.

Thread Starter
|
Senior Member
Joined: Apr 2008
Posts: 3,948
Likes: 3
From: Milwaukee, WI
Oh yeah, I got a police report tonight, so once that gets filled out, I'll pick that up, and I'll be covered under my parent's homeowner's insurance since I'm a student. And I'm making a list of all the tools that I lost.....so far I'm up to $1080.
Thread Starter
|
Senior Member
Joined: Apr 2008
Posts: 3,948
Likes: 3
From: Milwaukee, WI
Yeah, just never occurred to me. He said the building was locked 24/7, he said there were cameras, etc etc. Pissed. Oh well, live and learn, there's nothing I can do about it now. All my expensive parts are coming to my apt. I brought up my black shelving and it's in my closet, and the parts are soon to follow.

Thread Starter
|
Senior Member
Joined: Apr 2008
Posts: 3,948
Likes: 3
From: Milwaukee, WI
But anyways, QUESTION. What gasket/seals do I need if I remove just the valve cover? As I said, my paint job failed and I don't know what it's going to take to get that paint off of there. And I'm parting my wagon, so I may just take the valve cover off of that, clean and polish it, and then swap it onto mine. I just want to make sure it's possible to take off JUST the valve cover with out going deeper than that. I'm looking at the diagram here:
Looks like I would needs some cam seals, is that it? Is the valve cover the chemical seal? Any help would be much 'preciated.

Senior Member
Joined: Jul 2009
Posts: 459
Likes: 0
From: Sebastian, FLA
Sorry about your tools.
Before you paint aluminum it should always be primed with Zinc Chromate.
http://en.wikipedia.org/wiki/Zinc_chromate

This is beacuse aluminum, unless the environmental conditions are tightly controlled, oxidizes faster than you can get the paint on it and any oxidation will make it very difficult for paint to adhere. The zinc chromate will etch the aluminum oxide and adhere to the aluminum.
Hope this helps.
Before you paint aluminum it should always be primed with Zinc Chromate.
http://en.wikipedia.org/wiki/Zinc_chromate
This is beacuse aluminum, unless the environmental conditions are tightly controlled, oxidizes faster than you can get the paint on it and any oxidation will make it very difficult for paint to adhere. The zinc chromate will etch the aluminum oxide and adhere to the aluminum.
Hope this helps.
Thread Starter
|
Senior Member
Joined: Apr 2008
Posts: 3,948
Likes: 3
From: Milwaukee, WI
Yeah, I'm not going to paint it anymore, I'm not going to deal with that. Haha. But hey, I figure you would know just as good as anyone else. What gaskets/seals do I need for the valve cover swap?
Senior Member
Joined: Jul 2009
Posts: 459
Likes: 0
From: Sebastian, FLA
spark plug o-rings 5 of (5)
the sealing compound and roller( I bought the rollers at Home depot, the small ones with red(all chemical) rollers)
That's about all I can think of.
Be careful pulling it off. When I did mine the cam seals got stuck in the upper head on one end and the lower head on the other end. when I lifted the cams twisted and I broke the thrust collar in the top head.
Don't forget you need the cam locking tool to re-assemble. If you want info on how I made mine just let me know.
Last edited by Bobec; Jan 7, 2010 at 09:59 AM.