Volvo 850 Made from 1993 to 1997, this Volvo line was available in both a wagon and a sedan, both with were graced with several trim levels.

Unofficial 855 Project Threadz

Thread Tools
 
Search this Thread
 
  #21  
Old 12-13-2009, 09:23 PM
gilber33's Avatar
Senior Member
Thread Starter
Join Date: Apr 2008
Location: Milwaukee, WI
Posts: 3,964
Likes: 0
Received 3 Likes on 3 Posts
Default

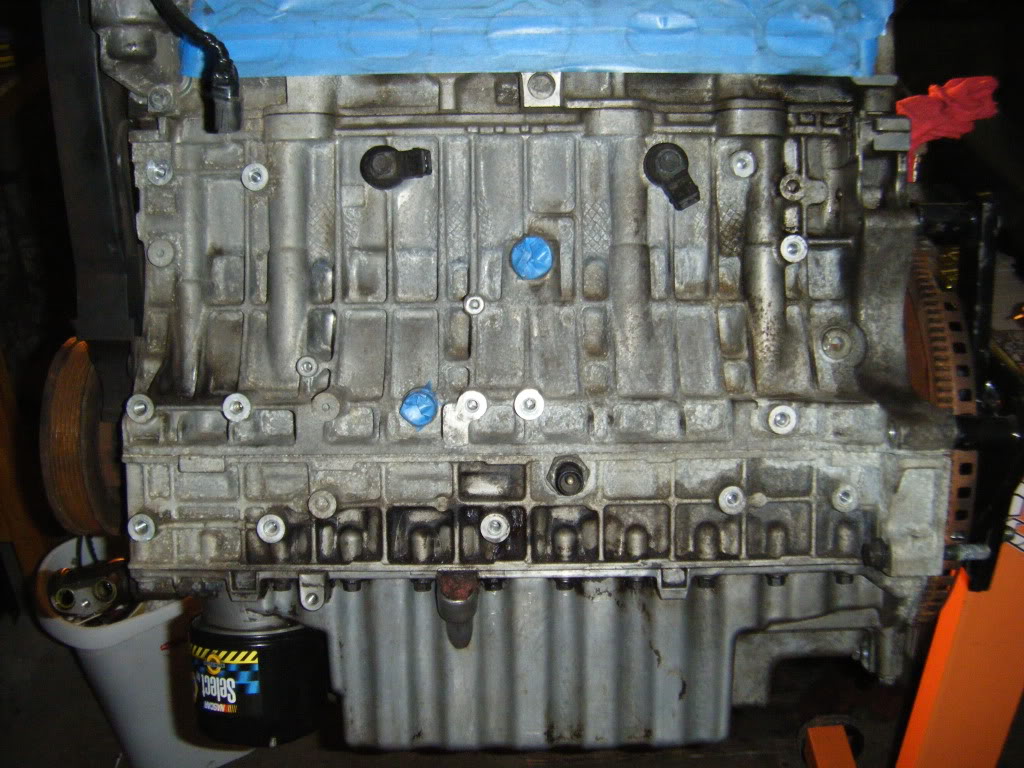
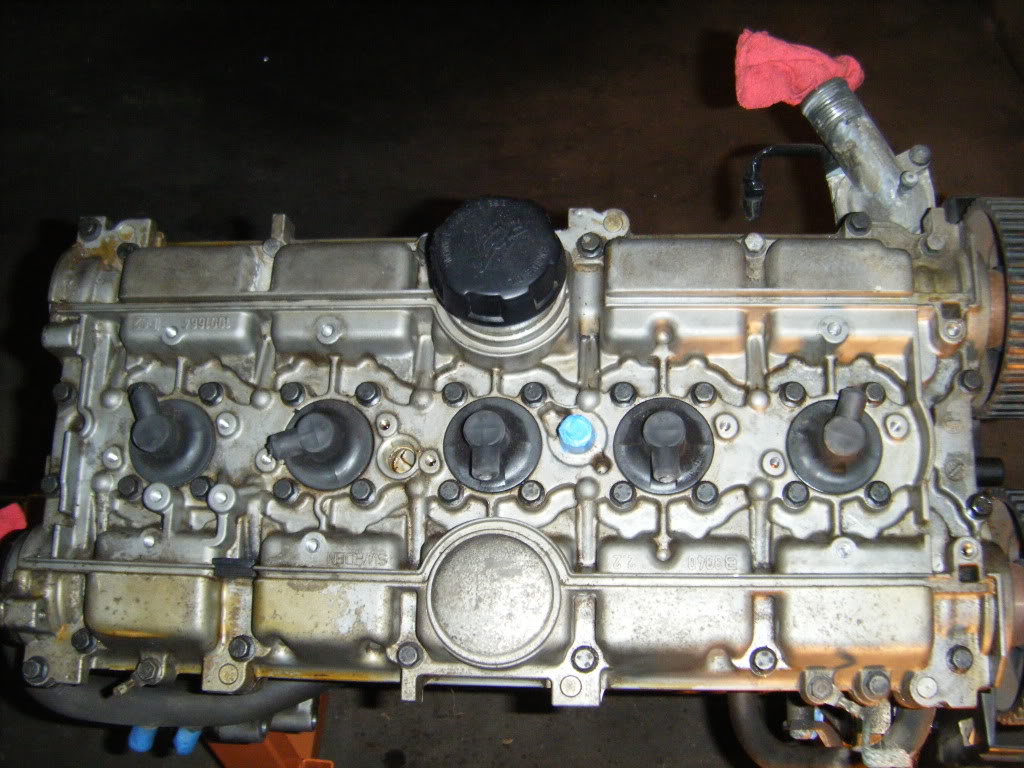
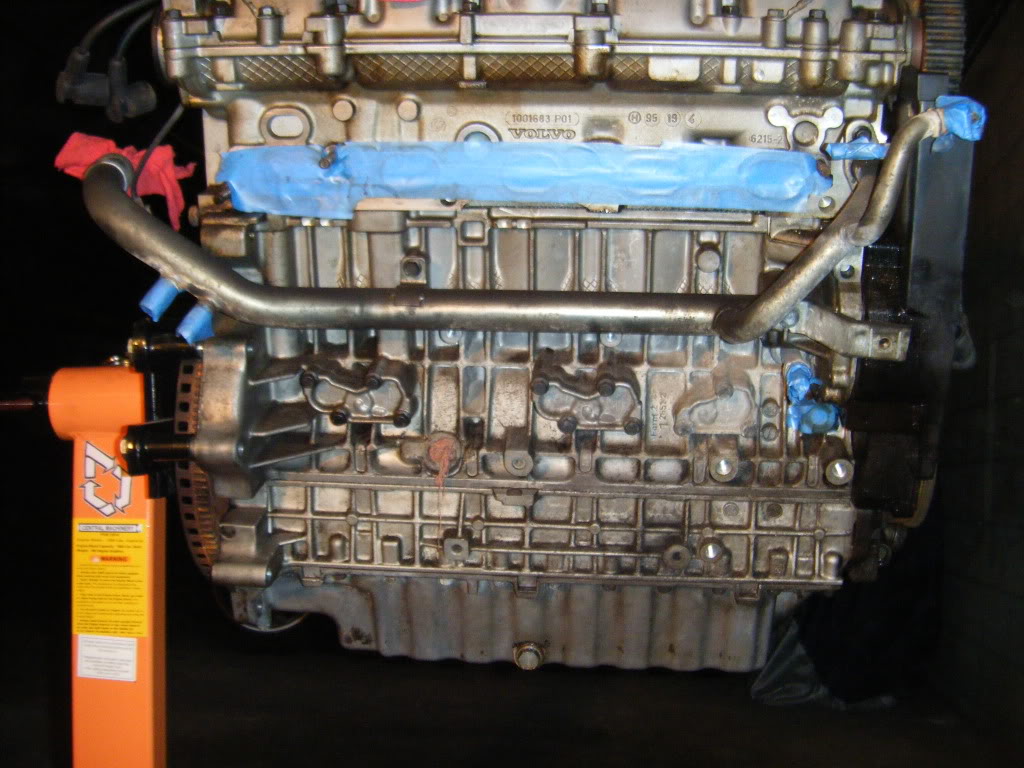
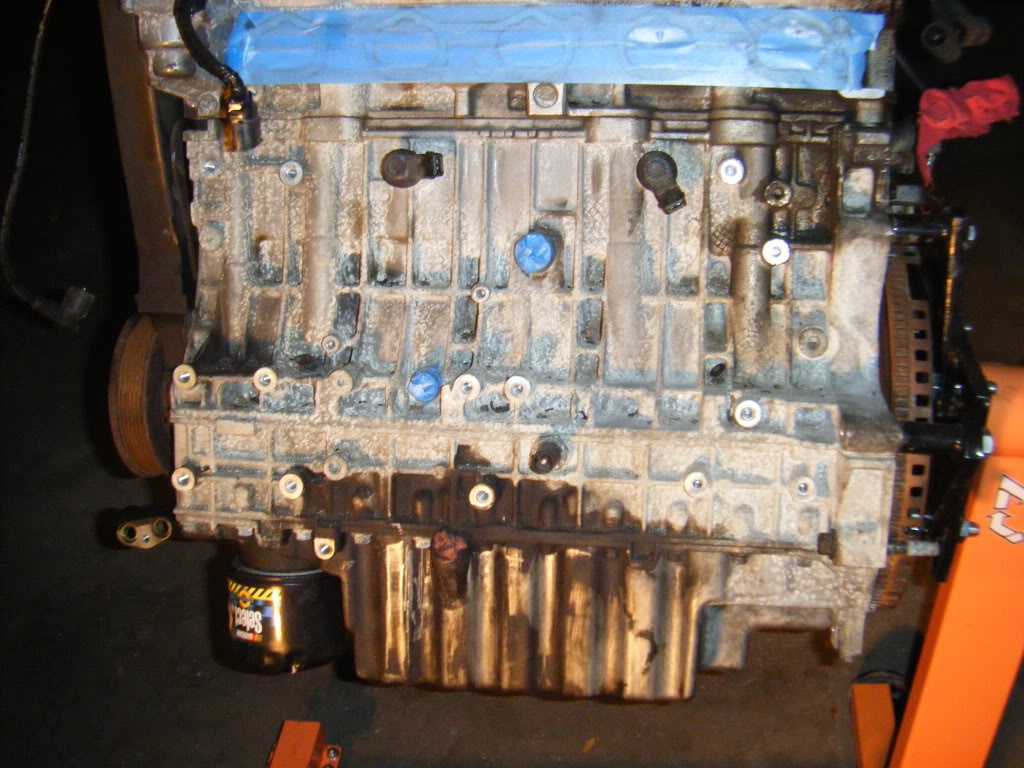
Did some more engine cleaning today. I only have a wee bit on the front to do, and then timing belt side (I need a 12 wrench to get off the motor mount so I can take the rest of the t belt cover off). Here's some pics for yous guys.

Backside
Name:  DSCF1801.jpg
Views: 79
Size:  150.0 KB

Front-Before (someone needs a new dipstick gasket):
Name:  DSCF1802.jpg
Views: 60
Size:  164.2 KB

After:

Name:  DSCF1811.jpg
Views: 67
Size:  168.3 KB

The top (basically all done):

Name:  DSCF1810.jpg
Views: 118
Size:  158.2 KB

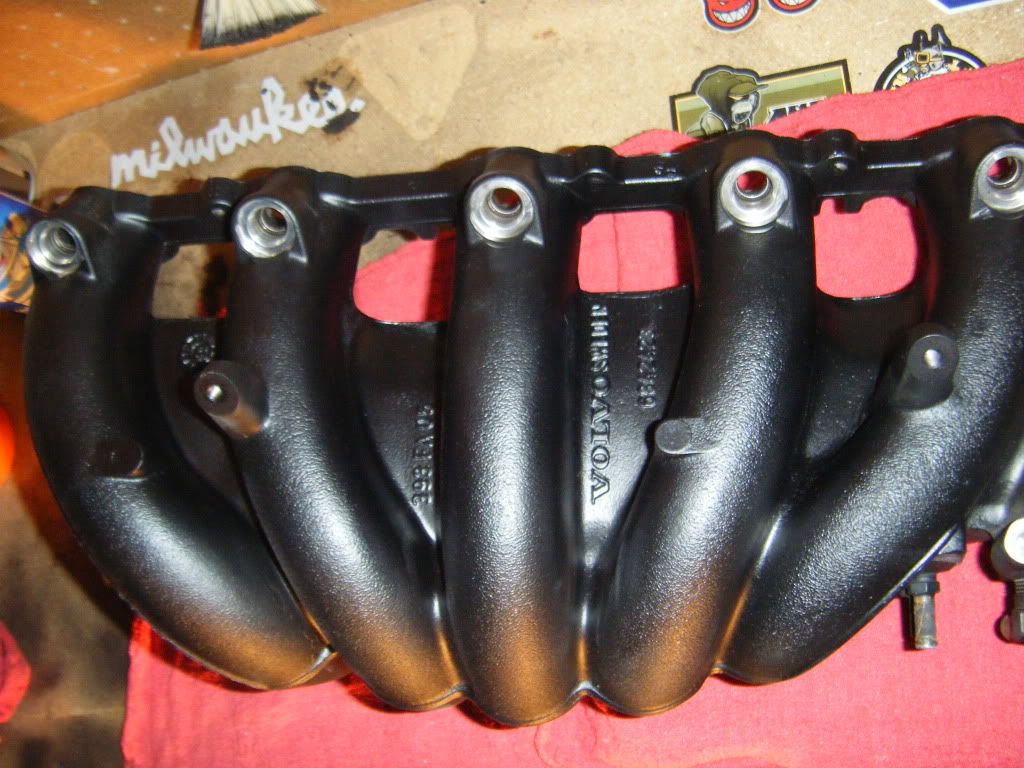
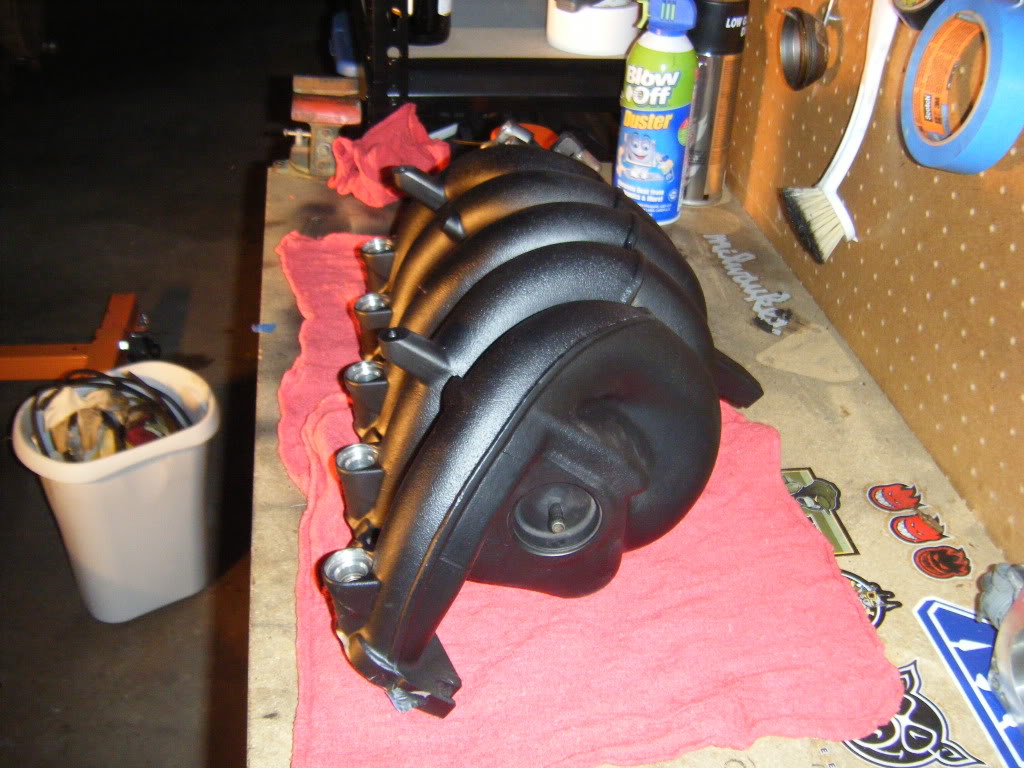
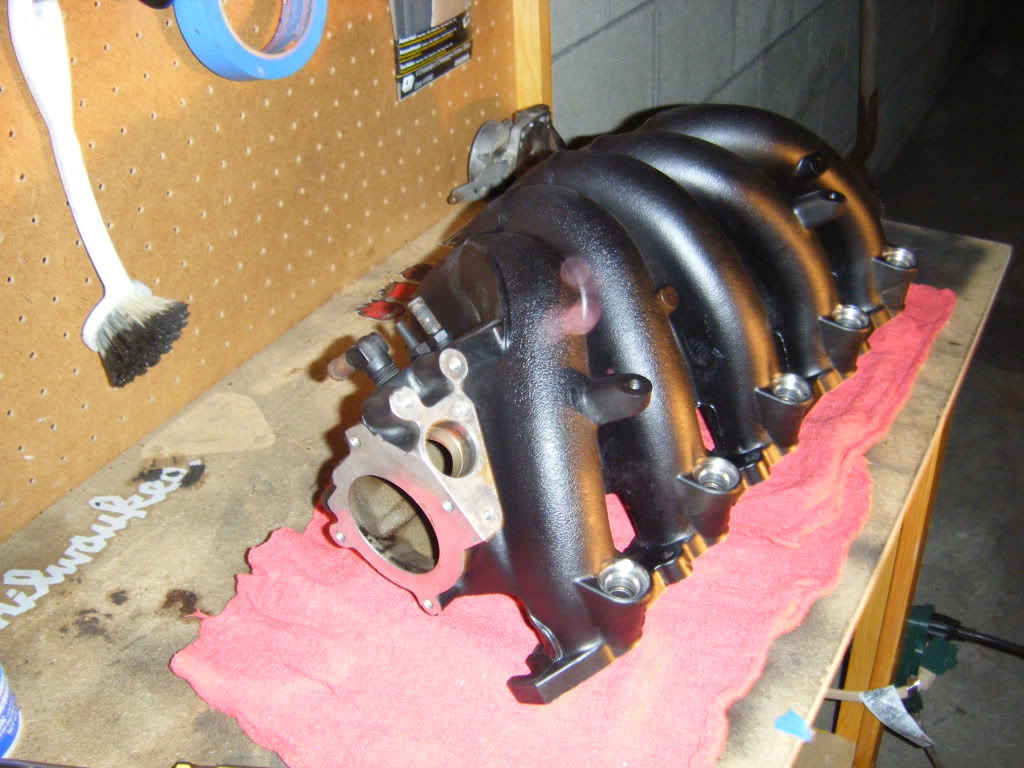
And the intake manifold:


Name:  DSCF1807.jpg
Views: 60
Size:  152.8 KB
Name:  DSCF1808.jpg
Views: 58
Size:  162.0 KB

I'm going to throw on a couple coats of clear just as an added protection, I think the flat black is kind of soft. That is what the top of the motor will look like as well.

And something something I got for my birthday, pretty much best parents evar.
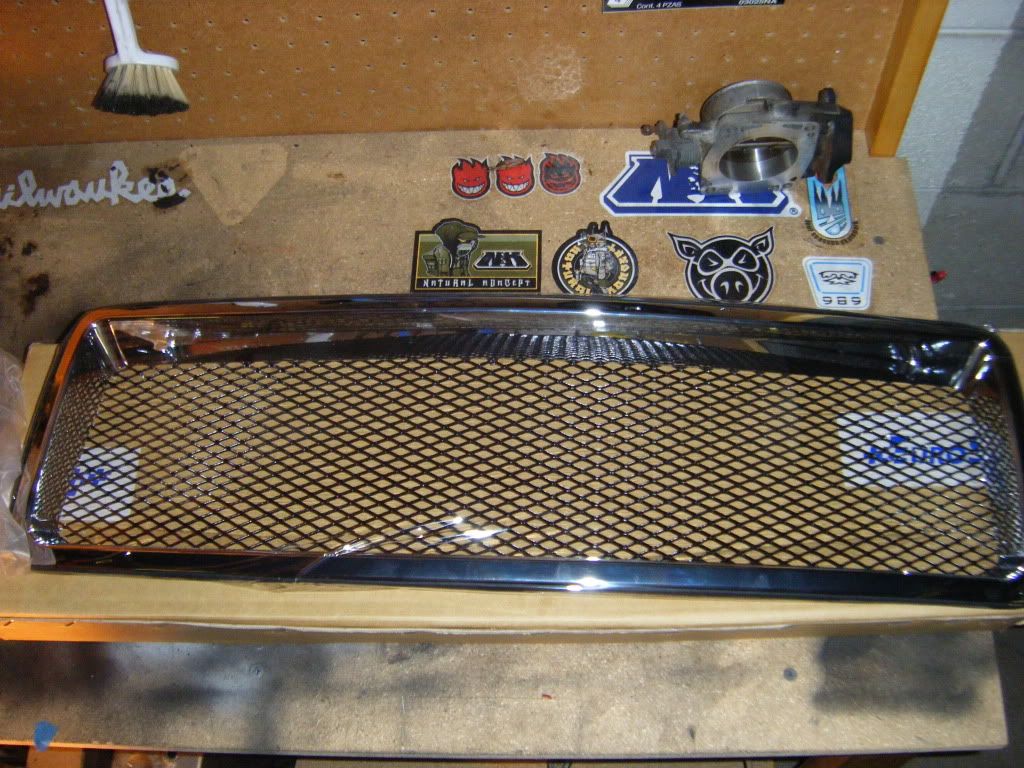


(that and 5 drawer Craftsman tool chest )

That is all for now. After Christmas it will probably get painted, and then shortly after I should be able to start Phase 1: engine parts. And I can start putting the motor back together.
 
  #22  
Old 12-13-2009, 09:43 PM
gilber33's Avatar
Senior Member
Thread Starter
Join Date: Apr 2008
Location: Milwaukee, WI
Posts: 3,964
Likes: 0
Received 3 Likes on 3 Posts
Default

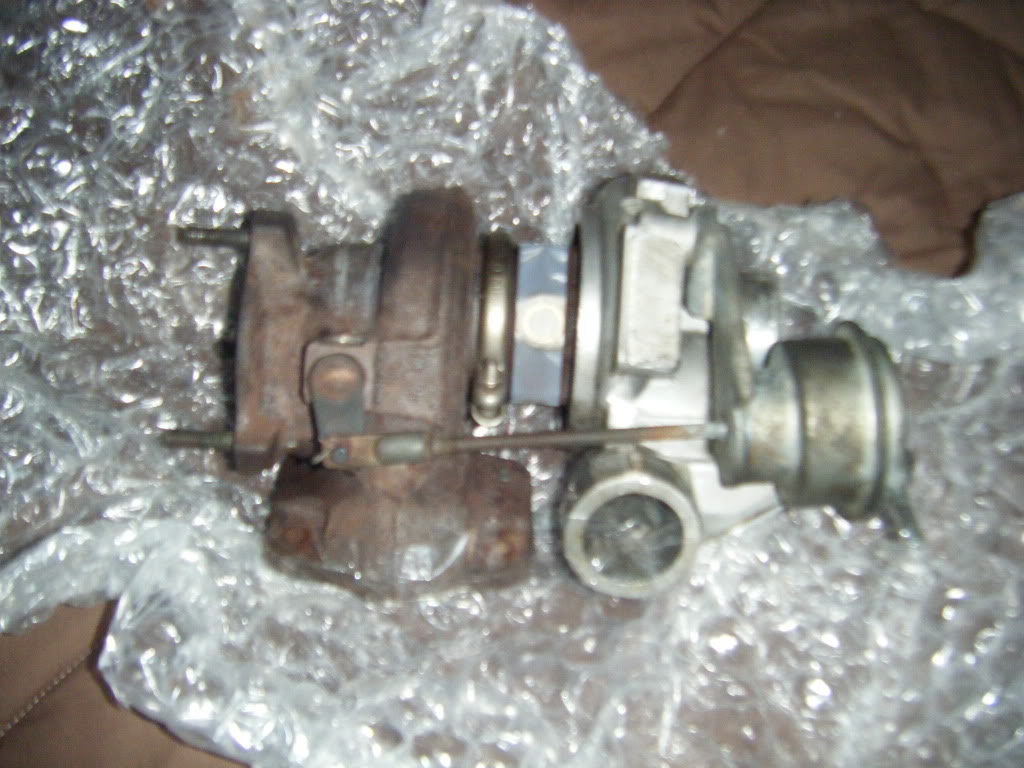
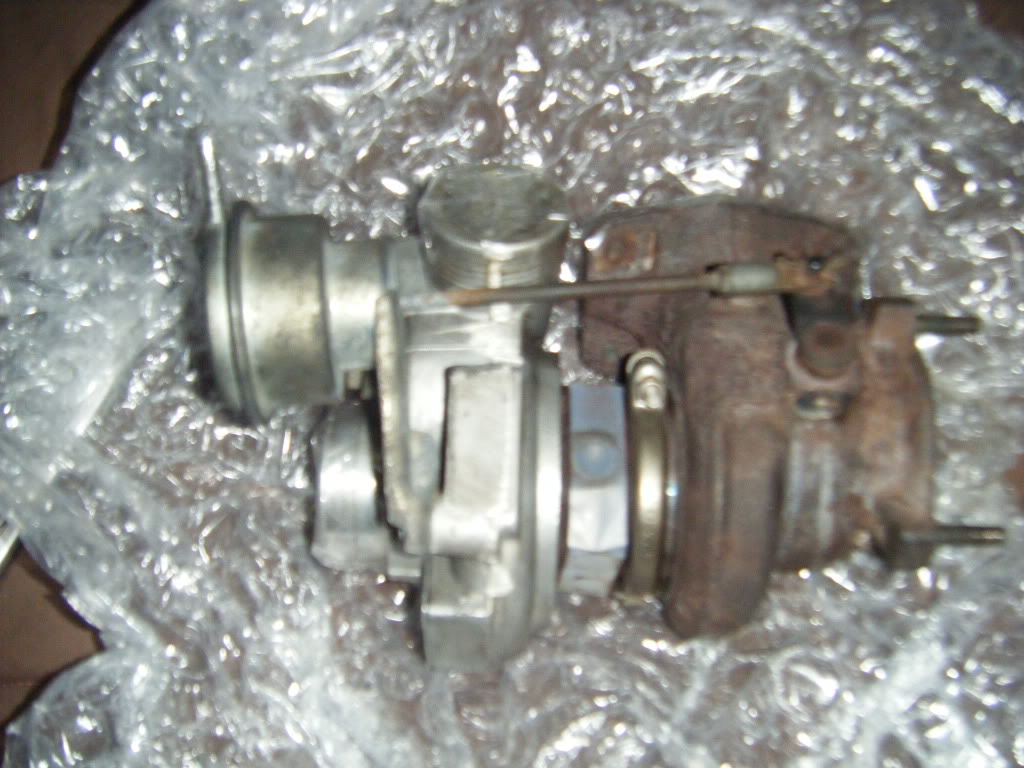
I don't think I ever took pictures of this, but thought you all might like to take a gander at it.

My 16T, rebuilt with only about 15k miles on it.

Name:  DSCF1818.jpg
Views: 62
Size:  126.2 KB

Name:  DSCF1816.jpg
Views: 59
Size:  130.6 KB
 
  #23  
Old 12-13-2009, 09:59 PM
Legendsecko87's Avatar
Senior Member
Join Date: Feb 2009
Posts: 777
Likes: 0
Received 0 Likes on 0 Posts
Default

Sickkkk. I dig the TB.
 
  #24  
Old 12-13-2009, 10:07 PM
gilber33's Avatar
Senior Member
Thread Starter
Join Date: Apr 2008
Location: Milwaukee, WI
Posts: 3,964
Likes: 0
Received 3 Likes on 3 Posts
Default

Originally Posted by Legendsecko87
Sickkkk. I dig the TB.
Thanks. I spent like an hour cleaning that TB, at least it's all nice and shiny now.
 
  #25  
Old 12-13-2009, 10:10 PM
Legendsecko87's Avatar
Senior Member
Join Date: Feb 2009
Posts: 777
Likes: 0
Received 0 Likes on 0 Posts
Default

Did you already clear-coat it?
 
  #26  
Old 12-13-2009, 10:12 PM
gilber33's Avatar
Senior Member
Thread Starter
Join Date: Apr 2008
Location: Milwaukee, WI
Posts: 3,964
Likes: 0
Received 3 Likes on 3 Posts
Default

No, that's just the flat black. Hopefully soon it will get CC. I think it might get a little bit more glossy, but I'm not sure if this high temp is a gloss or just clear, all I saw was the clear cap.
 
  #27  
Old 12-13-2009, 10:22 PM
Legendsecko87's Avatar
Senior Member
Join Date: Feb 2009
Posts: 777
Likes: 0
Received 0 Likes on 0 Posts
Default

Make sure it's high temp. the IM can get pretty damn hot.
 
  #28  
Old 12-13-2009, 10:27 PM
gilber33's Avatar
Senior Member
Thread Starter
Join Date: Apr 2008
Location: Milwaukee, WI
Posts: 3,964
Likes: 0
Received 3 Likes on 3 Posts
Default

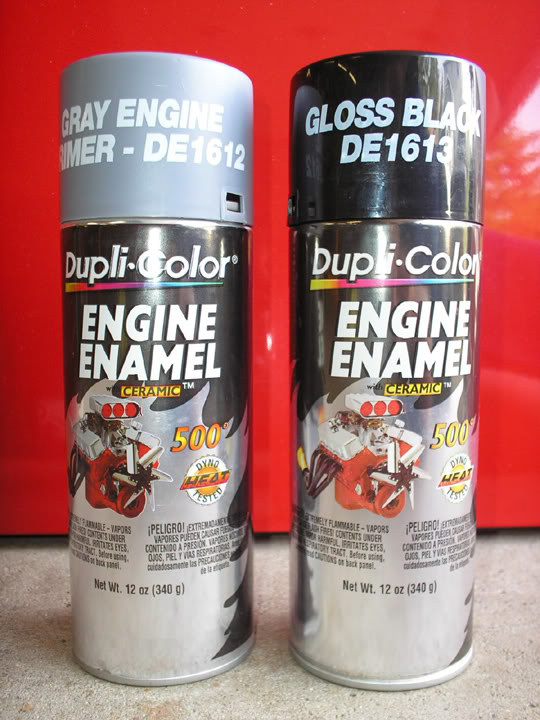
Yeah, it's all high temp engine paint, the flat black too.
 
  #29  
Old 12-13-2009, 10:31 PM
gilber33's Avatar
Senior Member
Thread Starter
Join Date: Apr 2008
Location: Milwaukee, WI
Posts: 3,964
Likes: 0
Received 3 Likes on 3 Posts
Default

This stuffs

Name:  duplicolor.jpg
Views: 66
Size:  90.3 KB

Or something similar
 
  #30  
Old 12-13-2009, 11:23 PM
Legendsecko87's Avatar
Senior Member
Join Date: Feb 2009
Posts: 777
Likes: 0
Received 0 Likes on 0 Posts
Default

Dat works yo.
 
  #31  
Old 12-13-2009, 11:36 PM
gilber33's Avatar
Senior Member
Thread Starter
Join Date: Apr 2008
Location: Milwaukee, WI
Posts: 3,964
Likes: 0
Received 3 Likes on 3 Posts
Default

Word.

 
  #32  
Old 12-14-2009, 10:48 AM
boxpin's Avatar
Super Moderator
Join Date: May 2009
Location: Rocklin, Ca
Posts: 2,702
Likes: 0
Received 0 Likes on 0 Posts
Default

Love the Grill! Sharp!
 
  #33  
Old 12-14-2009, 10:57 AM
gilber33's Avatar
Senior Member
Thread Starter
Join Date: Apr 2008
Location: Milwaukee, WI
Posts: 3,964
Likes: 0
Received 3 Likes on 3 Posts
Default

Thanks. That's definitely going to be the last piece that goes on. It will signify the completion.
 
  #34  
Old 12-14-2009, 11:36 AM
boxpin's Avatar
Super Moderator
Join Date: May 2009
Location: Rocklin, Ca
Posts: 2,702
Likes: 0
Received 0 Likes on 0 Posts
Default

Where did they get it? I have been eyeballing ones on ebay but I am not sure of the quality. How does that one feel?
 
  #35  
Old 12-14-2009, 11:51 AM
gilber33's Avatar
Senior Member
Thread Starter
Join Date: Apr 2008
Location: Milwaukee, WI
Posts: 3,964
Likes: 0
Received 3 Likes on 3 Posts
Default

It's the EST one. Um, it looks really nice in person, but they're definitely not the quality then I thought they were. The black mesh is plastic and not metal, and they're just glued on. I assume that's how they all are, but it's just not what I thought. I mean, it's definitely not falling apart or anything.
 
  #36  
Old 12-14-2009, 12:06 PM
boxpin's Avatar
Super Moderator
Join Date: May 2009
Location: Rocklin, Ca
Posts: 2,702
Likes: 0
Received 0 Likes on 0 Posts
Default

Looks good all the same. I was going to grind mine out and add a mesh behind it but it just wont work. So I painted it black.
 
  #37  
Old 12-14-2009, 12:24 PM
gilber33's Avatar
Senior Member
Thread Starter
Join Date: Apr 2008
Location: Milwaukee, WI
Posts: 3,964
Likes: 0
Received 3 Likes on 3 Posts
Default

Yeah, I might try and experiment with my extra grill and see what I can do. Maybe try an eggcrate of some sore.
 
  #38  
Old 12-21-2009, 07:34 PM
gilber33's Avatar
Senior Member
Thread Starter
Join Date: Apr 2008
Location: Milwaukee, WI
Posts: 3,964
Likes: 0
Received 3 Likes on 3 Posts
Default

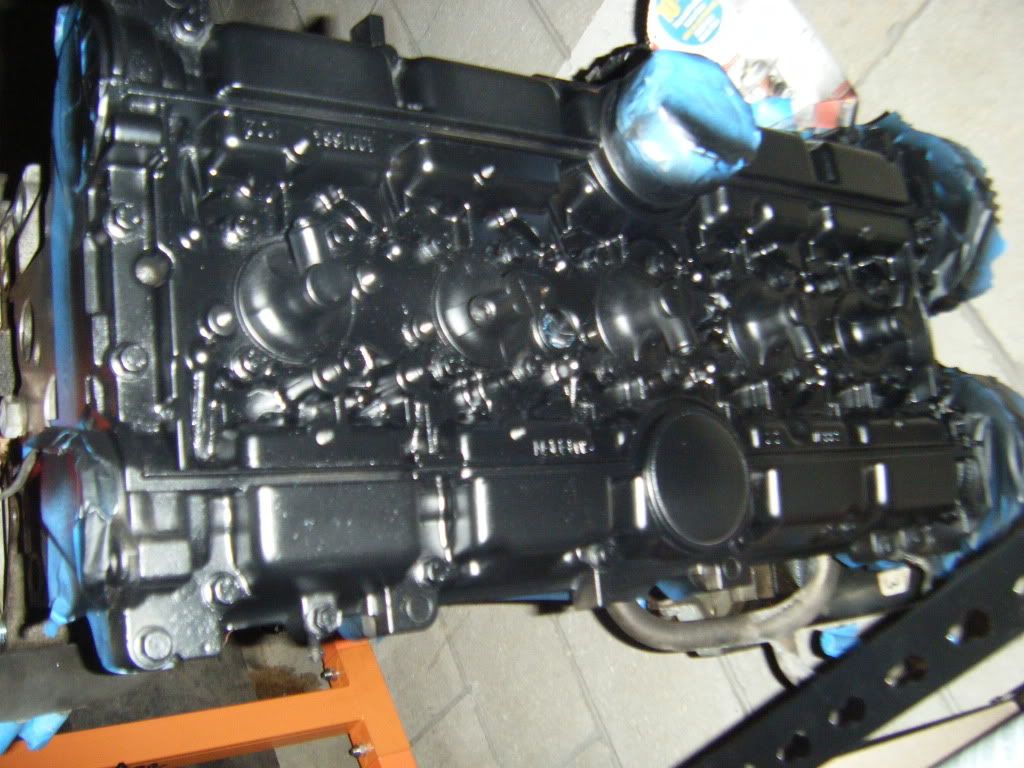
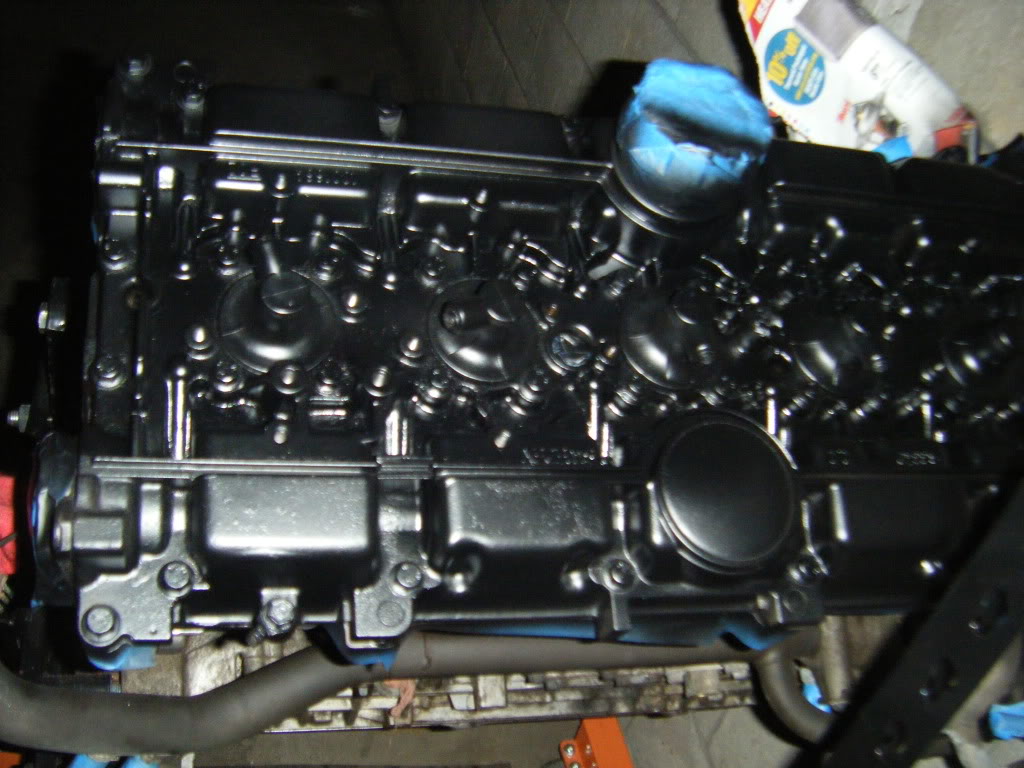
Top of motor painted. First coats. I will go back probably after Christmas or New Years to hit any spots that I missed. I will also purchase paint soon to do the rest of the motor. I still need to get one more damn bolt (the bolt from the motor mount by the timing system) so I can remove the shield and finish that side, and of course a socket doesn't fit and it's the one wrench I don't have So if I don't get any wrenches for Christmas I'll go and get me a couple, that will be my Christmas present. I wanna wrap this motor up so I can start buying the parts for it and then get started on my wheels.

Name:  DSCF1828.jpg
Views: 70
Size:  134.8 KB

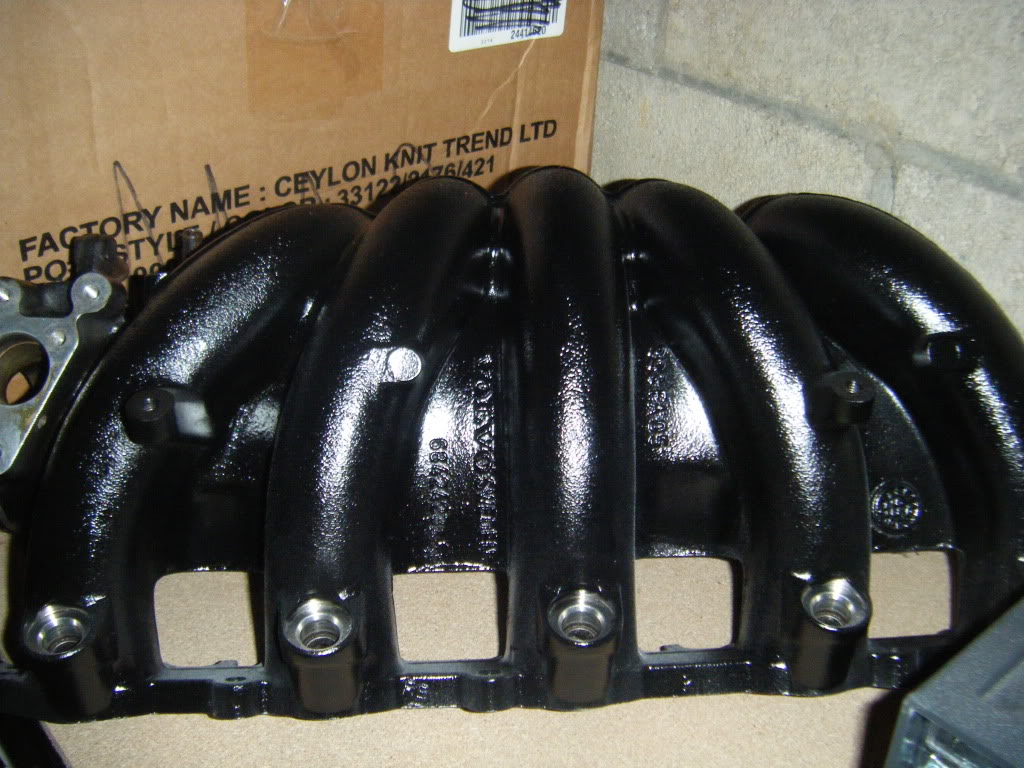
And the intake manifold with a coat of clear on it, it makes it a bit glossy, but I like it. Plus the flat black felt really soft, but this hardened the paint as well has smoothed it out, I'm happy with it, I'll give it a couple more coats, and also hit the valve cover once the black's done.
Name:  DSCF1826.jpg
Views: 83
Size:  163.0 KB


That's it, stay tuned for more!!!!
 
  #39  
Old 12-26-2009, 06:28 PM
VolvoAgain's Avatar
Junior Member
Join Date: Jun 2009
Location: Toronto ON Canada
Posts: 5
Likes: 0
Received 0 Likes on 0 Posts
Default

gilber,

Love the engine!!! Question for you: what product(s)/procedures did you use to clean the engine prior to painting? Would like to do this to my spare engine. Thanks for any info.
Great job on yours.
 
  #40  
Old 12-26-2009, 09:08 PM
gilber33's Avatar
Senior Member
Thread Starter
Join Date: Apr 2008
Location: Milwaukee, WI
Posts: 3,964
Likes: 0
Received 3 Likes on 3 Posts
Default

Originally Posted by VolvoAgain
gilber,

Love the engine!!! Question for you: what product(s)/procedures did you use to clean the engine prior to painting? Would like to do this to my spare engine. Thanks for any info.
Great job on yours.
I used engine degreaser from Autozone, sprayed parts of the engine at a time, used a rag to wipe it down, did that a few times. For the valve cover and tighter areas I used q-tips. I also wrapped a rag around a screwdriver to get a little more force behind the rag in tougher grime spots. Hope that helps, if you have anymore questions, let me know.


Quick Reply: Unofficial 855 Project Threadz


All times are GMT -5. The time now is 12:05 PM.