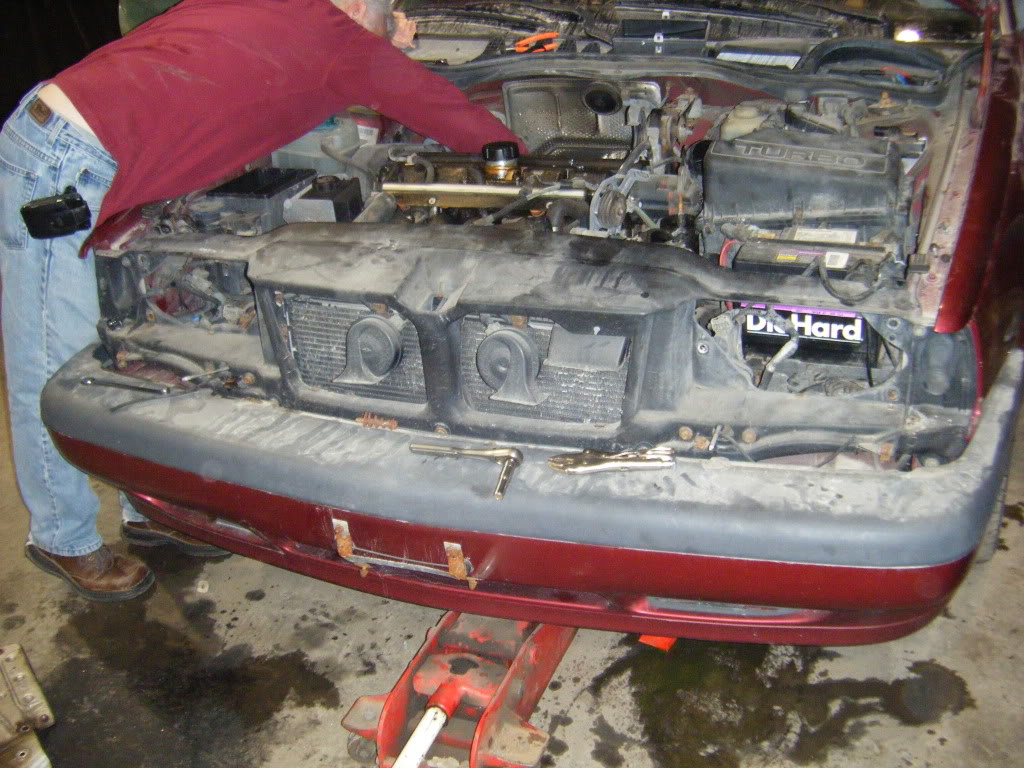
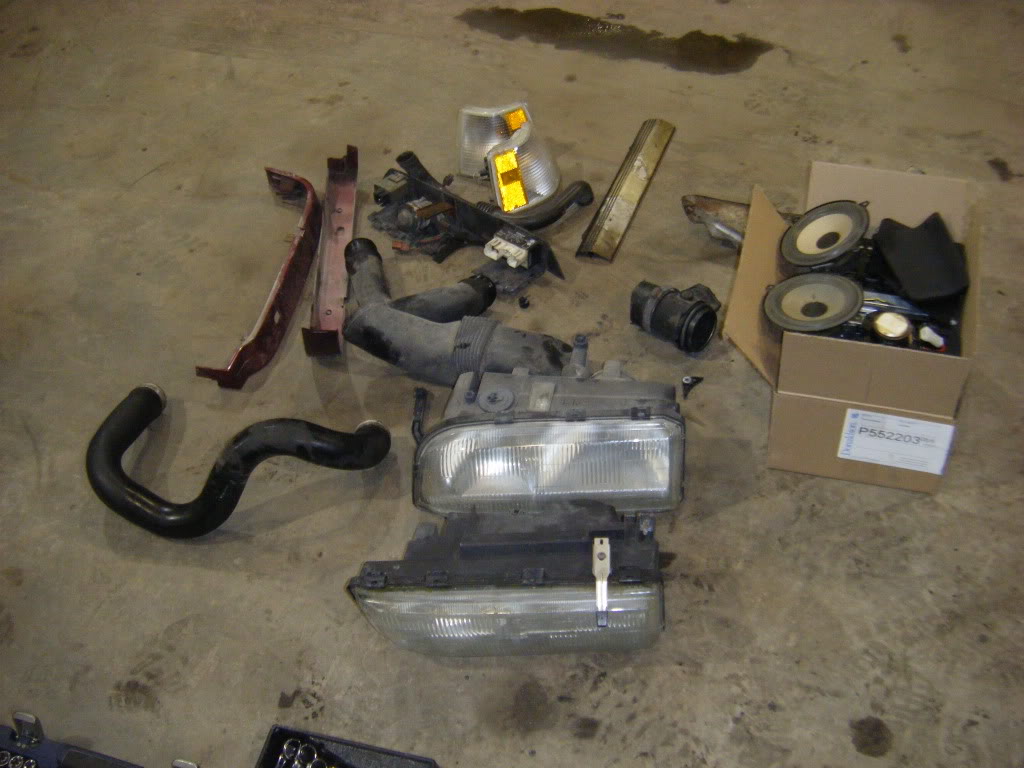
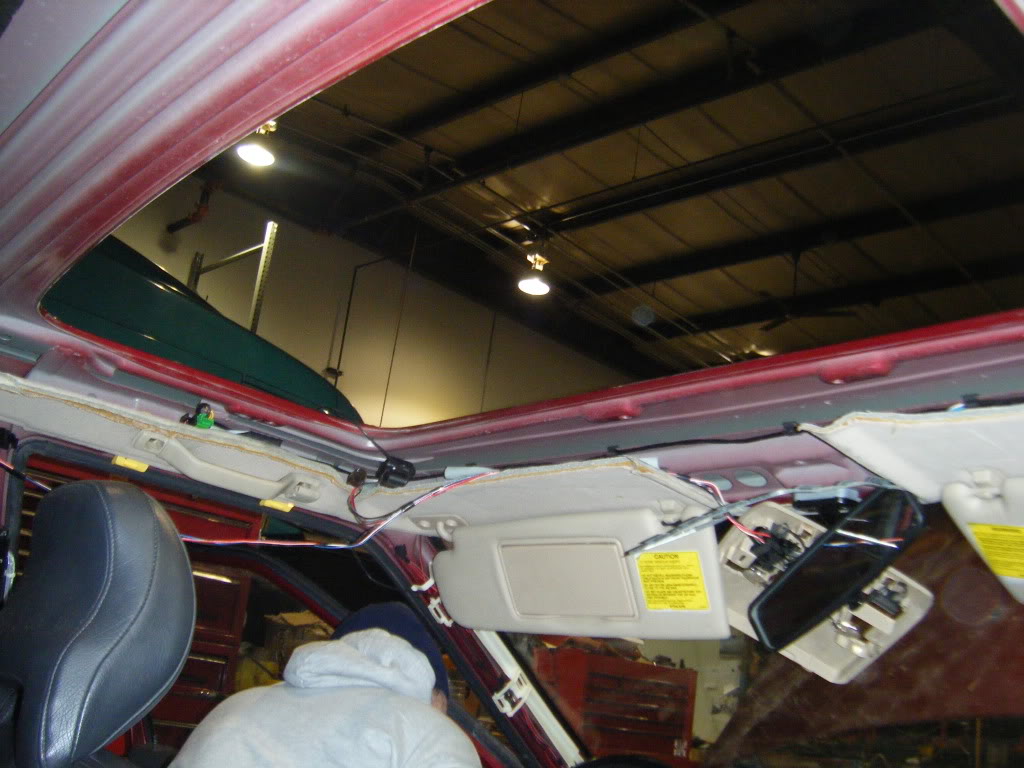
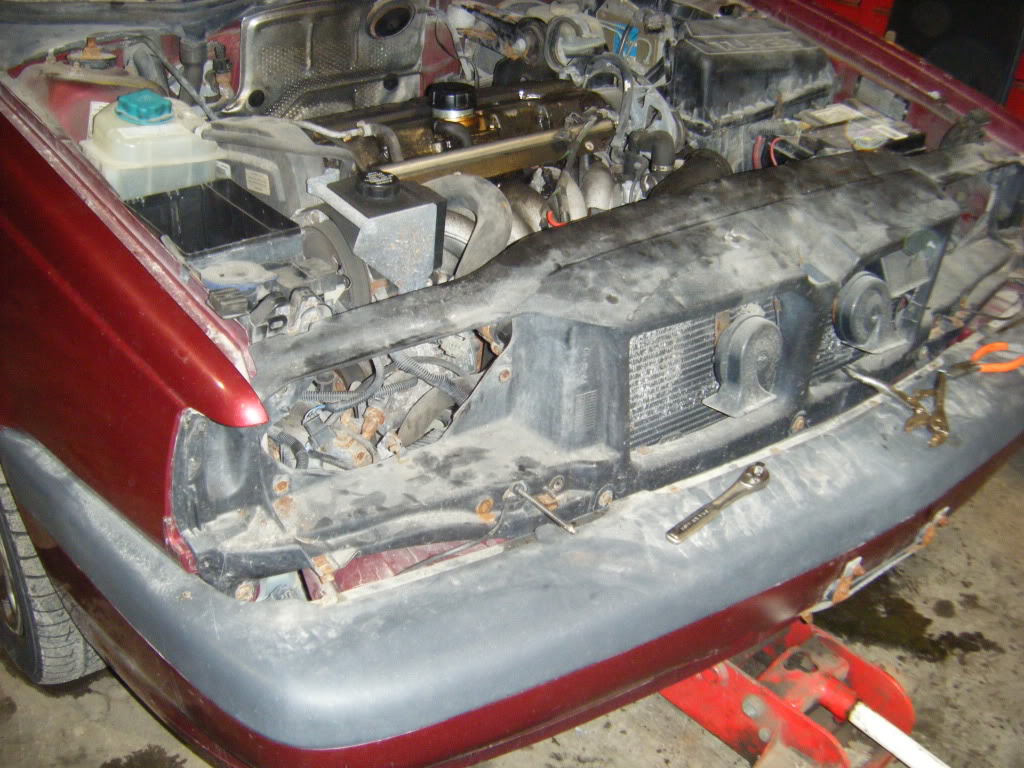
Unofficial 855 Project Threadz
#61
This does not help one bit but thought I would share. I used to have a BMW 535is many moons ago. As some of you remember I worked for 17years as a car stereo installer/Manager. Once I brought some of my tools home in a tote in my trunk. Almost everything I have is Snap-on. I left the car unlocked one night...one night. They stole my stereo then when they traces the other cables to the trunk to get the amps they found my tools...used my own tools to take my stereo stuff then took all my Snap-on tools and left me with a Craftsman screwdriver. I still have that screwdriver to this day. Reminds me but I get angry every time I see it.
Insurance covered the tools.
Insurance covered the tools.
#62
Front 2 of (3) and rear 2 of (4) Cam seals.
spark plug o-rings 5 of (5)
the sealing compound and roller( I bought the rollers at Home depot, the small ones with red(all chemical) rollers)
That's about all I can think of.
Be careful pulling it off. When I did mine the cam seals got stuck in the upper head on one end and the lower head on the other end. when I lifted the cams twisted and I broke the thrust collar in the top head.
Don't forget you need the cam locking tool to re-assemble. If you want info on how I made mine just let me know.
#63
This does not help one bit but thought I would share. I used to have a BMW 535is many moons ago. As some of you remember I worked for 17years as a car stereo installer/Manager. Once I brought some of my tools home in a tote in my trunk. Almost everything I have is Snap-on. I left the car unlocked one night...one night. They stole my stereo then when they traces the other cables to the trunk to get the amps they found my tools...used my own tools to take my stereo stuff then took all my Snap-on tools and left me with a Craftsman screwdriver. I still have that screwdriver to this day. Reminds me but I get angry every time I see it.
Insurance covered the tools.
Insurance covered the tools.
#64
If you are talking about the part the paint peeled off of that it the upper section of the head. It holds the cams in the lower head and provides the upper bearing races for the cams. When you remove it the valve springs will push the cams up and they will just be laying in the lower head and all the valves will close.
When you put it together follow Haynes. The cams have to be secured in the top section after the goop is applied because 4 lobes are just about straight down. If I rememebr right #3 on exhaust and #4 on the intake. I didn't use the sparkplug hole draw down tool because the bolts were long enough and worked fine.
#65
I mean in the diagram you posted 2 of number 3 (or the front cam seal etc)
If you are talking about the part the paint peeled off of that it the upper section of the head. It holds the cams in the lower head and provides the upper bearing races for the cams. When you remove it the valve springs will push the cams up and they will just be laying in the lower head and all the valves will close.
When you put it together follow Haynes. The cams have to be secured in the top section after the goop is applied because 4 lobes are just about straight down. If I rememebr right #3 on exhaust and #4 on the intake. I didn't use the sparkplug hole draw down tool because the bolts were long enough and worked fine.
And if I did this, do I need to follow Hayne's guide to putting in the cams or wouldn't I just use my own timing marks, since that's the time that the rest of the motor is in?
#66
Oh, I get you meant with the numbers. I am talking about the painted section. So when I remove the upper head the cams aren't secure, they will be loose? And the cam locking tool holds the cams into the upper head? Making sure I get this right.
And if I did this, do I need to follow Hayne's guide to putting in the cams or wouldn't I just use my own timing marks, since that's the time that the rest of the motor is in?
And if I did this, do I need to follow Hayne's guide to putting in the cams or wouldn't I just use my own timing marks, since that's the time that the rest of the motor is in?
 then
then  . I made my cam tool in about 30 minutes out of flat aluminum stock bought at home depot. You have to bend right angles to fit in the cam slots but if you have even a small vise no problem. check out the pics on my thread.
#68
If not, I'd remove the top of Darth Vader
 , mark (E and I) and remove the cams and remove the spark plugs so your not building pressure, the valves should all be closed and out of the way of the pistons turn the crank slow by hand and stop if you meet any interference until the timing mark lines up with the oil pump mark. Put the plugs back in. Now follow the haynes method.
#69
#70
Well, I already have the timing belt off, so does the crank have timing marks that I can line up, I can just do everything separately?
Have you ever heard if the upper heads are mated to the lower head? I was told that on VS and interchanging lower and upper heads could lead to leaking.
Have you ever heard if the upper heads are mated to the lower head? I was told that on VS and interchanging lower and upper heads could lead to leaking.
Don't move anything until you take the top off or you could bend the valves.
I don't really know anything about the compatability. I would lay them side by side and compare. But maybe someone else can give you better advise.
Oh yeah, look in my thread at the picture of the cam sprockets and how I made a reference mark on the cam and sprockets. This made reassembly much easier, just becareful not to get to close to the interface edge, I thought I had but luckly I hadn't.
Last edited by Bobec; 01-07-2010 at 04:53 PM.
#72
#74
#75
I have Haynes but I've never seen part numbers anywhere.
what about this guy for NA cams https://volvoforums.com/forum/showthread.php?t=37241
?
what about this guy for NA cams https://volvoforums.com/forum/showthread.php?t=37241
?
#79
I bought a 19T with roughly 100k miles on it from a babied soccer mom VR, and the guy is also sending me a set of NA cams. I'm going to use an EBC to retard the onset of boost until higher RPMs, and then advance the NA cam timing to give me a stronger low end power band. Basically what I'm saying is that I love my car.


