
Unofficial 855 Project Threadz


Thread Starter
|
Senior Member
Joined: Apr 2008
Posts: 3,948
Likes: 3
From: Milwaukee, WI
Interweb high five! I'm excited that I'm going to be able to wire in my fog lights how they should be from the factory and not have to do aftermarket stuff (except from that plug to lights themselves, but that doesn't really count, that's basically just extending the wire), and that all of the relays will be factory and I won't have to wire any in. I'm so relieved.

Administrator
Joined: Sep 2004
Posts: 36,349
Likes: 46
From: Orlando, Florida
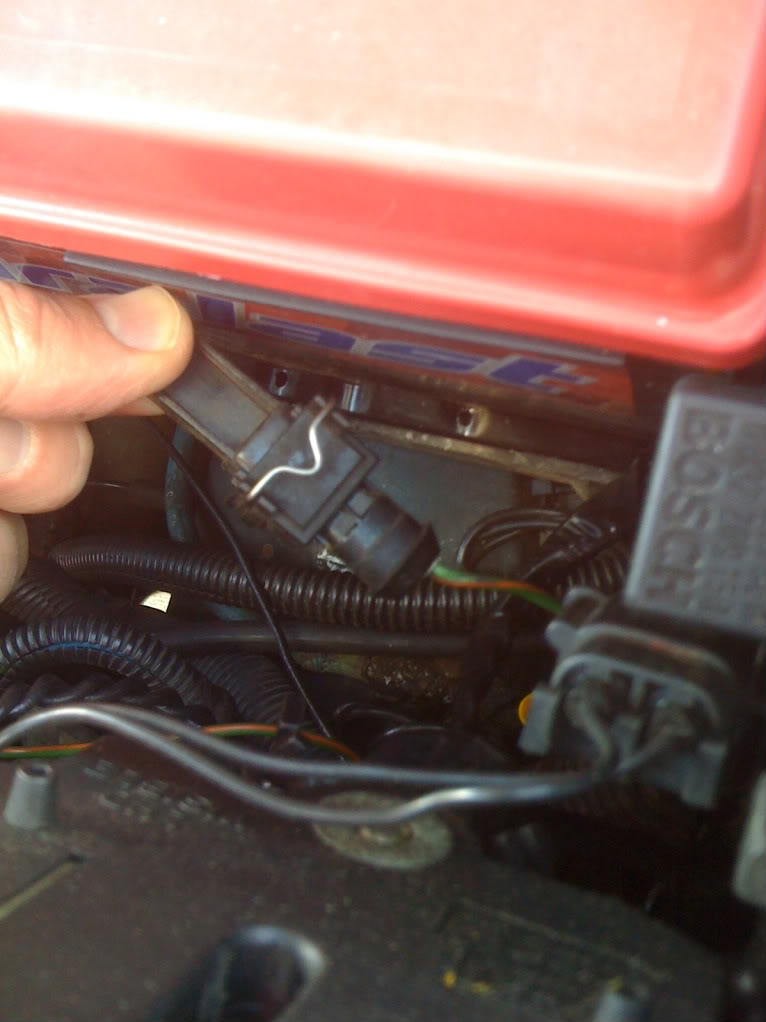
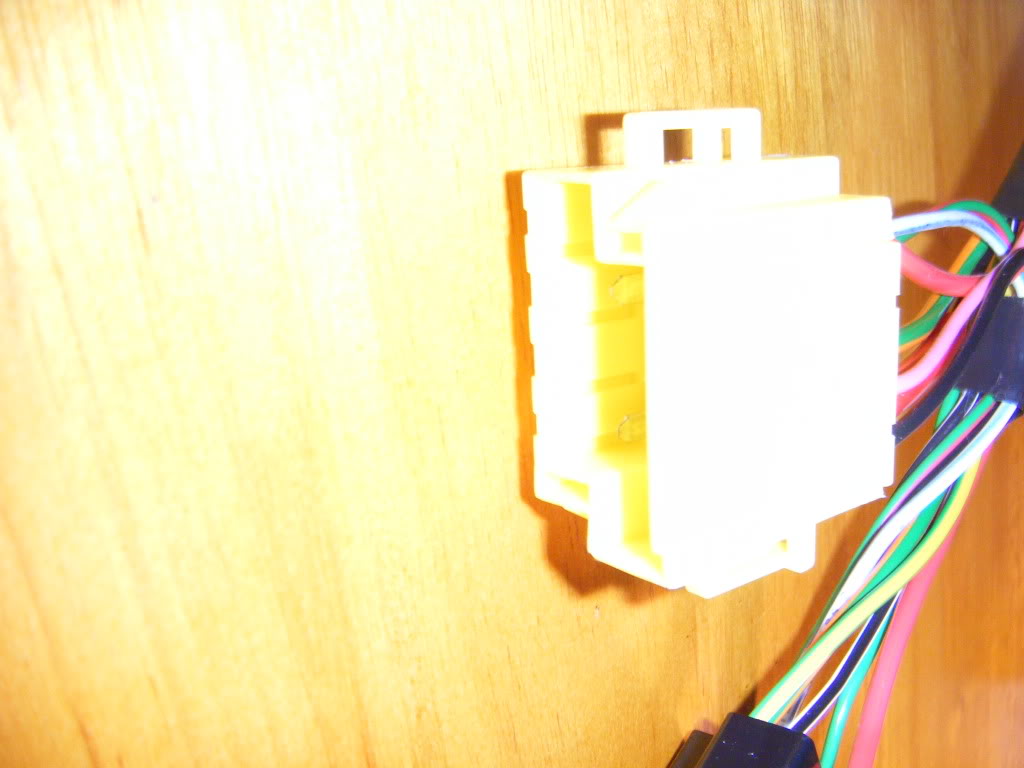
Sorry guys but that single wire plug is not for the foglights!!!
Gilber the one you took a pic of from the passenger side should be the plug.
It will be a 2 wire plug. The colors may not always match a wiring diagram.
I would look more for a plug matching the passenger side one.
Gilber the one you took a pic of from the passenger side should be the plug.
It will be a 2 wire plug. The colors may not always match a wiring diagram.
I would look more for a plug matching the passenger side one.
Thread Starter
|
Senior Member
Joined: Apr 2008
Posts: 3,948
Likes: 3
From: Milwaukee, WI
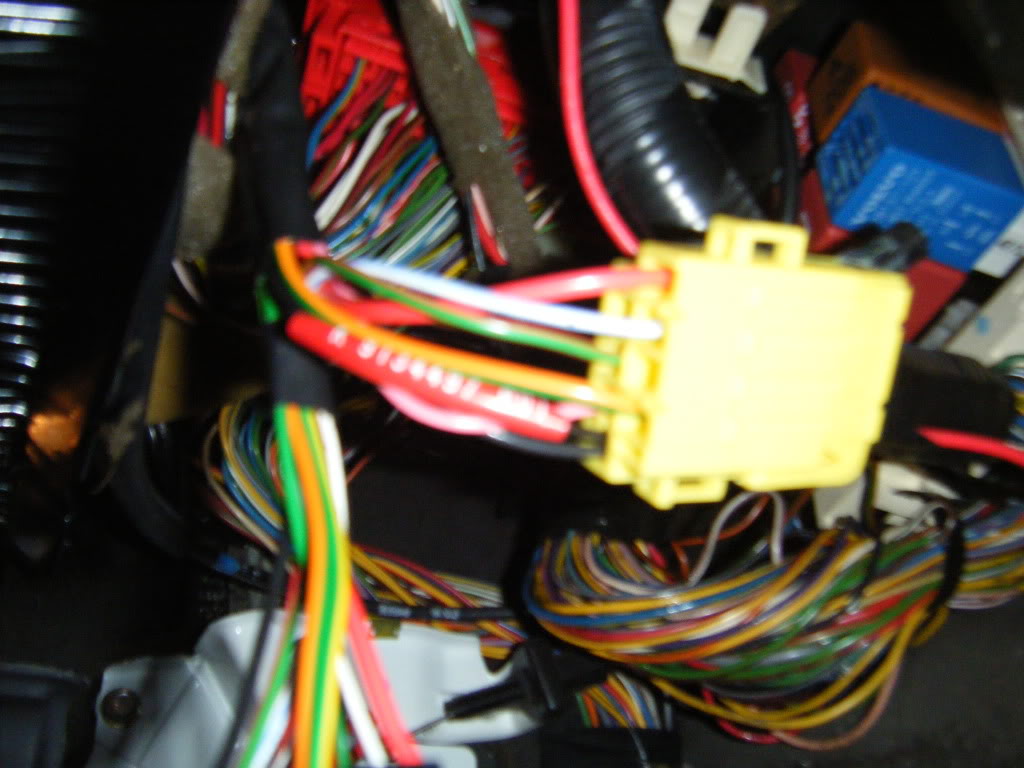
Where would they hide it though? I was under my car and did not see it.
Also, the guy I got the harness from on VS bought it OEM to wire in fogs on his 94 and I sent him pics of this plug and he confirmed that it was for the fogs.
Also, the guy I got the harness from on VS bought it OEM to wire in fogs on his 94 and I sent him pics of this plug and he confirmed that it was for the fogs.
Administrator
Joined: Sep 2004
Posts: 36,349
Likes: 46
From: Orlando, Florida
Well it must be something new I have never seen.
Is he sending you an inside out outside harness?
If the inside harness that should point out right away he could be wrong.
I should be doing an oil change on mine tomorrow. When I have it on the lift I will try to remember to take pics of where the wiring goes off the foglights and post it for you to see. This way you can take a closer look for it.
Thread Starter
|
Senior Member
Joined: Apr 2008
Posts: 3,948
Likes: 3
From: Milwaukee, WI
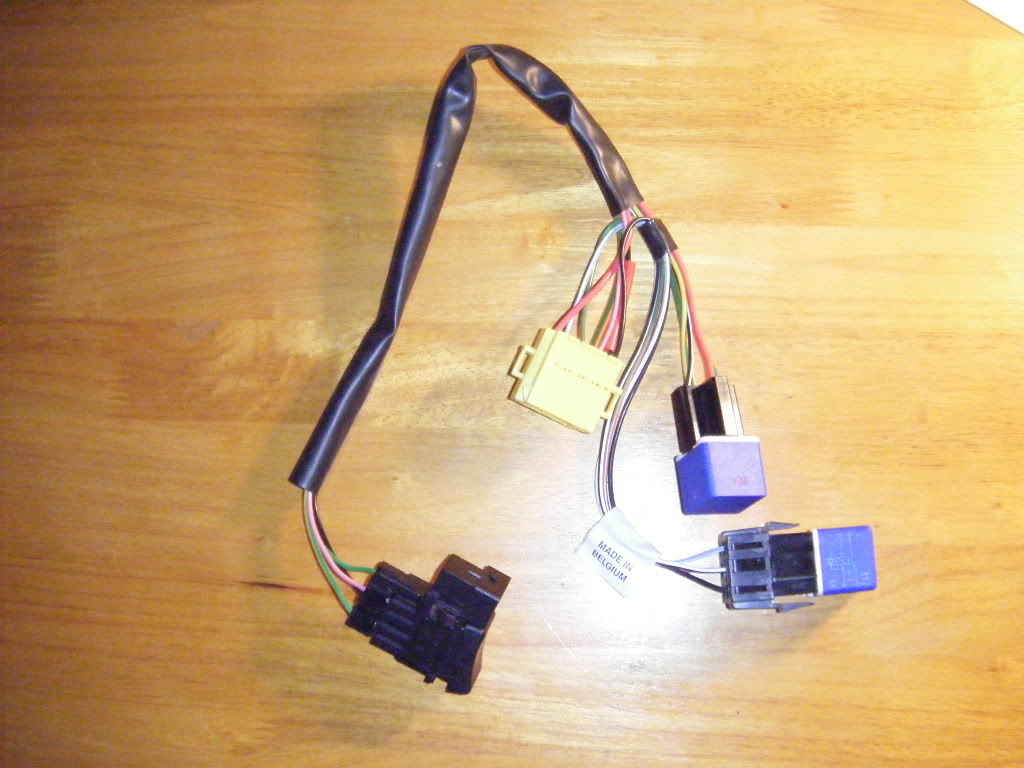
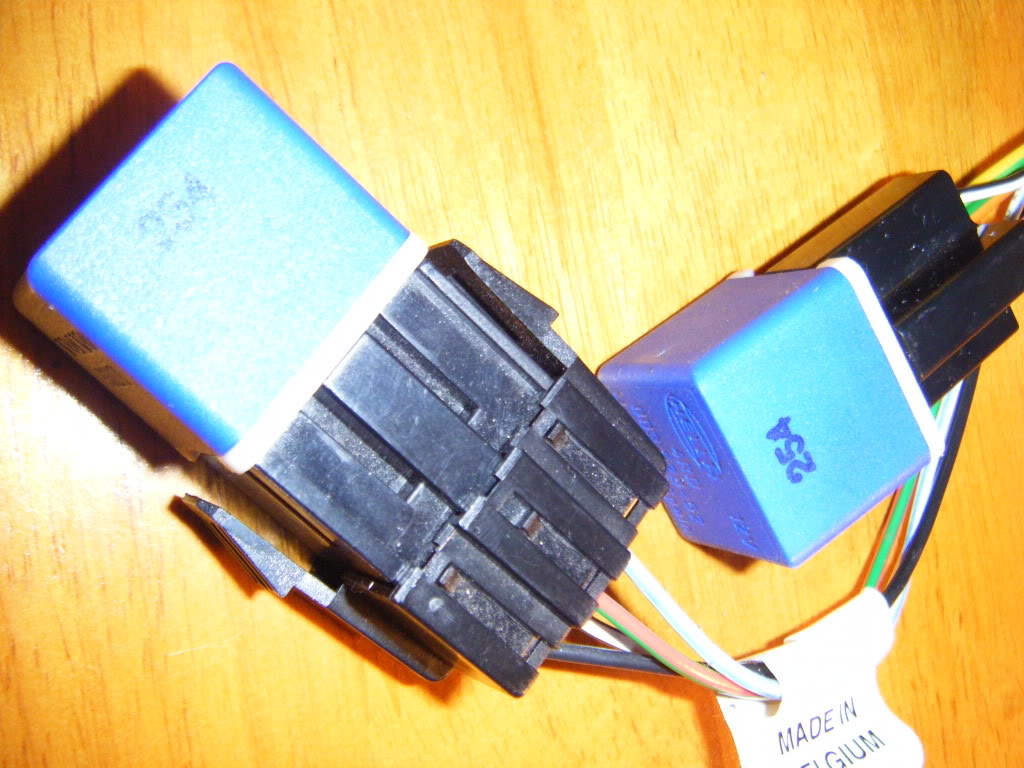
Alright, I did some searching, found a picture of the kit, which just so happens that the pic that I found is from the guy that I bought it from, so this pic is what I bought, everything except for the harness from the actual fogs to the plug that I just posted pics of.
LINK FOR INFO
PICTURE OF NECESSARY HARNESS KIT FOR 94 AND EARLY FACTORY SPECIFIC 95 850 WAGONS:
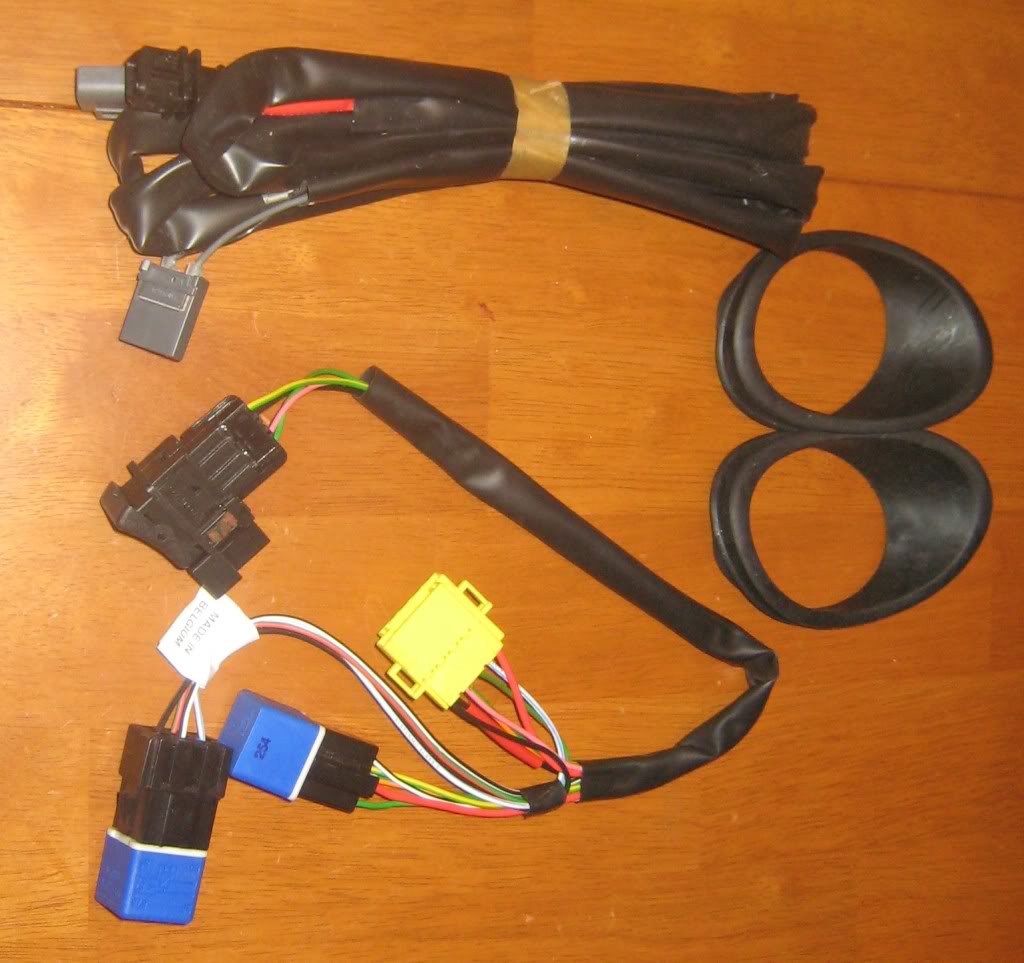
The very top harness with the plugs is what I'm not getting (and the trim rings). Since I have the plugs still in the fogs with some extra wire, I'm just going to my a harness.
Learn something new everyday, news to me.
LINK FOR INFO
PICTURE OF NECESSARY HARNESS KIT FOR 94 AND EARLY FACTORY SPECIFIC 95 850 WAGONS:
The very top harness with the plugs is what I'm not getting (and the trim rings). Since I have the plugs still in the fogs with some extra wire, I'm just going to my a harness.
Learn something new everyday, news to me.


Senior Member
Joined: Feb 2009
Posts: 774
Likes: 0
It looks like we are correct.. but I am still not sure.
We'll find out.
Gilber - Install the switch and relay and then hook up a small headlight or lamp of some sort up to the wire and then also the negative battery terminal. this will lead us to what it is for sure.
We'll find out.
Gilber - Install the switch and relay and then hook up a small headlight or lamp of some sort up to the wire and then also the negative battery terminal. this will lead us to what it is for sure.
Thread Starter
|
Senior Member
Joined: Apr 2008
Posts: 3,948
Likes: 3
From: Milwaukee, WI
Lol. The spanish channel type too.
I don't know about you guys, but I'm pretty confident that this is it. The guy I got the kit from and who's picture that is knows his stuff, I'm not saying that you don't Tech, but right when I showed him a pic of the clip he instantly said that was it. This is OEM equipment here, not some aftermarket stuff to wire in the headlights messing up existing wiring harnesses. There is also a lot of information in that thread I posted the link to that backs it all up too.
It looks like we are correct.. but I am still not sure.
We'll find out.
Gilber - Install the switch and relay and then hook up a small headlight or lamp of some sort up to the wire and then also the negative battery terminal. this will lead us to what it is for sure.
We'll find out.
Gilber - Install the switch and relay and then hook up a small headlight or lamp of some sort up to the wire and then also the negative battery terminal. this will lead us to what it is for sure.


Senior Member
Joined: Feb 2009
Posts: 774
Likes: 0
That looks like a lot of wires in the harness in comparison to what I had... I took one out of a 93 and it was black and only had 4 wires in plugs 1 2 5 6. If this is legit i hope it works! Were you able to test it out?
Last edited by Legendsecko87; Mar 7, 2010 at 11:04 AM.
Thread Starter
|
Senior Member
Joined: Apr 2008
Posts: 3,948
Likes: 3
From: Milwaukee, WI
I haven't tested it yet. I was planning on working on the car this weekend, but that didn't happen. And I have midterms next week so I'm not going to have any time this week or next weekend. Oh well, what are you going to do? So spring break will be a all out mechanics marathon since I'll have two full weekends and a week with no homework to work, and my goals are pretty high:
All suspension
Paint rear bumper
Paint fender edges
Install fog lights
Finish and mount Tethys
And finally get the R bumper fully installed
And then get an alignment.
So, we'll see, it's a lot, but it should be do-able.
All suspension
Paint rear bumper
Paint fender edges
Install fog lights
Finish and mount Tethys
And finally get the R bumper fully installed
And then get an alignment.
So, we'll see, it's a lot, but it should be do-able.
Thread Starter
|
Senior Member
Joined: Apr 2008
Posts: 3,948
Likes: 3
From: Milwaukee, WI
Yeah, the biggest one will be wheels and suspension, the other stuff is pretty simple. I will be finishing the wheels this week and weekend though so the paint can set before tires get mounted, so at least I can post some pics of that.
Thread Starter
|
Senior Member
Joined: Apr 2008
Posts: 3,948
Likes: 3
From: Milwaukee, WI
Yeah, I know the suspension is fairly easy, it's just all the tired bolts I'm worried about. I'll have to get under there sometime this week and spray everything down with PB.