
Unofficial 855 Project Threadz


Thread Starter
|
Senior Member
Joined: Apr 2008
Posts: 3,948
Likes: 3
From: Milwaukee, WI
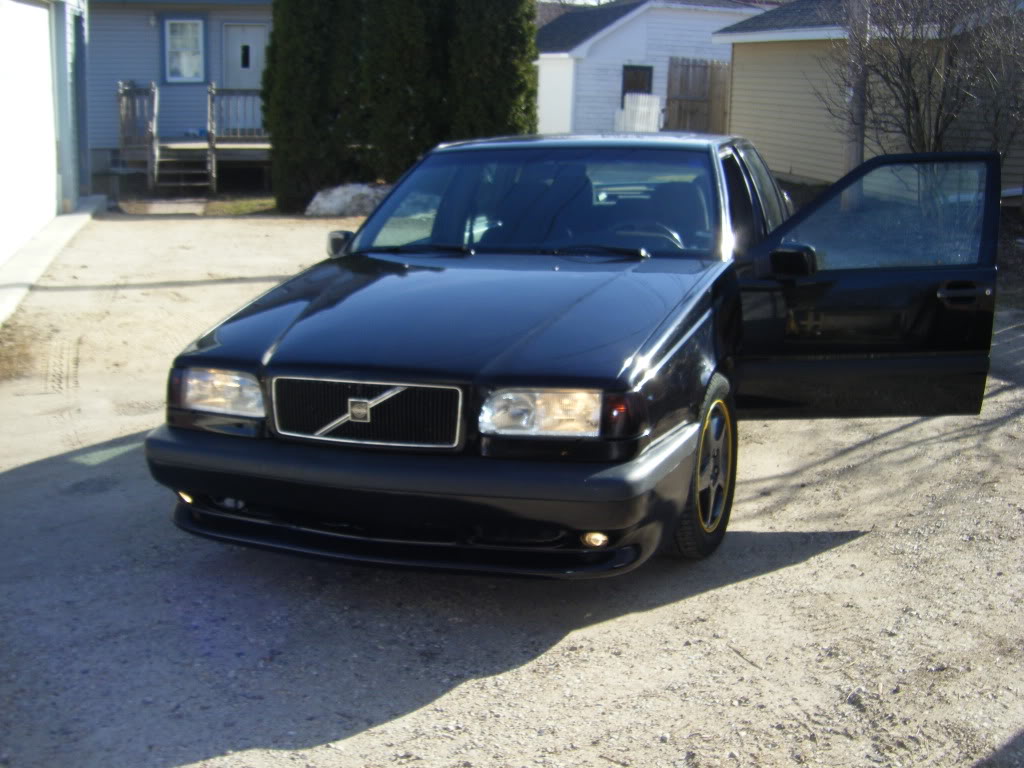
Got a lot done this weekend. Lots of painting and suspension and fogs.
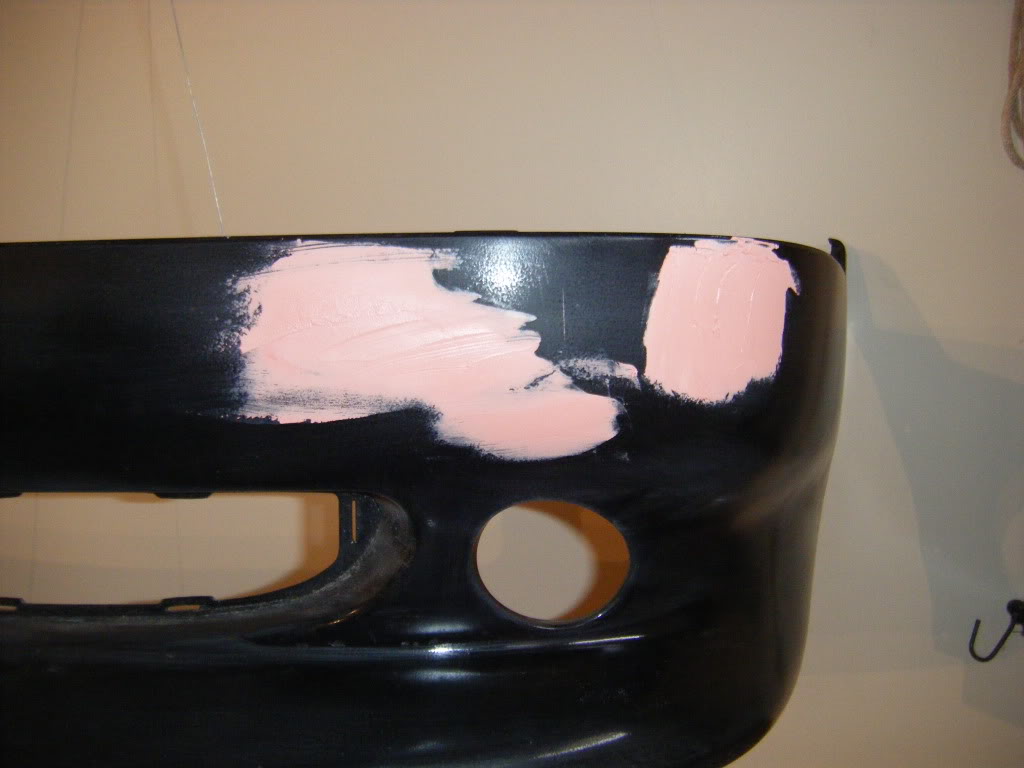
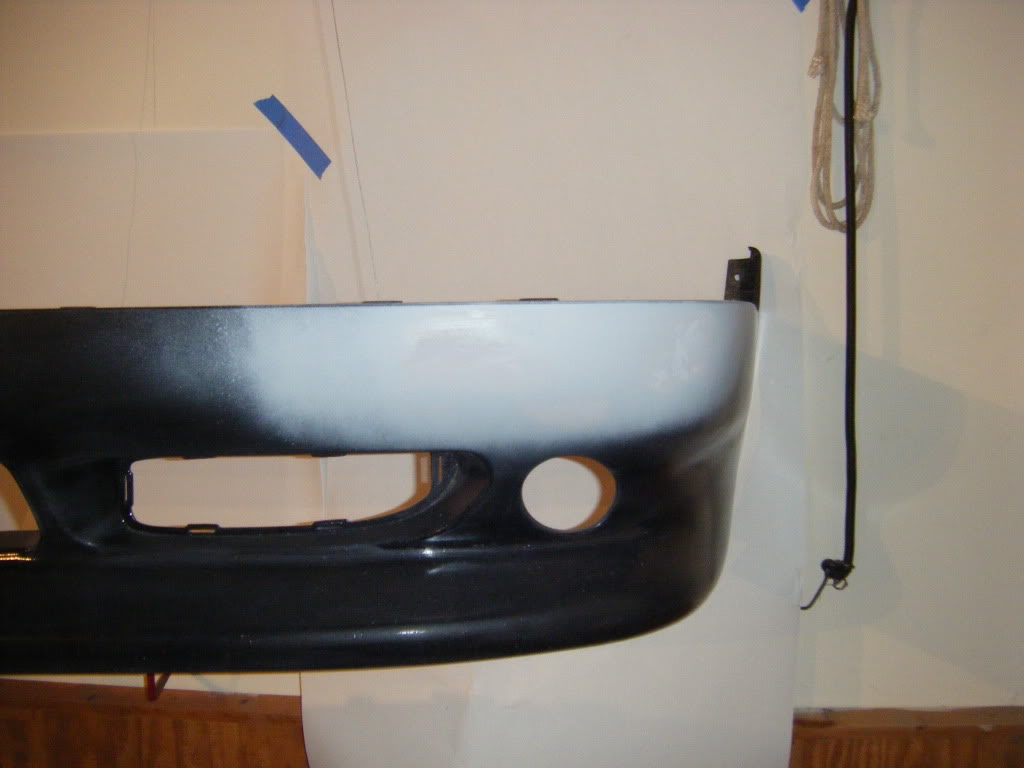
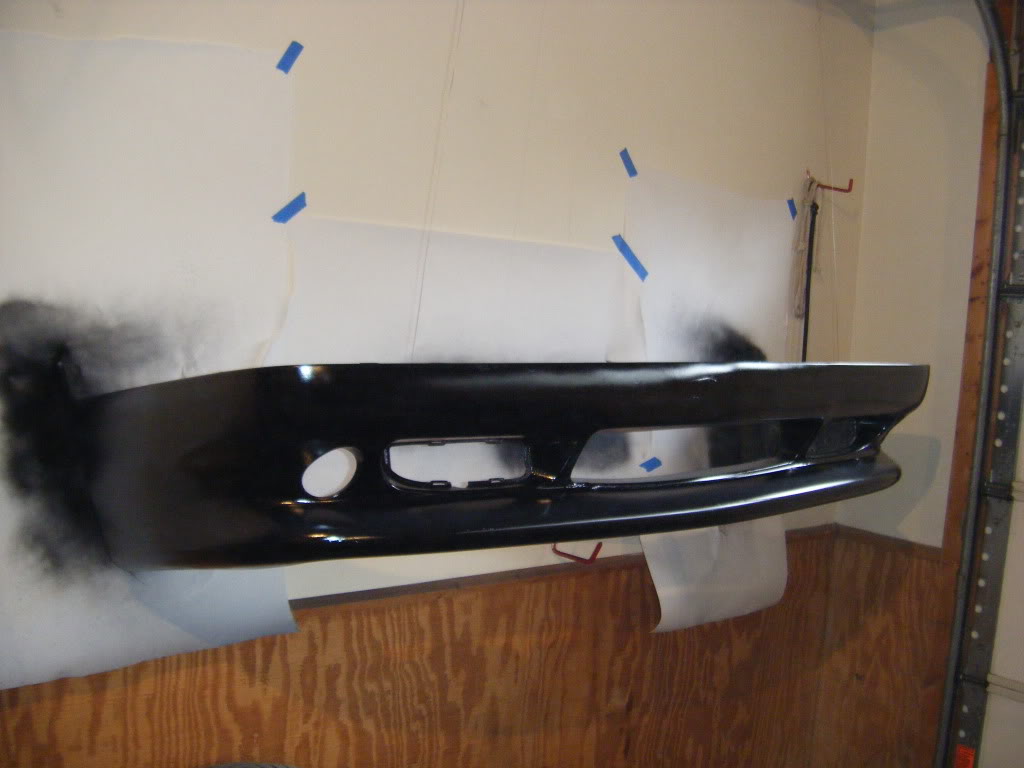
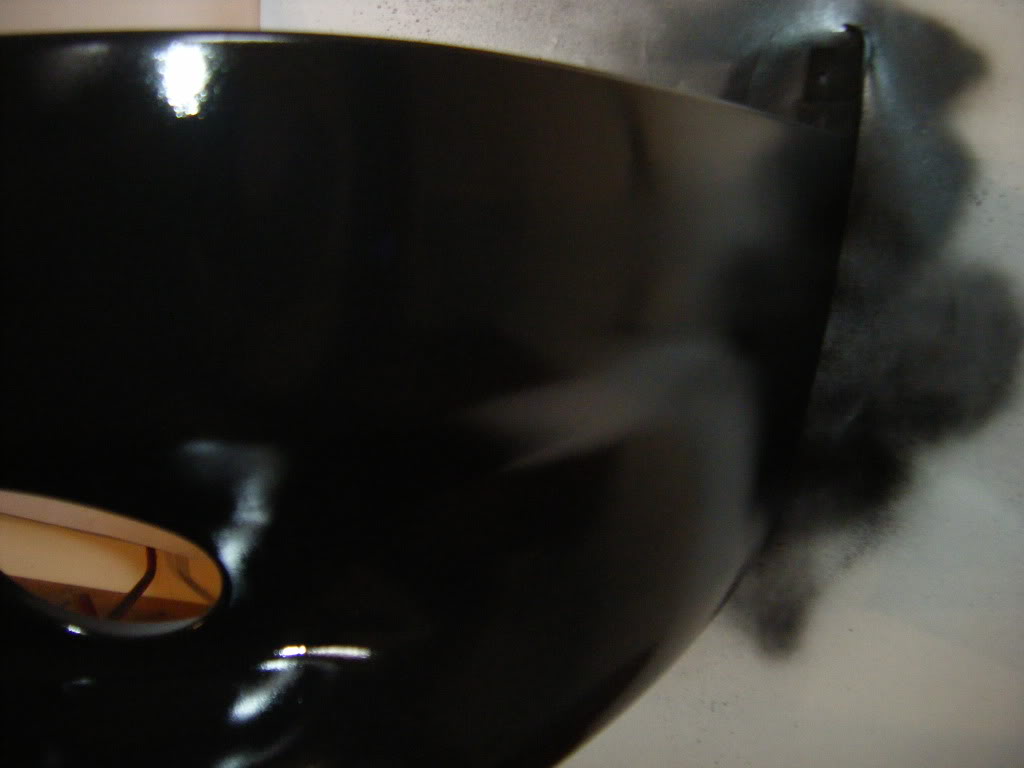
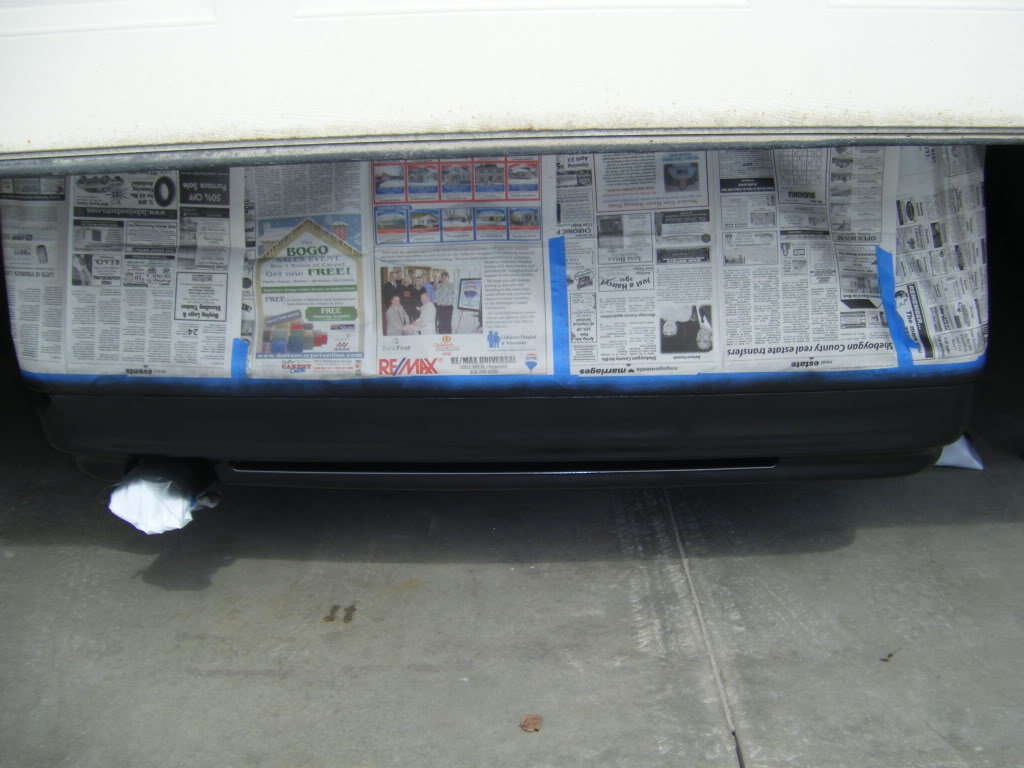
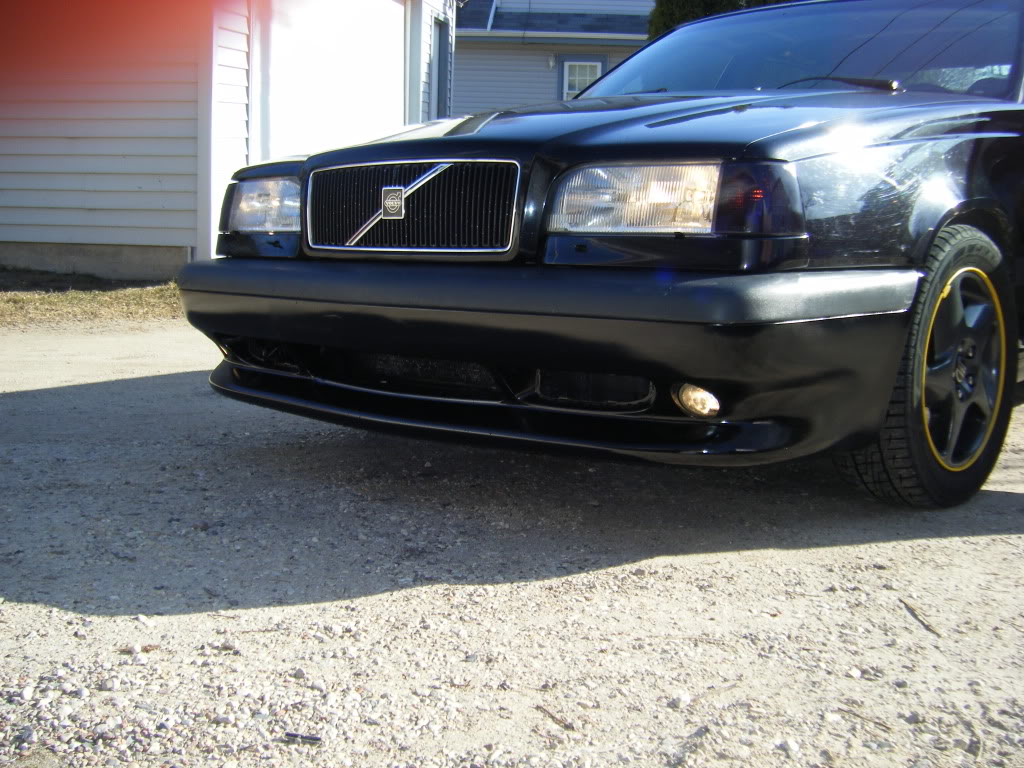
Painted the front bumper again because I found a big scuff from where someone must have hit it.
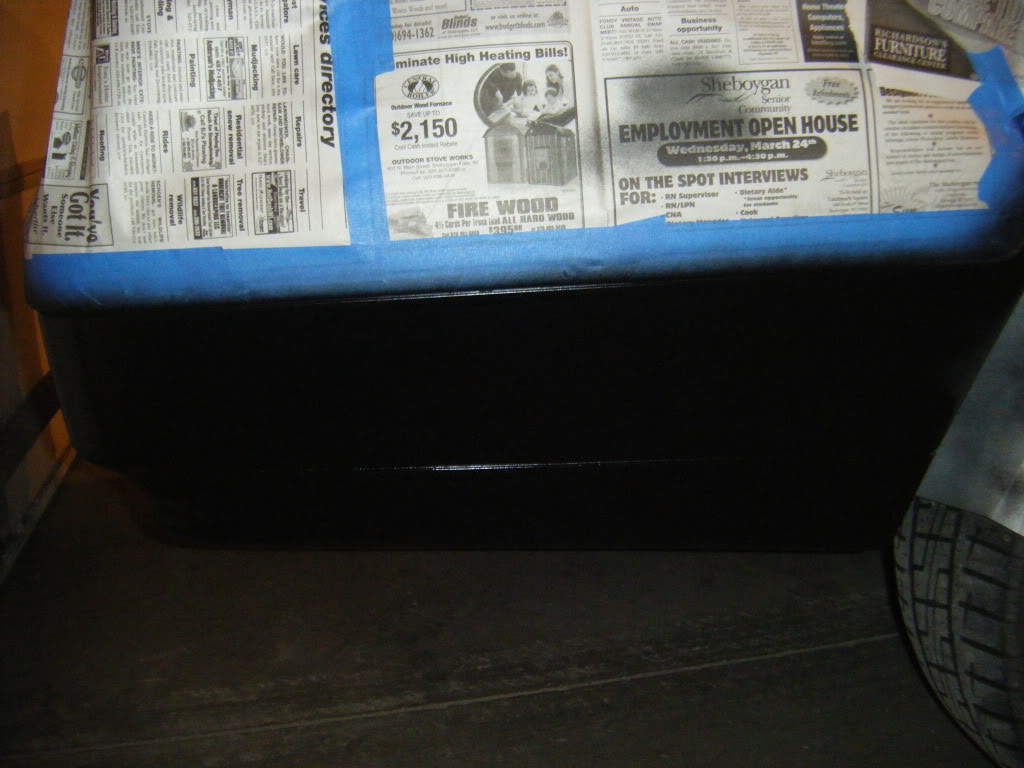
Painted the rear bumper because some stupid yellow car hit me while I was parked on campus a while ago
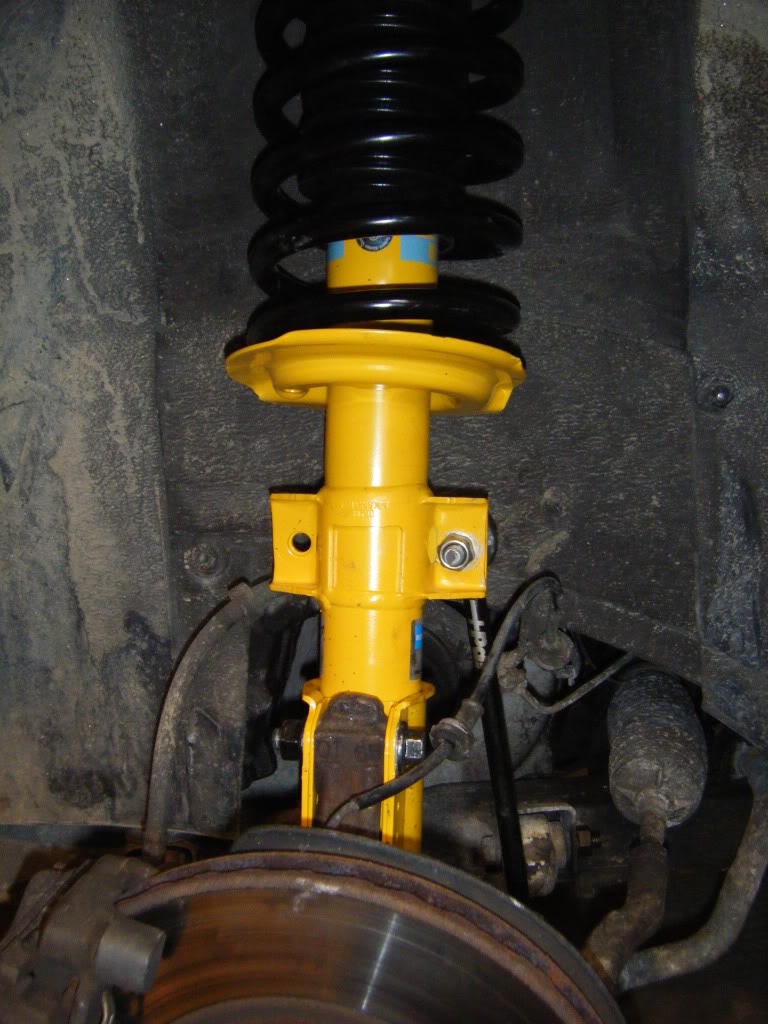
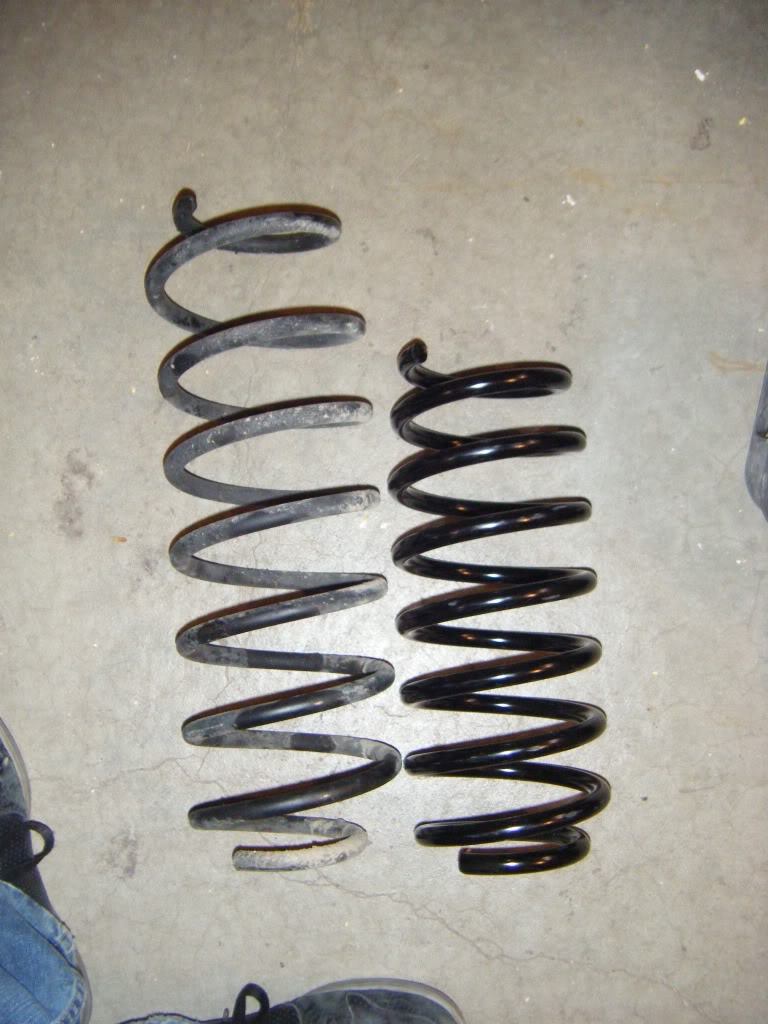
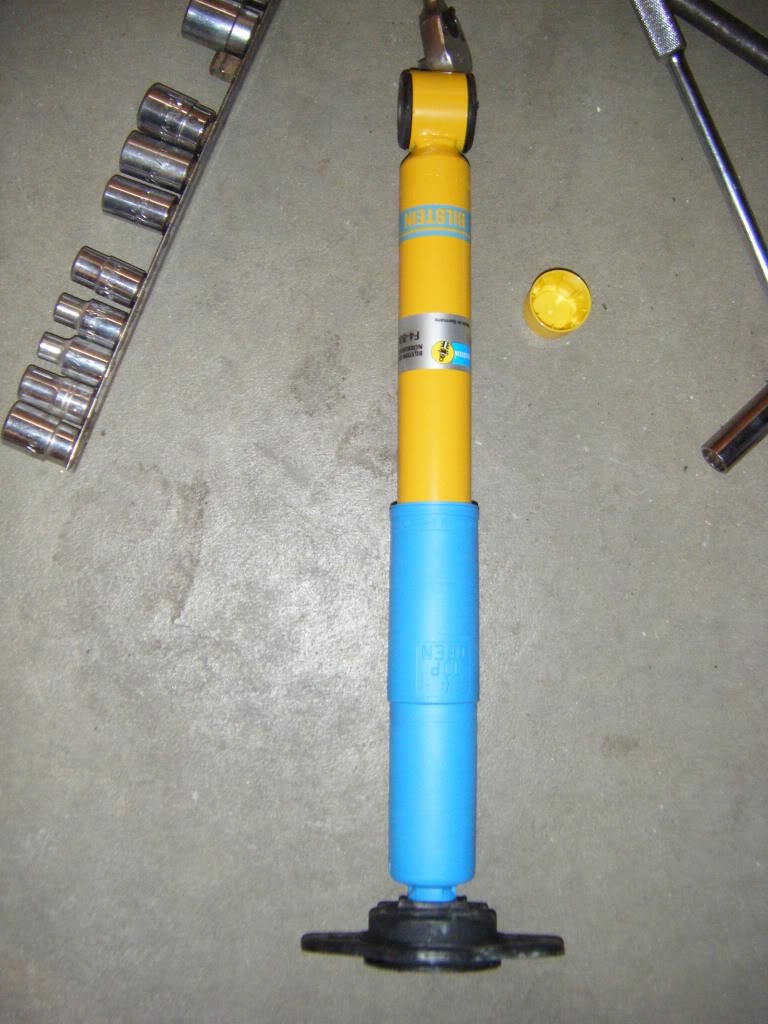
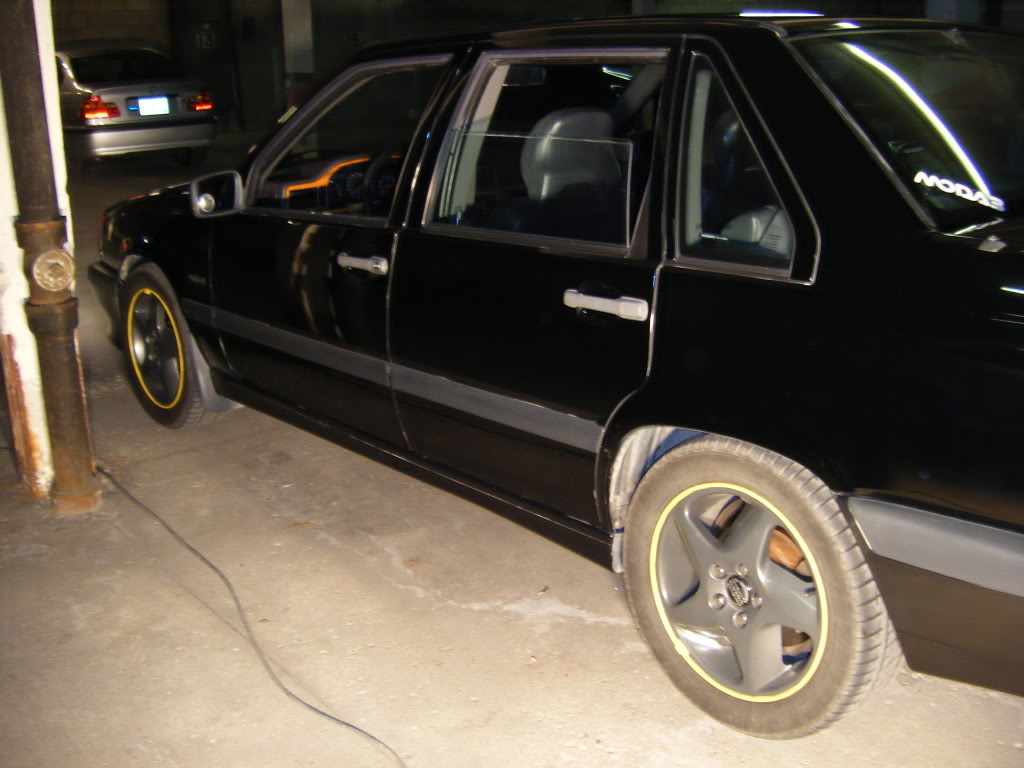
New suspension. Bilstein HDs with Kilen lowering springs:
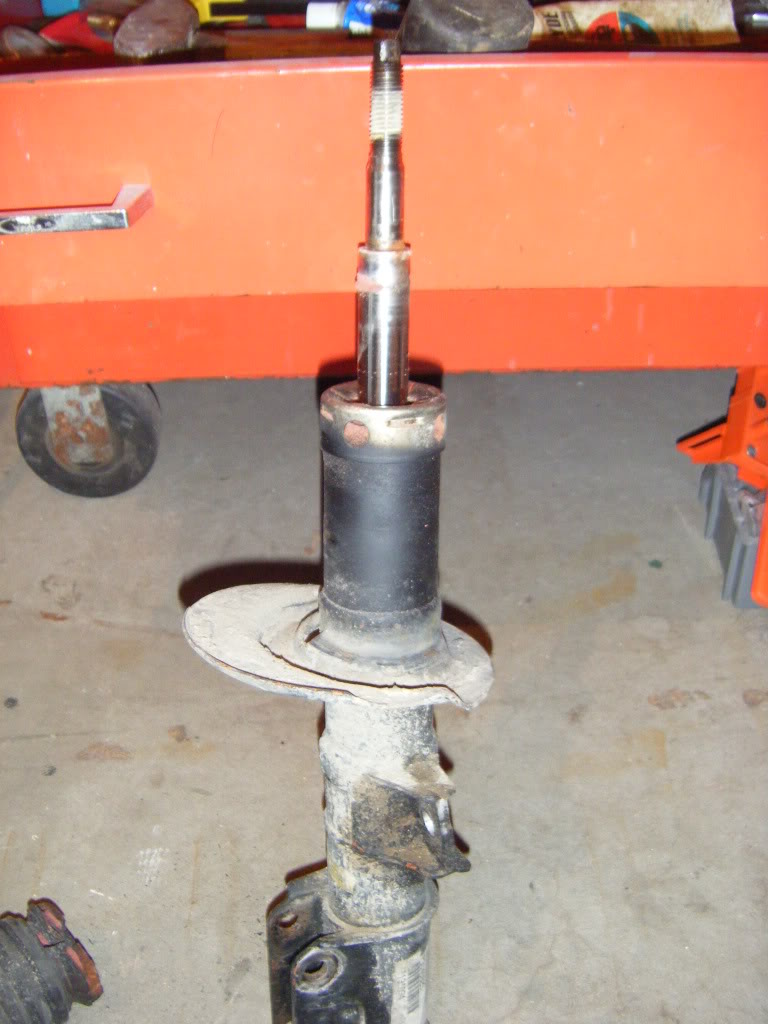
Took off the old ones, zero compression on both of them. The driver's side strut literally dropped once I got the spring seat off, I lol'd. All the bolts holding in the shock mounts broke, so new bolts in the back. The nut on the driver's side shock had to be cut off at the bottom and the threads reshaped. That was awesome. And yes, we tried heating it.
Also put in IPD HD end links.
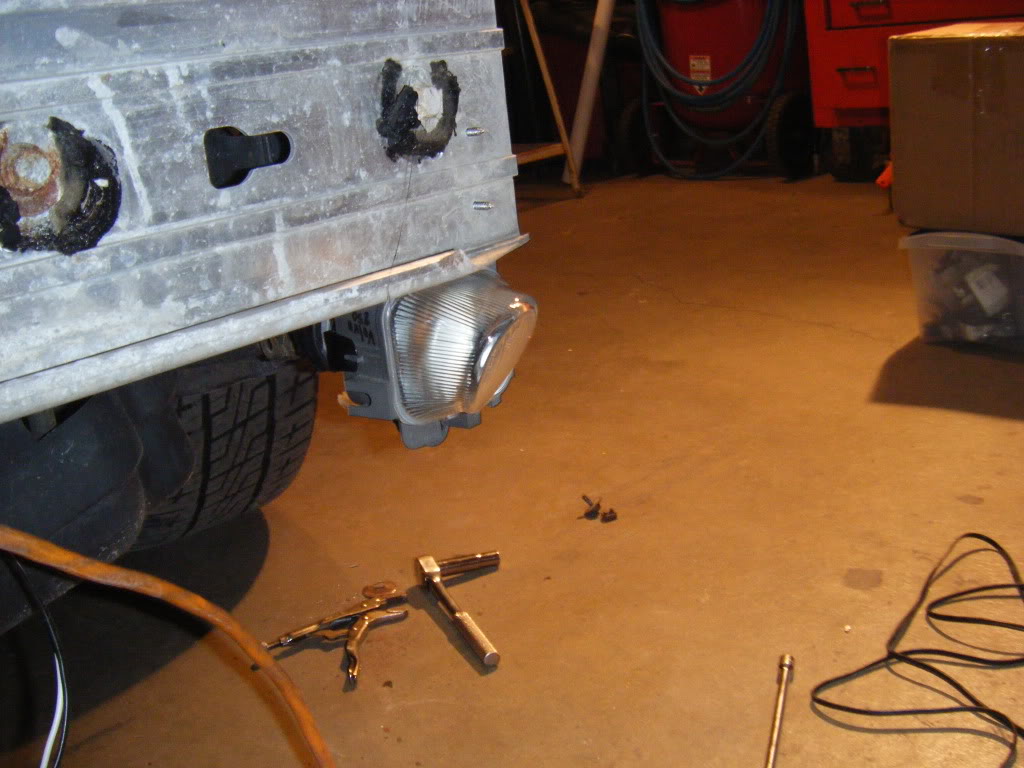
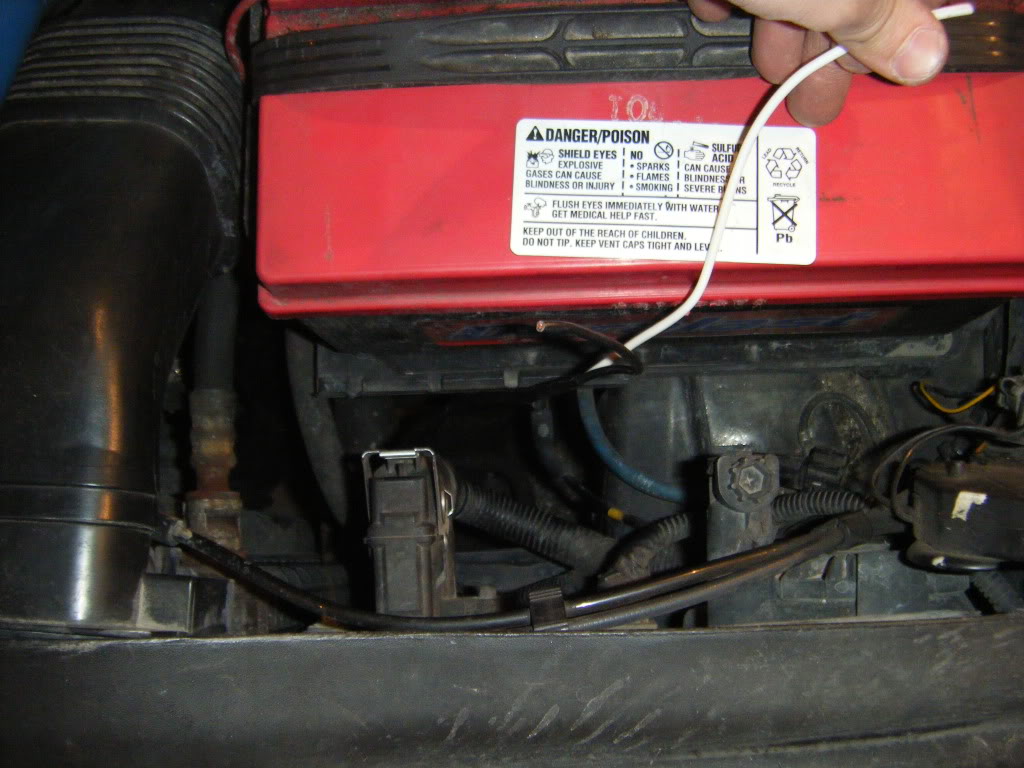
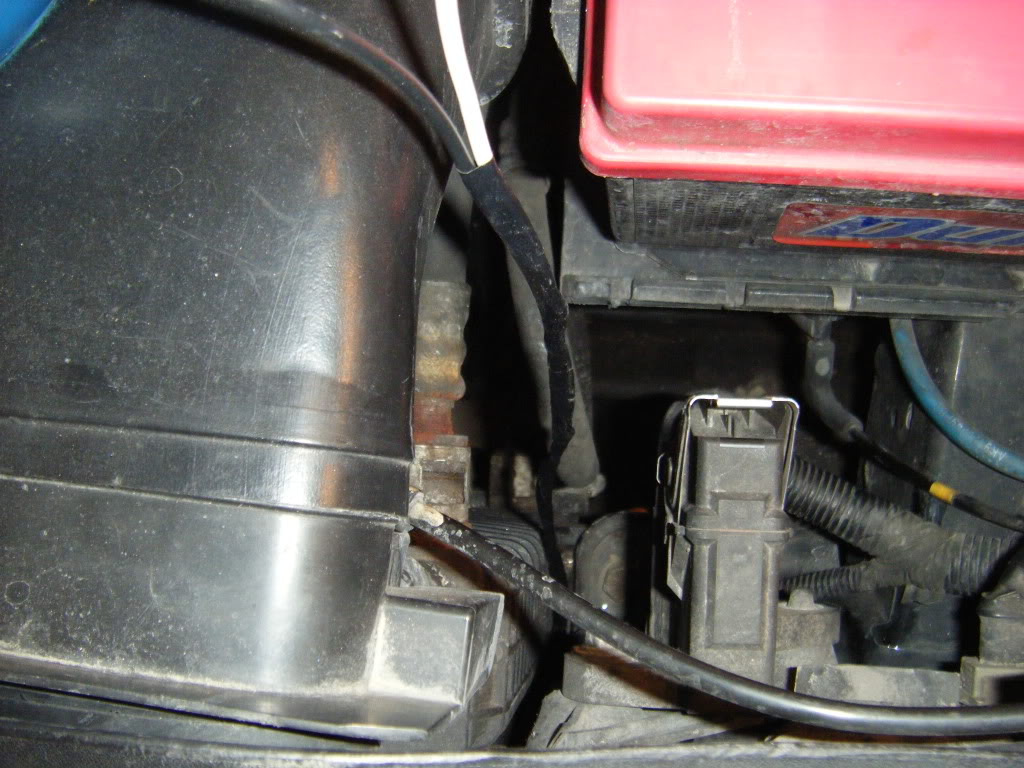
Fog lights in, and harness that I made worked. Both fogs needed new bulbs, and I had to redo the ground inside the fog light on the passenger side, that was awesome.
***So yes, that harness that I bought that connects to the yellow plug and has the relays and switch on it is factory and it is how you wire in fogs in 94s and early 95s. You run power from that dead plug by the battery to both fogs and then ground it out on the ground rail by the battery. I had full power and ground when the switch was on, and when I turned off the switch, I have no power at the fog plugs. This is how you do it for those of you who were still uncertain***
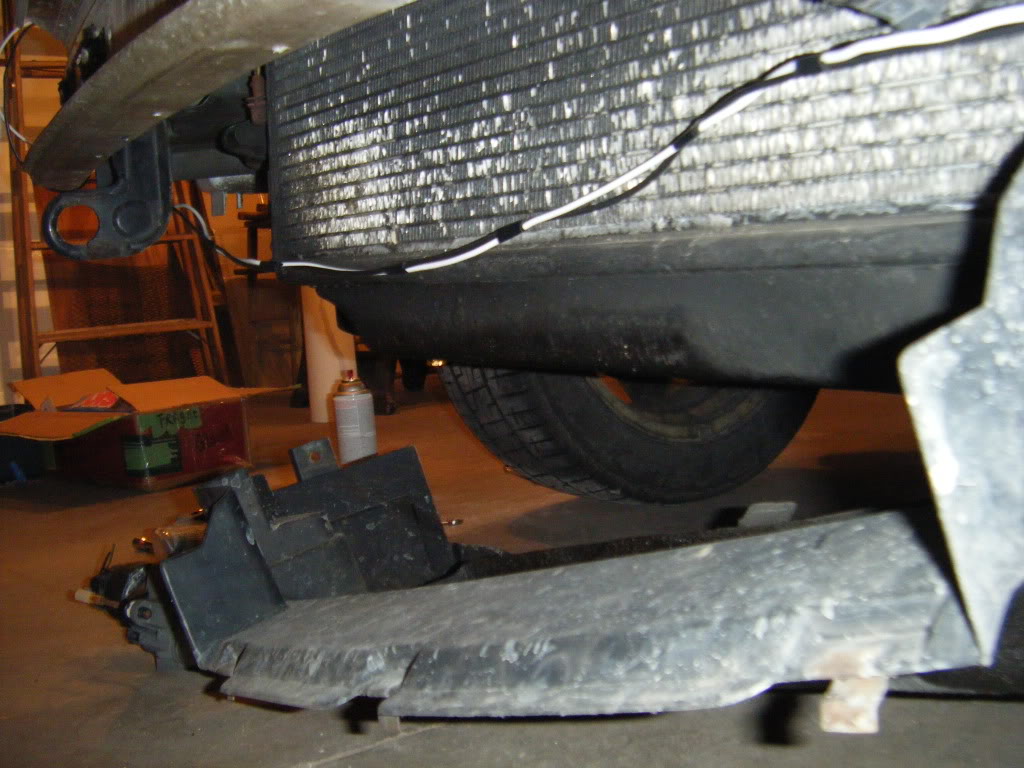
(yeah, my skid plate fell off when I got home)
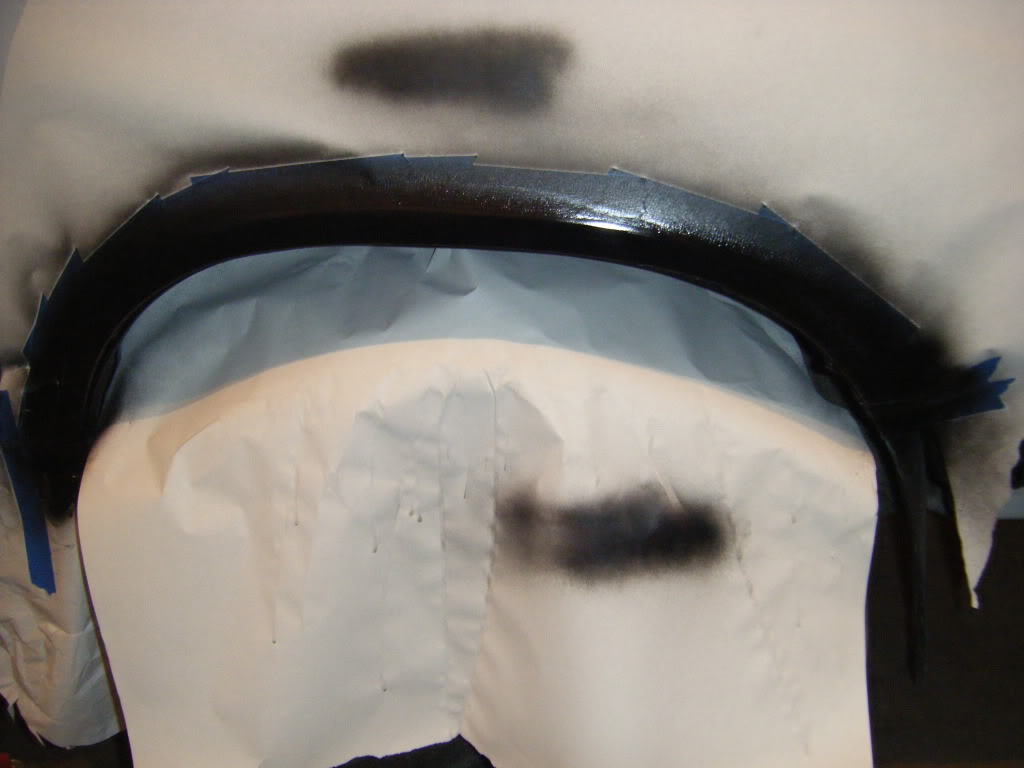
Fender painted, it looks alright, but I definitely need to get the ones off of my wagon painted and put on this.
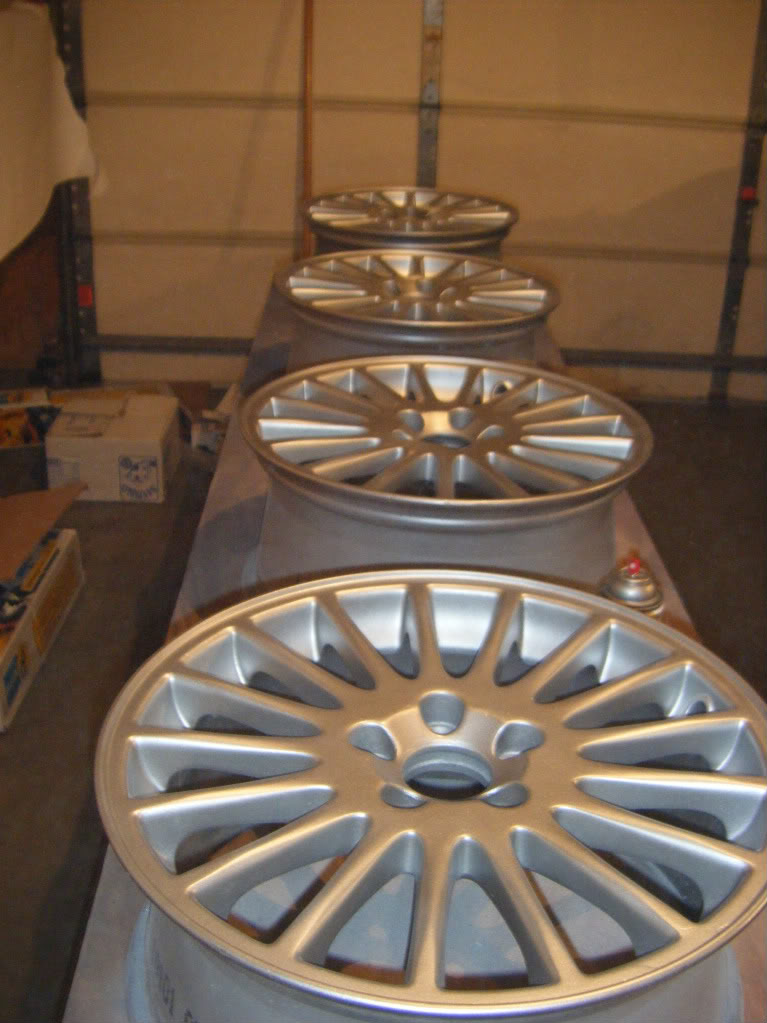
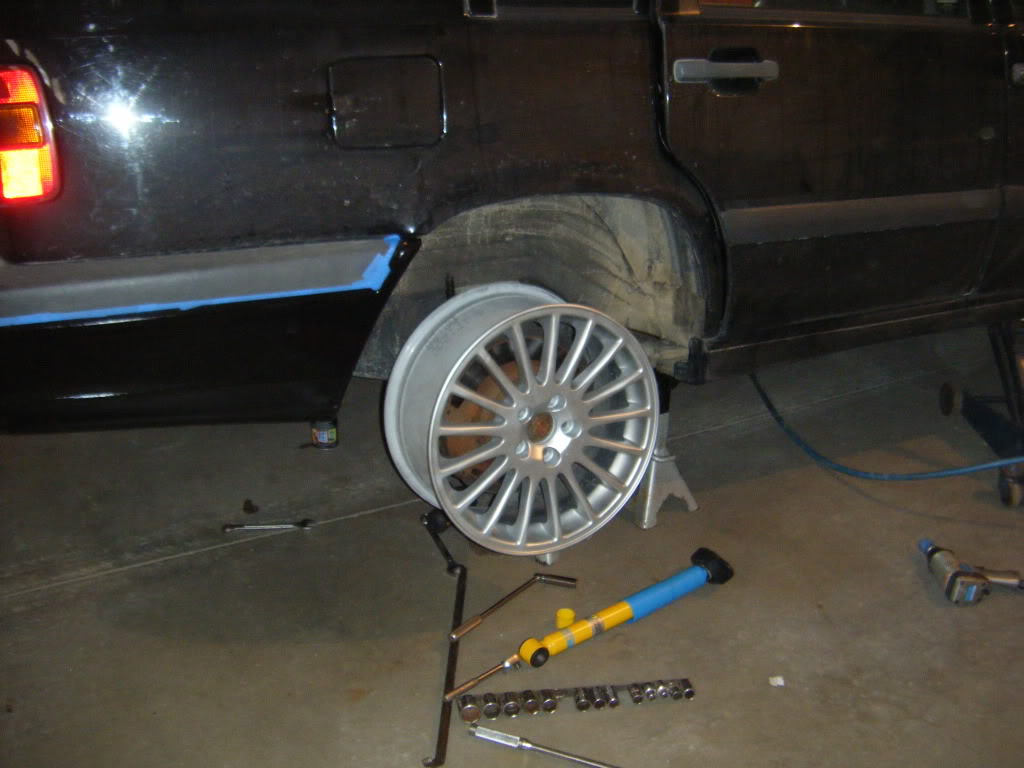
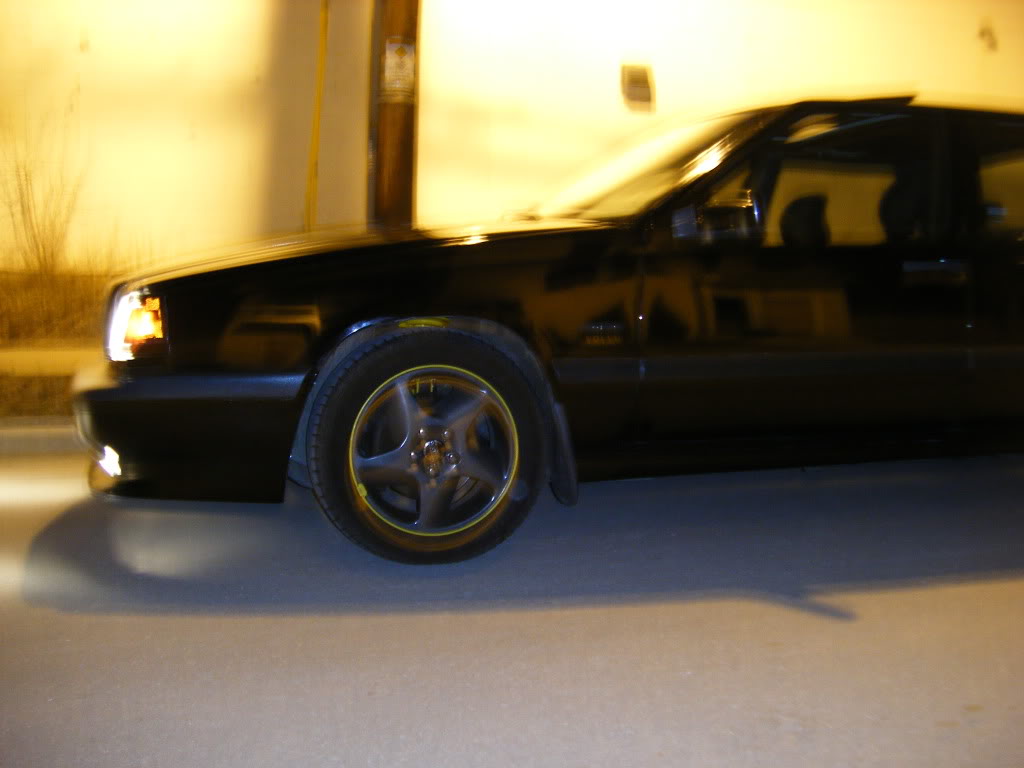
Wheels all done. Cleared and everything. They look way better in person, it was super hazy in my garage. Obviously.
All put back together. Overall, I'm really happy with the way this weekend went. Bumpers look awesome, fogs work great, and the ride......damn, I can't believe what I was missing out on. It stays flat through cornering, yeah, it's a harsh ride, but it's a positive ride, I'm not bouncing all over the place. It's great.
(yes, I'm well aware my car needs a major polish and wax. I actually have to clay bar the whole thing because it sat so long with salt on it that the paint is pretty ****ty, especially on the roof and trunk. So, this week it will get clay barred, polished, and then waxed.)
And a little teaser for things to come:
Painted the front bumper again because I found a big scuff from where someone must have hit it.
Painted the rear bumper because some stupid yellow car hit me while I was parked on campus a while ago
New suspension. Bilstein HDs with Kilen lowering springs:
Took off the old ones, zero compression on both of them. The driver's side strut literally dropped once I got the spring seat off, I lol'd. All the bolts holding in the shock mounts broke, so new bolts in the back. The nut on the driver's side shock had to be cut off at the bottom and the threads reshaped. That was awesome. And yes, we tried heating it.
Also put in IPD HD end links.
Fog lights in, and harness that I made worked. Both fogs needed new bulbs, and I had to redo the ground inside the fog light on the passenger side, that was awesome.
***So yes, that harness that I bought that connects to the yellow plug and has the relays and switch on it is factory and it is how you wire in fogs in 94s and early 95s. You run power from that dead plug by the battery to both fogs and then ground it out on the ground rail by the battery. I had full power and ground when the switch was on, and when I turned off the switch, I have no power at the fog plugs. This is how you do it for those of you who were still uncertain***
(yeah, my skid plate fell off when I got home)
Fender painted, it looks alright, but I definitely need to get the ones off of my wagon painted and put on this.
Wheels all done. Cleared and everything. They look way better in person, it was super hazy in my garage. Obviously.
All put back together. Overall, I'm really happy with the way this weekend went. Bumpers look awesome, fogs work great, and the ride......damn, I can't believe what I was missing out on. It stays flat through cornering, yeah, it's a harsh ride, but it's a positive ride, I'm not bouncing all over the place. It's great.
(yes, I'm well aware my car needs a major polish and wax. I actually have to clay bar the whole thing because it sat so long with salt on it that the paint is pretty ****ty, especially on the roof and trunk. So, this week it will get clay barred, polished, and then waxed.)
And a little teaser for things to come:
Thread Starter
|
Senior Member
Joined: Apr 2008
Posts: 3,948
Likes: 3
From: Milwaukee, WI
Oh, and might I add I finally got the R spoiler to sit correctly on the bumper cover. Just took a lot of filing, it may not be pretty and perfect, it's on there, and that's all I care about. 

Banned
Joined: Dec 2009
Posts: 181
Likes: 0
From: MARYLAND
And you left the molding and trim that awful grey.Paint the molding and trim and it will look great.
The rims look pretty sweet with that yellow lip.
The rims look pretty sweet with that yellow lip.
Last edited by B00$T CR33P; Mar 22, 2010 at 12:48 PM.
Thread Starter
|
Senior Member
Joined: Apr 2008
Posts: 3,948
Likes: 3
From: Milwaukee, WI
And thanks for the wheels, I used to like them a lot more. But they've been growing off of me lately. I can't wait to get tires for my tethys so I can put them on there.
Banned
Joined: Dec 2009
Posts: 181
Likes: 0
From: MARYLAND
Back to black doesnt really work.FOREVER BLACK is the only way other than painting.I used FOREVER BLACK on my white car and the trim stayed black for 2 years with no fading or chipping.
Quadtratec is the cheapest place to get it online.
Quadtratec is the cheapest place to get it online.
Last edited by B00$T CR33P; Mar 22, 2010 at 01:28 PM.
Thread Starter
|
Senior Member
Joined: Apr 2008
Posts: 3,948
Likes: 3
From: Milwaukee, WI
I'm going to put on some back to black for now, I have to go to autozone anyways to get some stuff, and last time I treated the bumpers I didn't have any fade issues, and I like the dark gray trim, it breaks up the black nicely. And if I have to treat it every few months, doesn't bother me, all part of routine maintenance.

Thread Starter
|
Senior Member
Joined: Apr 2008
Posts: 3,948
Likes: 3
From: Milwaukee, WI
Thanks man
Hm. I actually like the gray trim on the black car better, on a white car the black looks nice, but on the black with black dyed trim it doesn't look as nice. If it was painted black that would look better.
Hm. I actually like the gray trim on the black car better, on a white car the black looks nice, but on the black with black dyed trim it doesn't look as nice. If it was painted black that would look better.
Thread Starter
|
Senior Member
Joined: Apr 2008
Posts: 3,948
Likes: 3
From: Milwaukee, WI
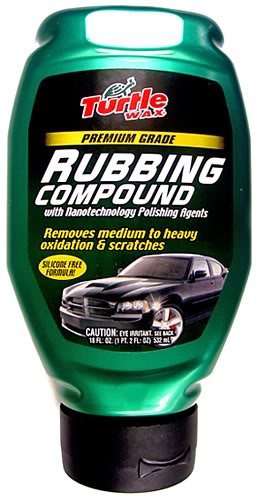
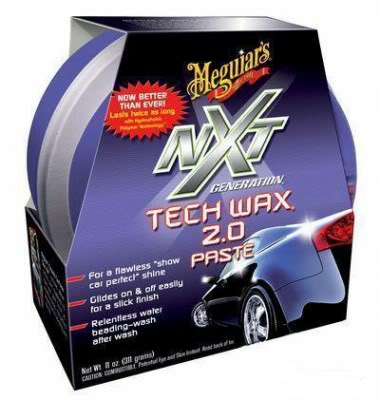
Waxed and buffed. Didn't use turtle wax. Got some Meguiar's swirlx and scratchx. Did a pretty good job IMO. The Meguiar's wax really topped it off though. Some good stuff.


Thread Starter
|
Senior Member
Joined: Apr 2008
Posts: 3,948
Likes: 3
From: Milwaukee, WI
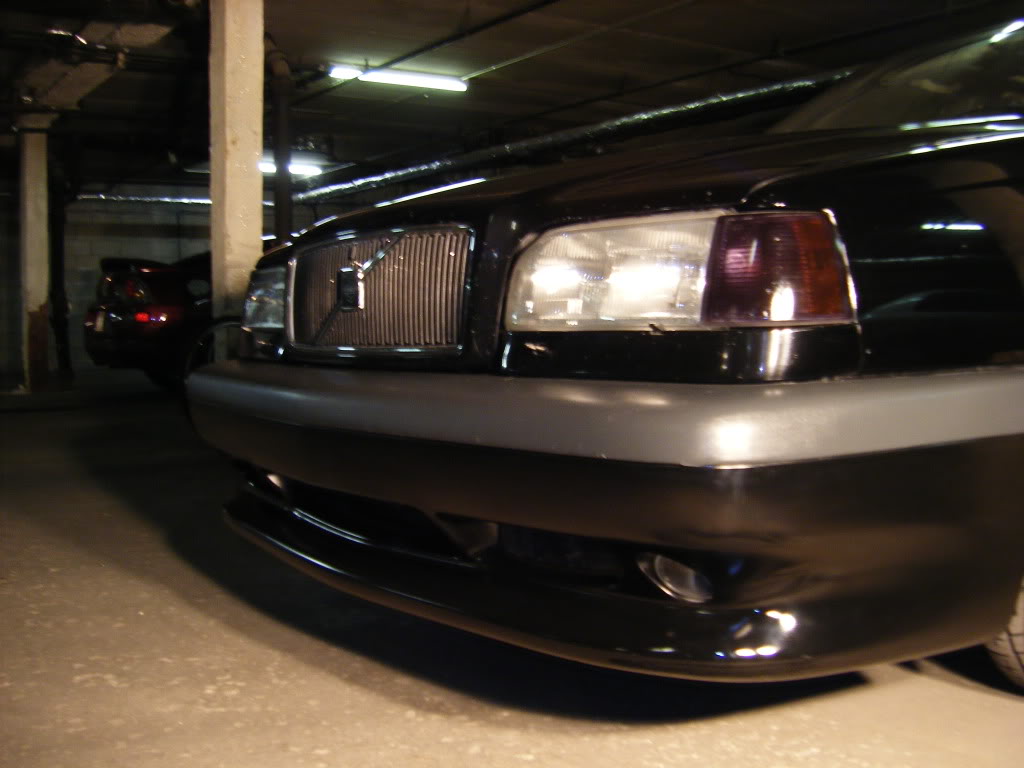
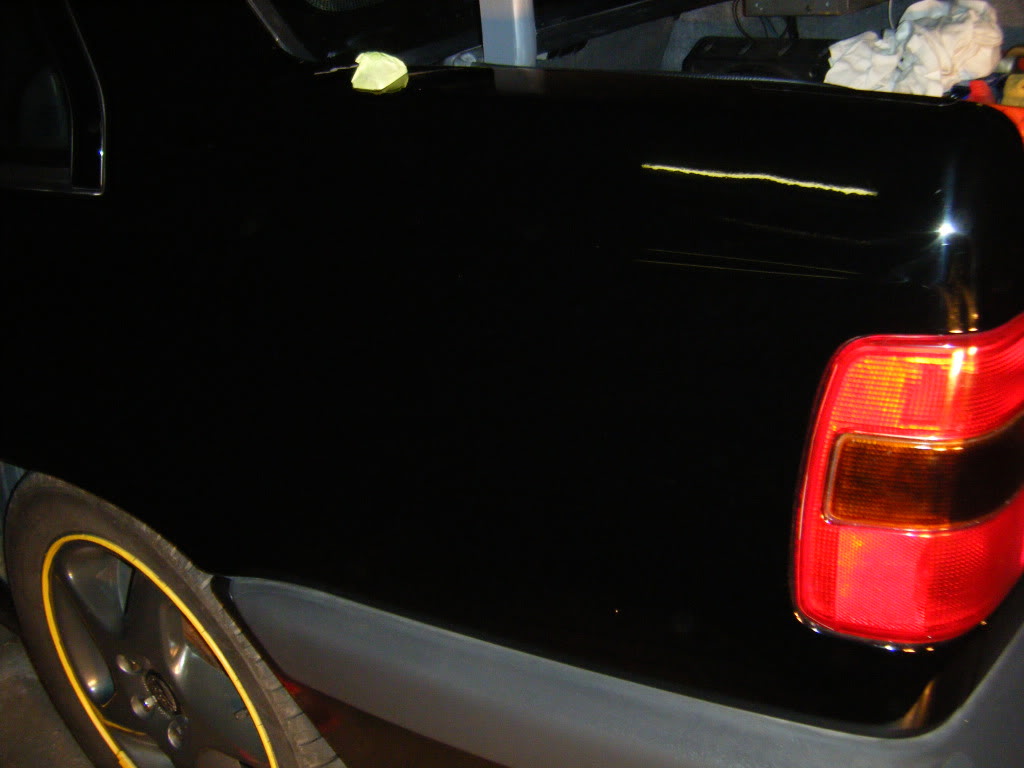
Yeah, I have to go back and get some wax out of some places with a cue tip or something. That line on the second pic is just a reflection. And no way in hell are those blind spot mirrors coming off. I literally have no blind spot because of those.
Thread Starter
|
Senior Member
Joined: Apr 2008
Posts: 3,948
Likes: 3
From: Milwaukee, WI
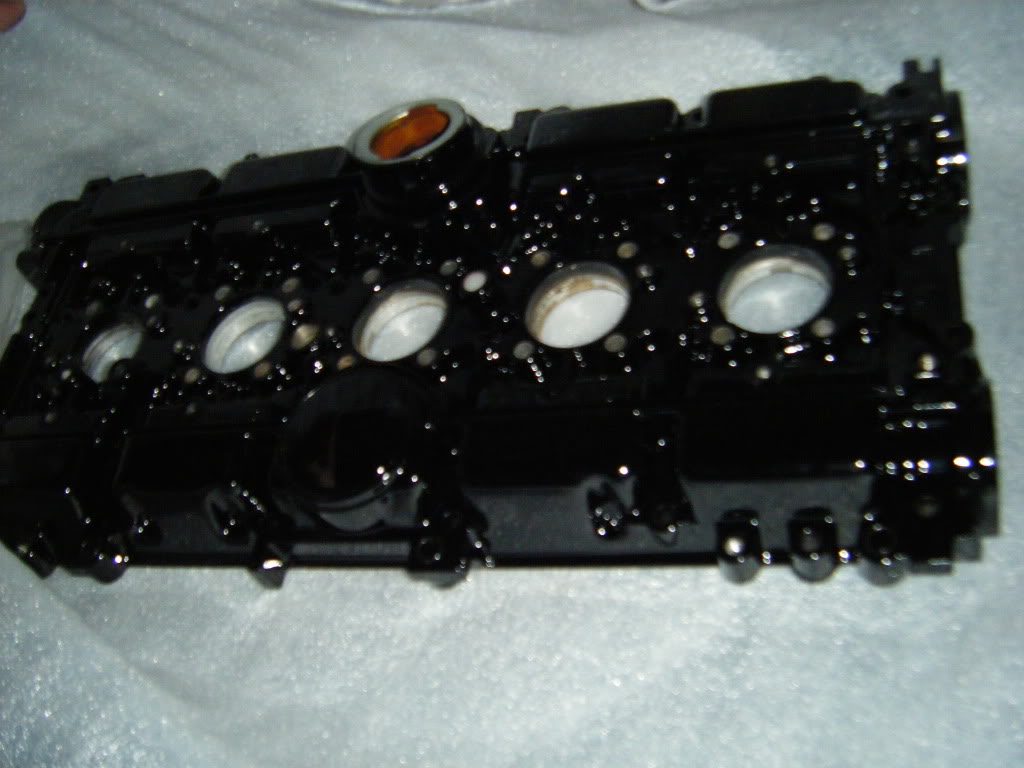
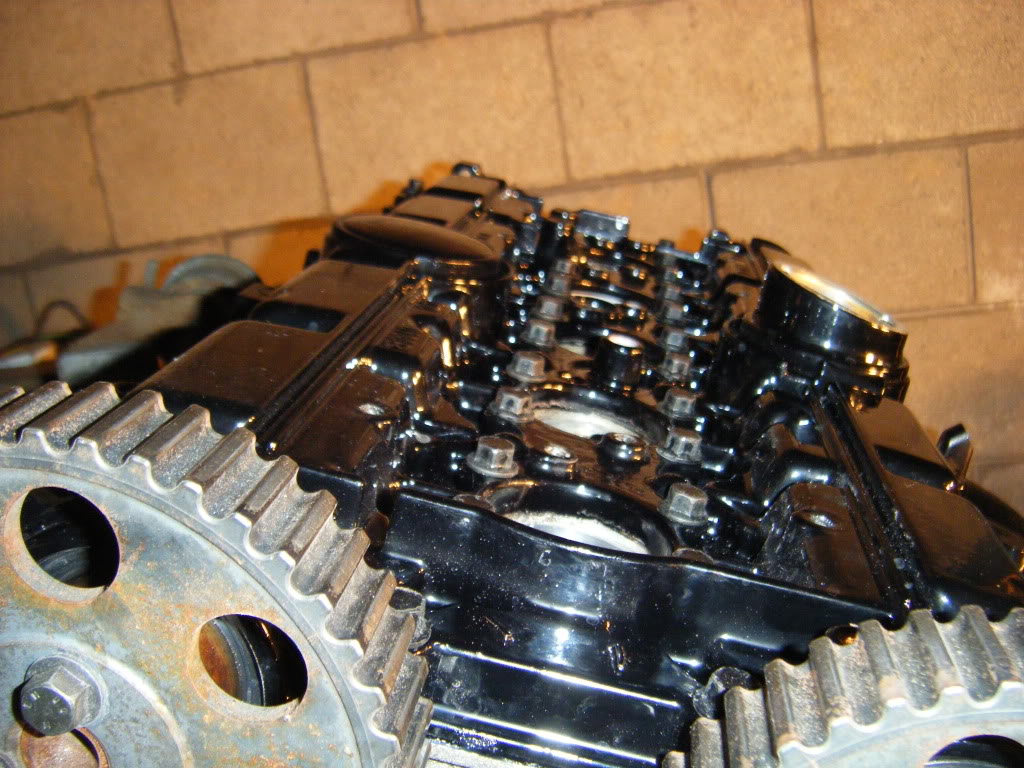
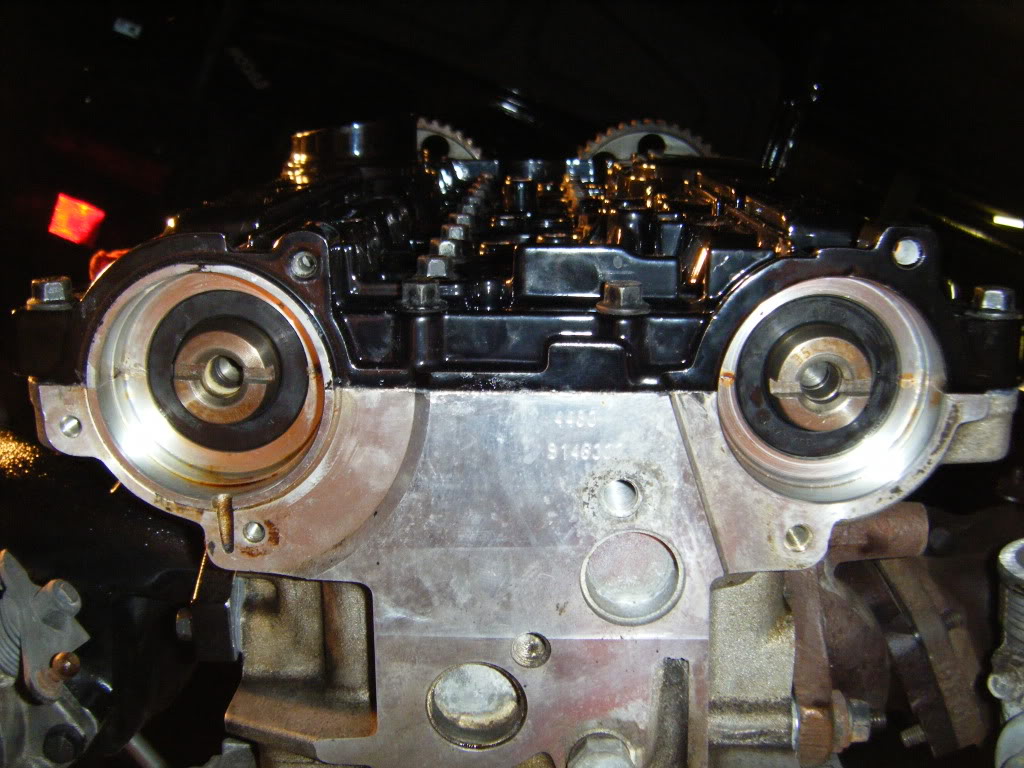
Motor put back together for the most part, just have to adjust the intake cam a bit then we'll be good to go and can put the t belt on.
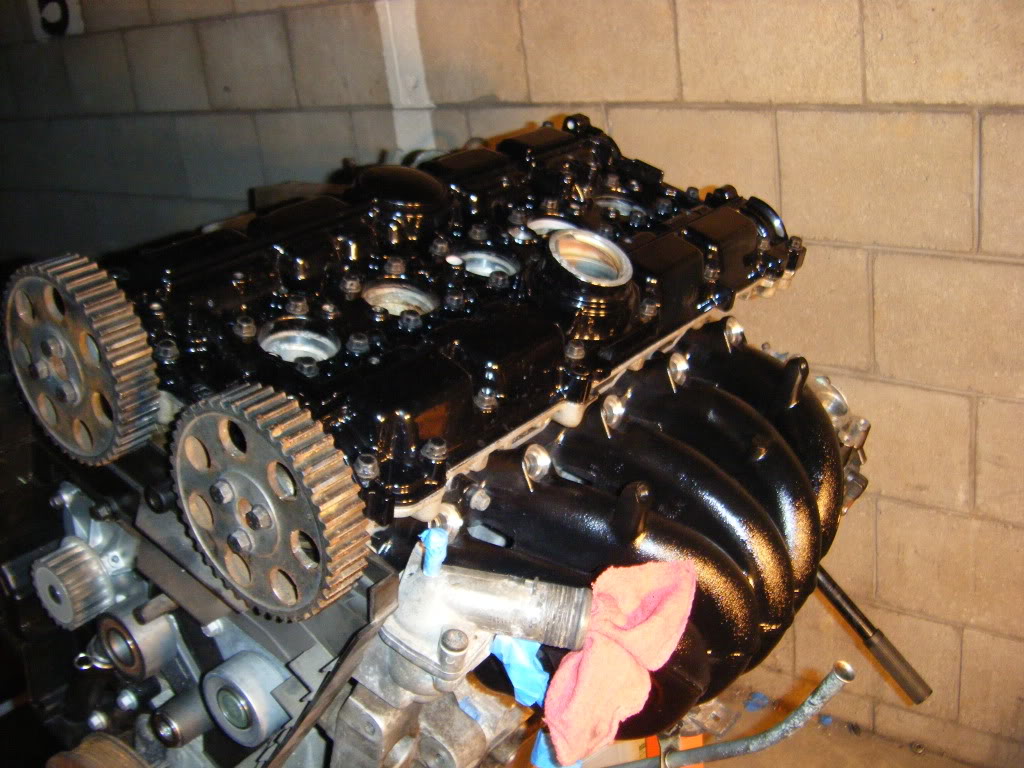
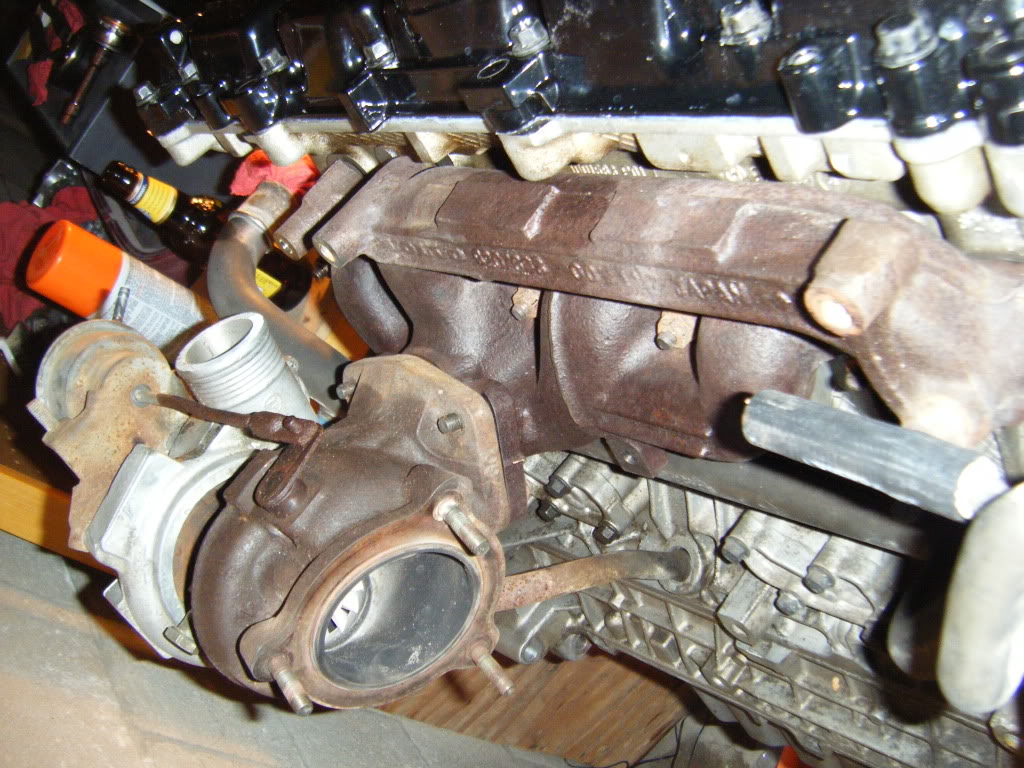
19T and Japan manifold
And then this....
[I
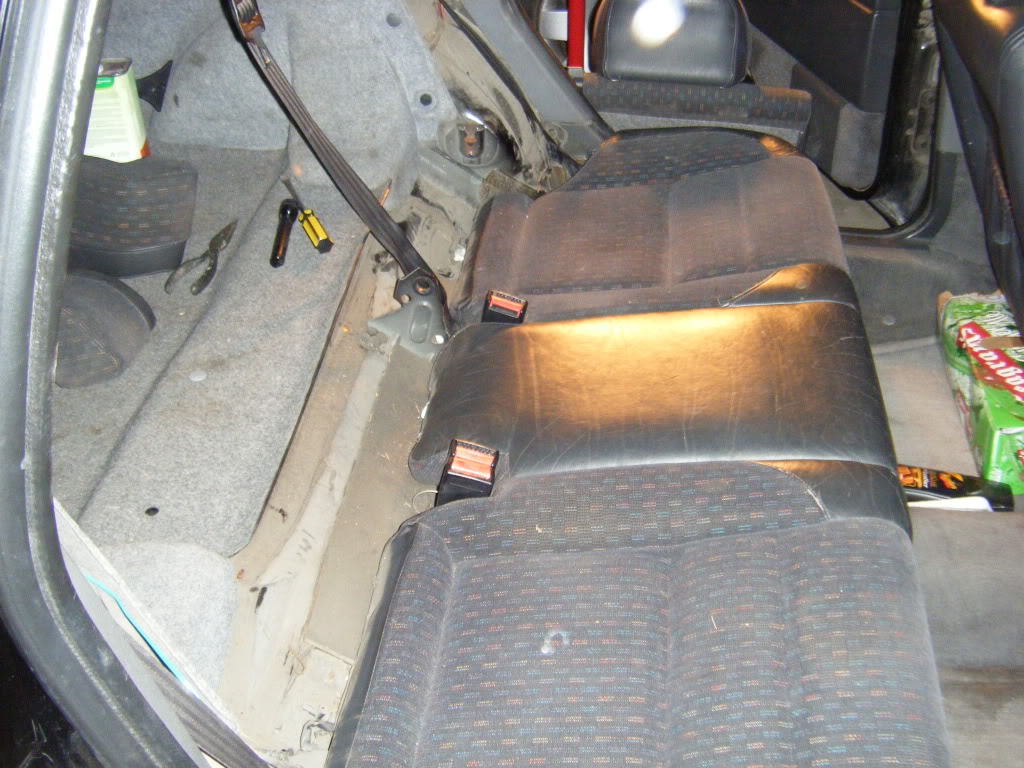
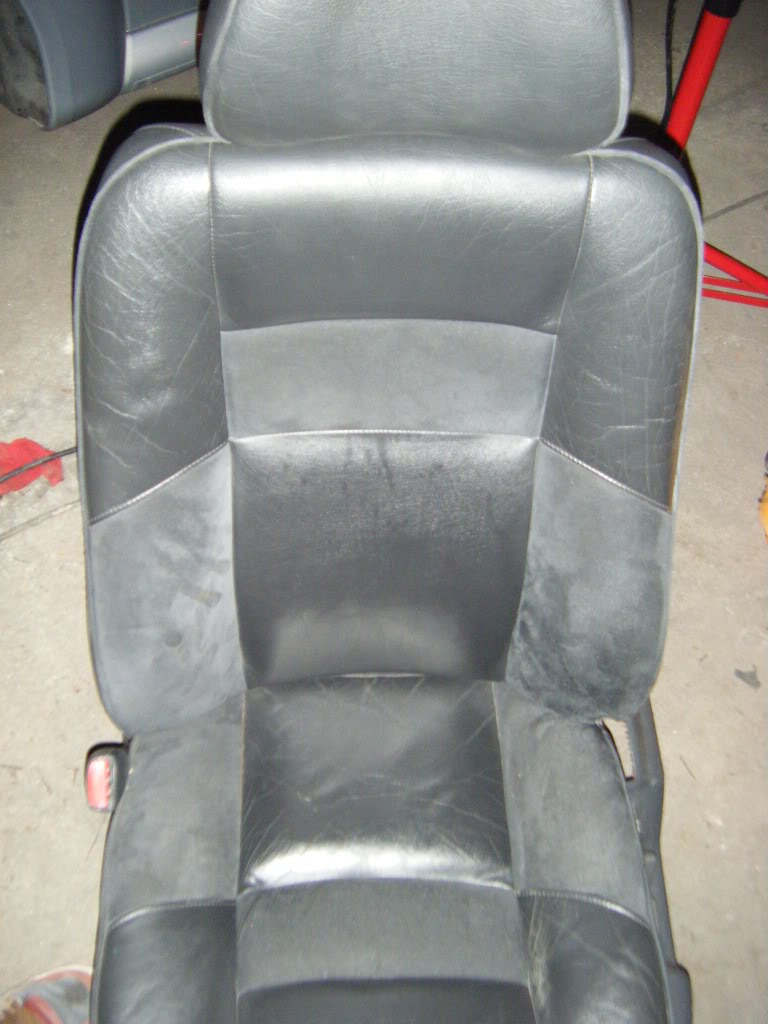
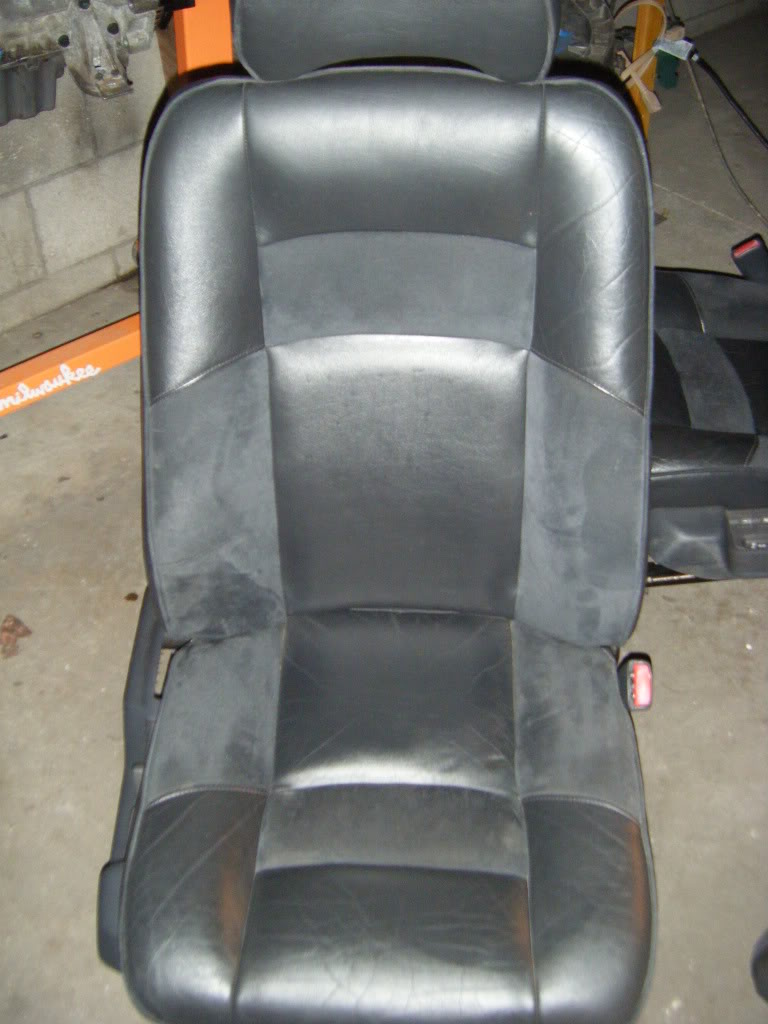
Front bottoms need a suede brush then they'll be golden
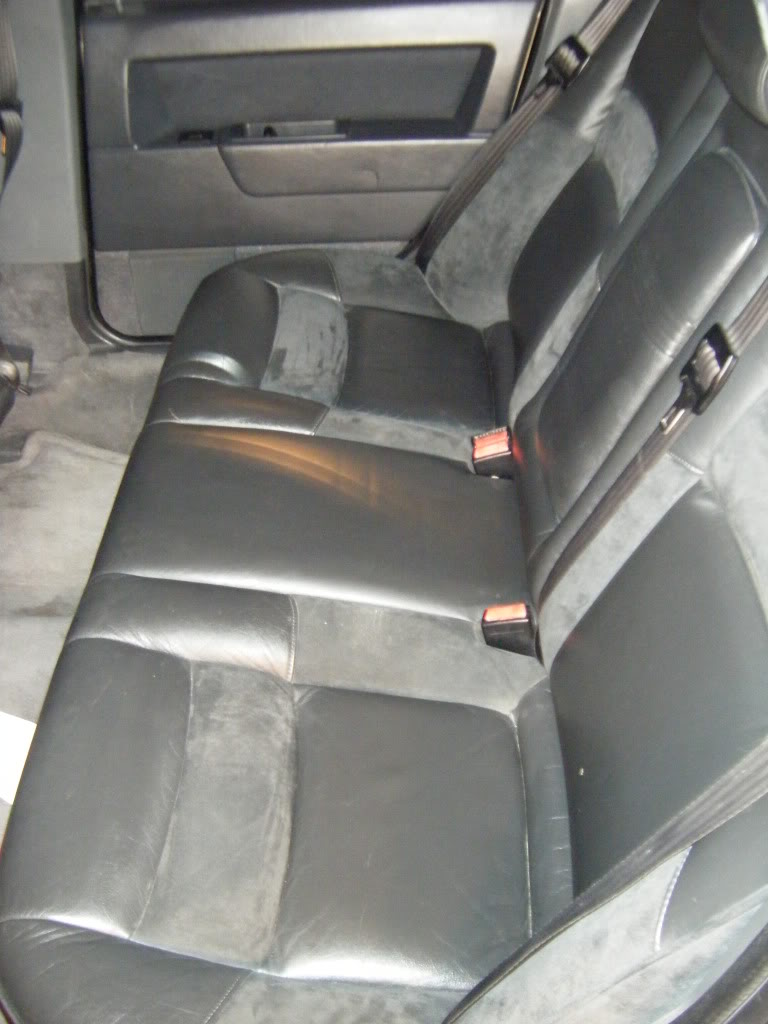
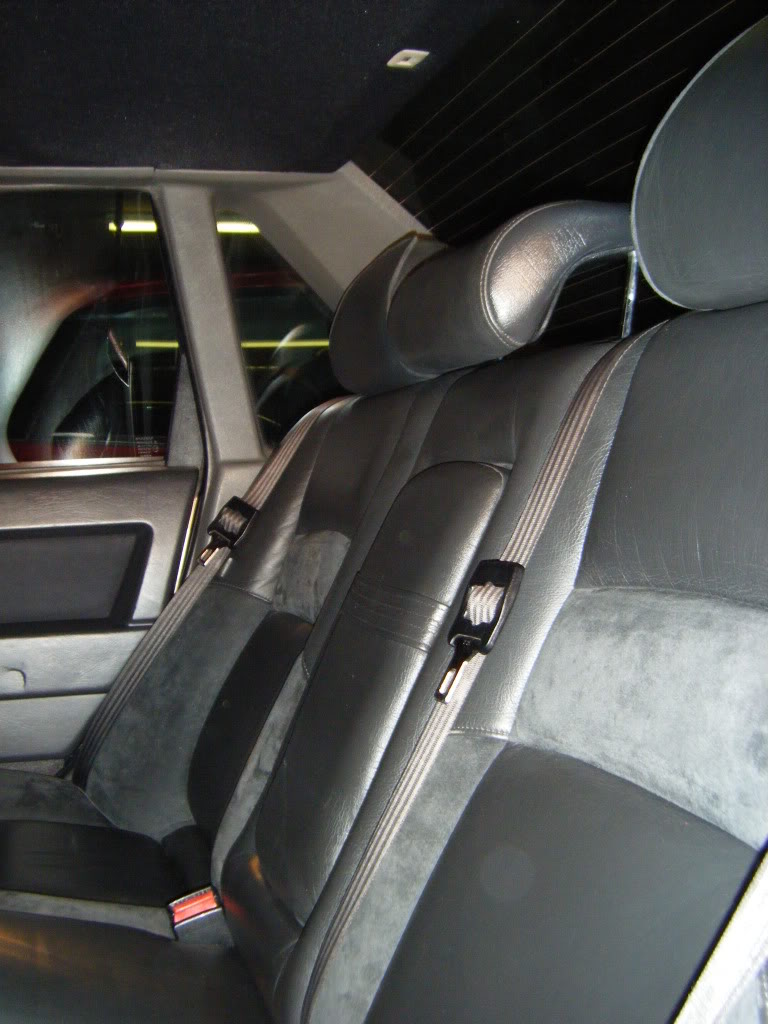
And my beloved leather/clothe interior. Which will get a realllllly good cleaning and then be used as seating in my apartment, since I'm never getting rid of it. . . . Evar.
19T and Japan manifold
And then this....
[I
Front bottoms need a suede brush then they'll be golden
And my beloved leather/clothe interior. Which will get a realllllly good cleaning and then be used as seating in my apartment, since I'm never getting rid of it. . . . Evar.

Thread Starter
|
Senior Member
Joined: Apr 2008
Posts: 3,948
Likes: 3
From: Milwaukee, WI
Thanks. I just can't wait to get the motor in so I can start doing under the hood type of stuff. It's going to be my favorite when I put in my extra speedometer cluster with the odometer rolled back to 103k. That's going to be awesome.
Thread Starter
|
Senior Member
Joined: Apr 2008
Posts: 3,948
Likes: 3
From: Milwaukee, WI
Anyone know the wiring to install a power seat into a manual seat spot? New passenger seat is power, my old seat is manual. I have the harness from a powered seat so it's just a matter of splicing wires, just not sure which ones.


